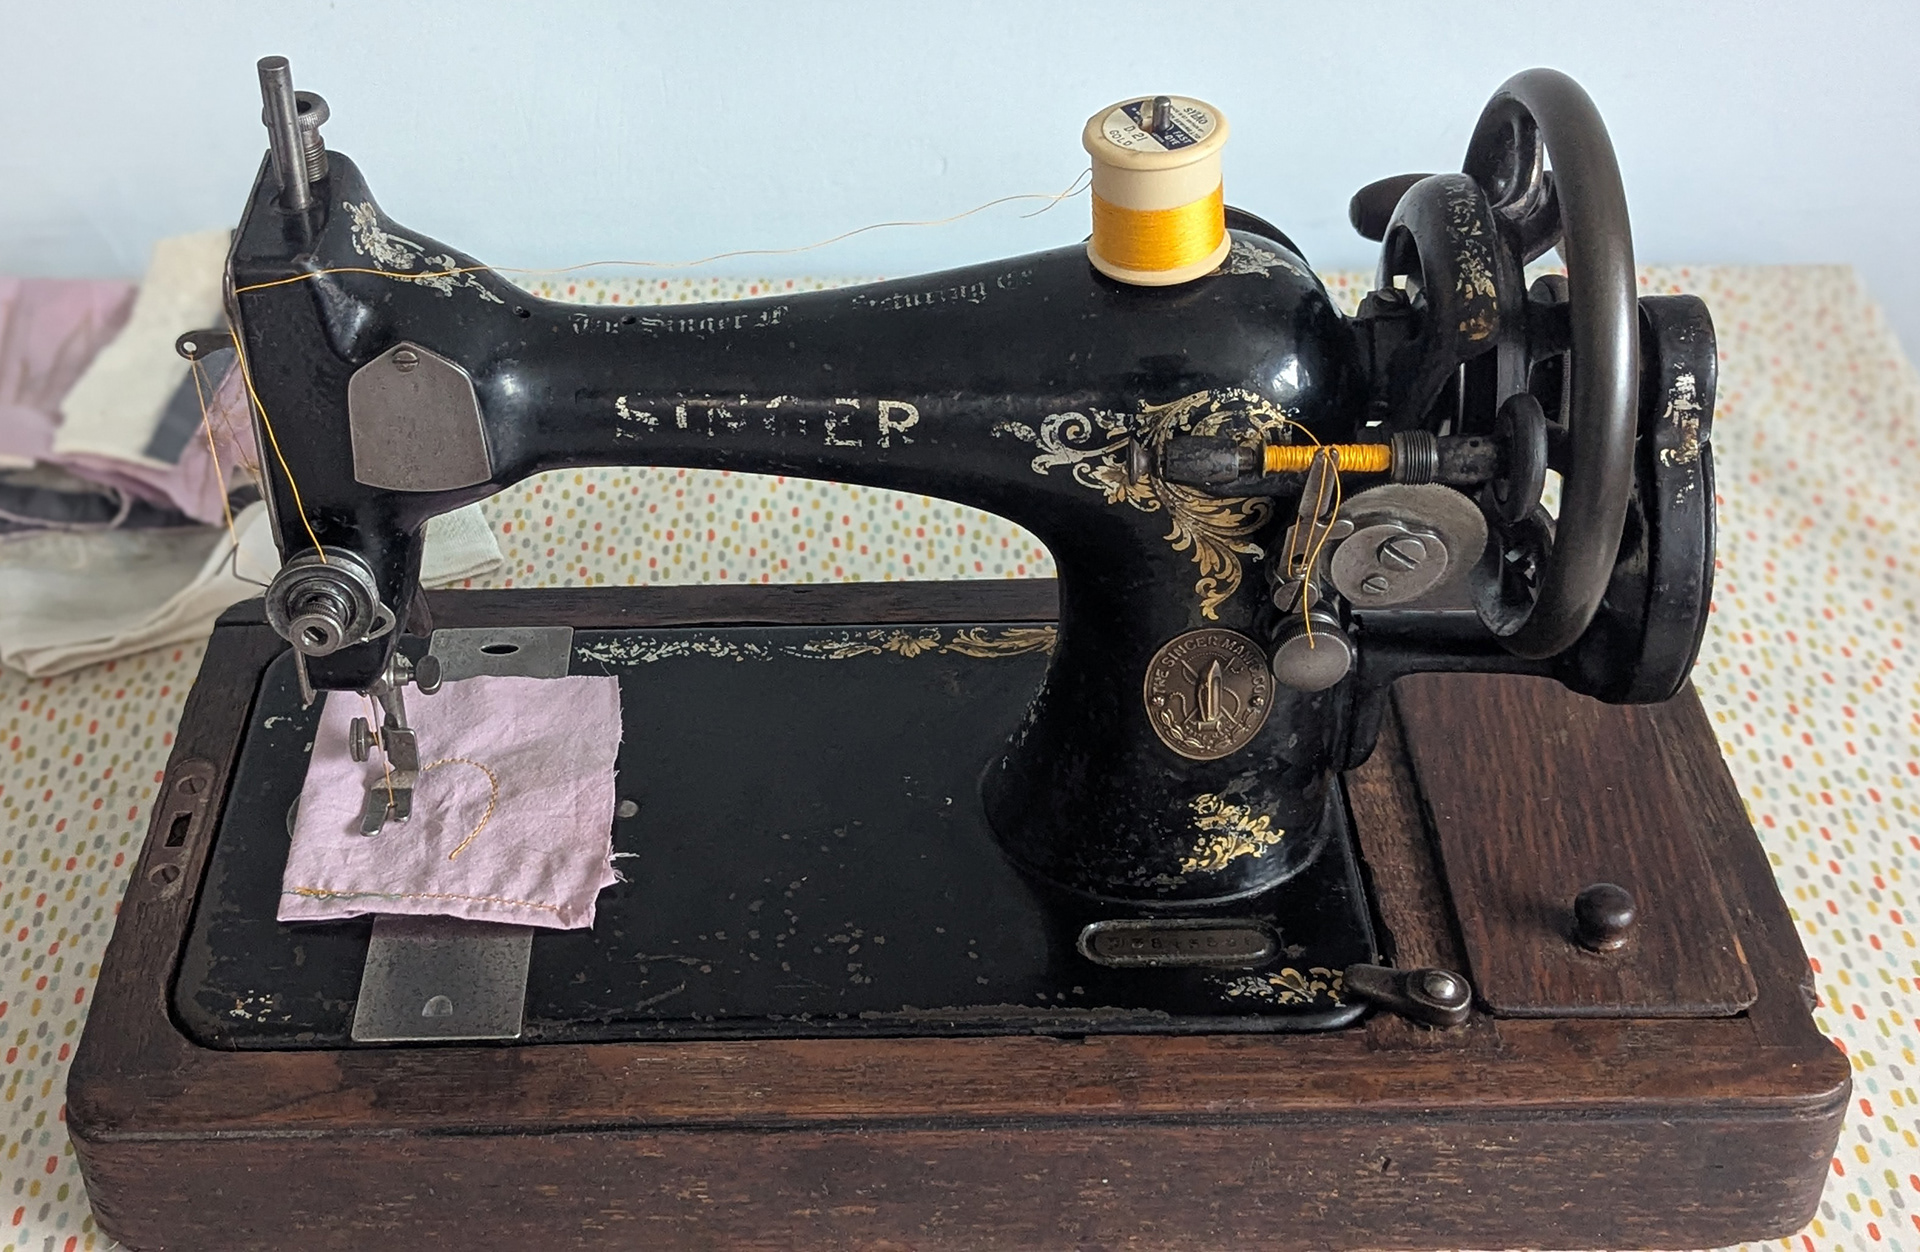
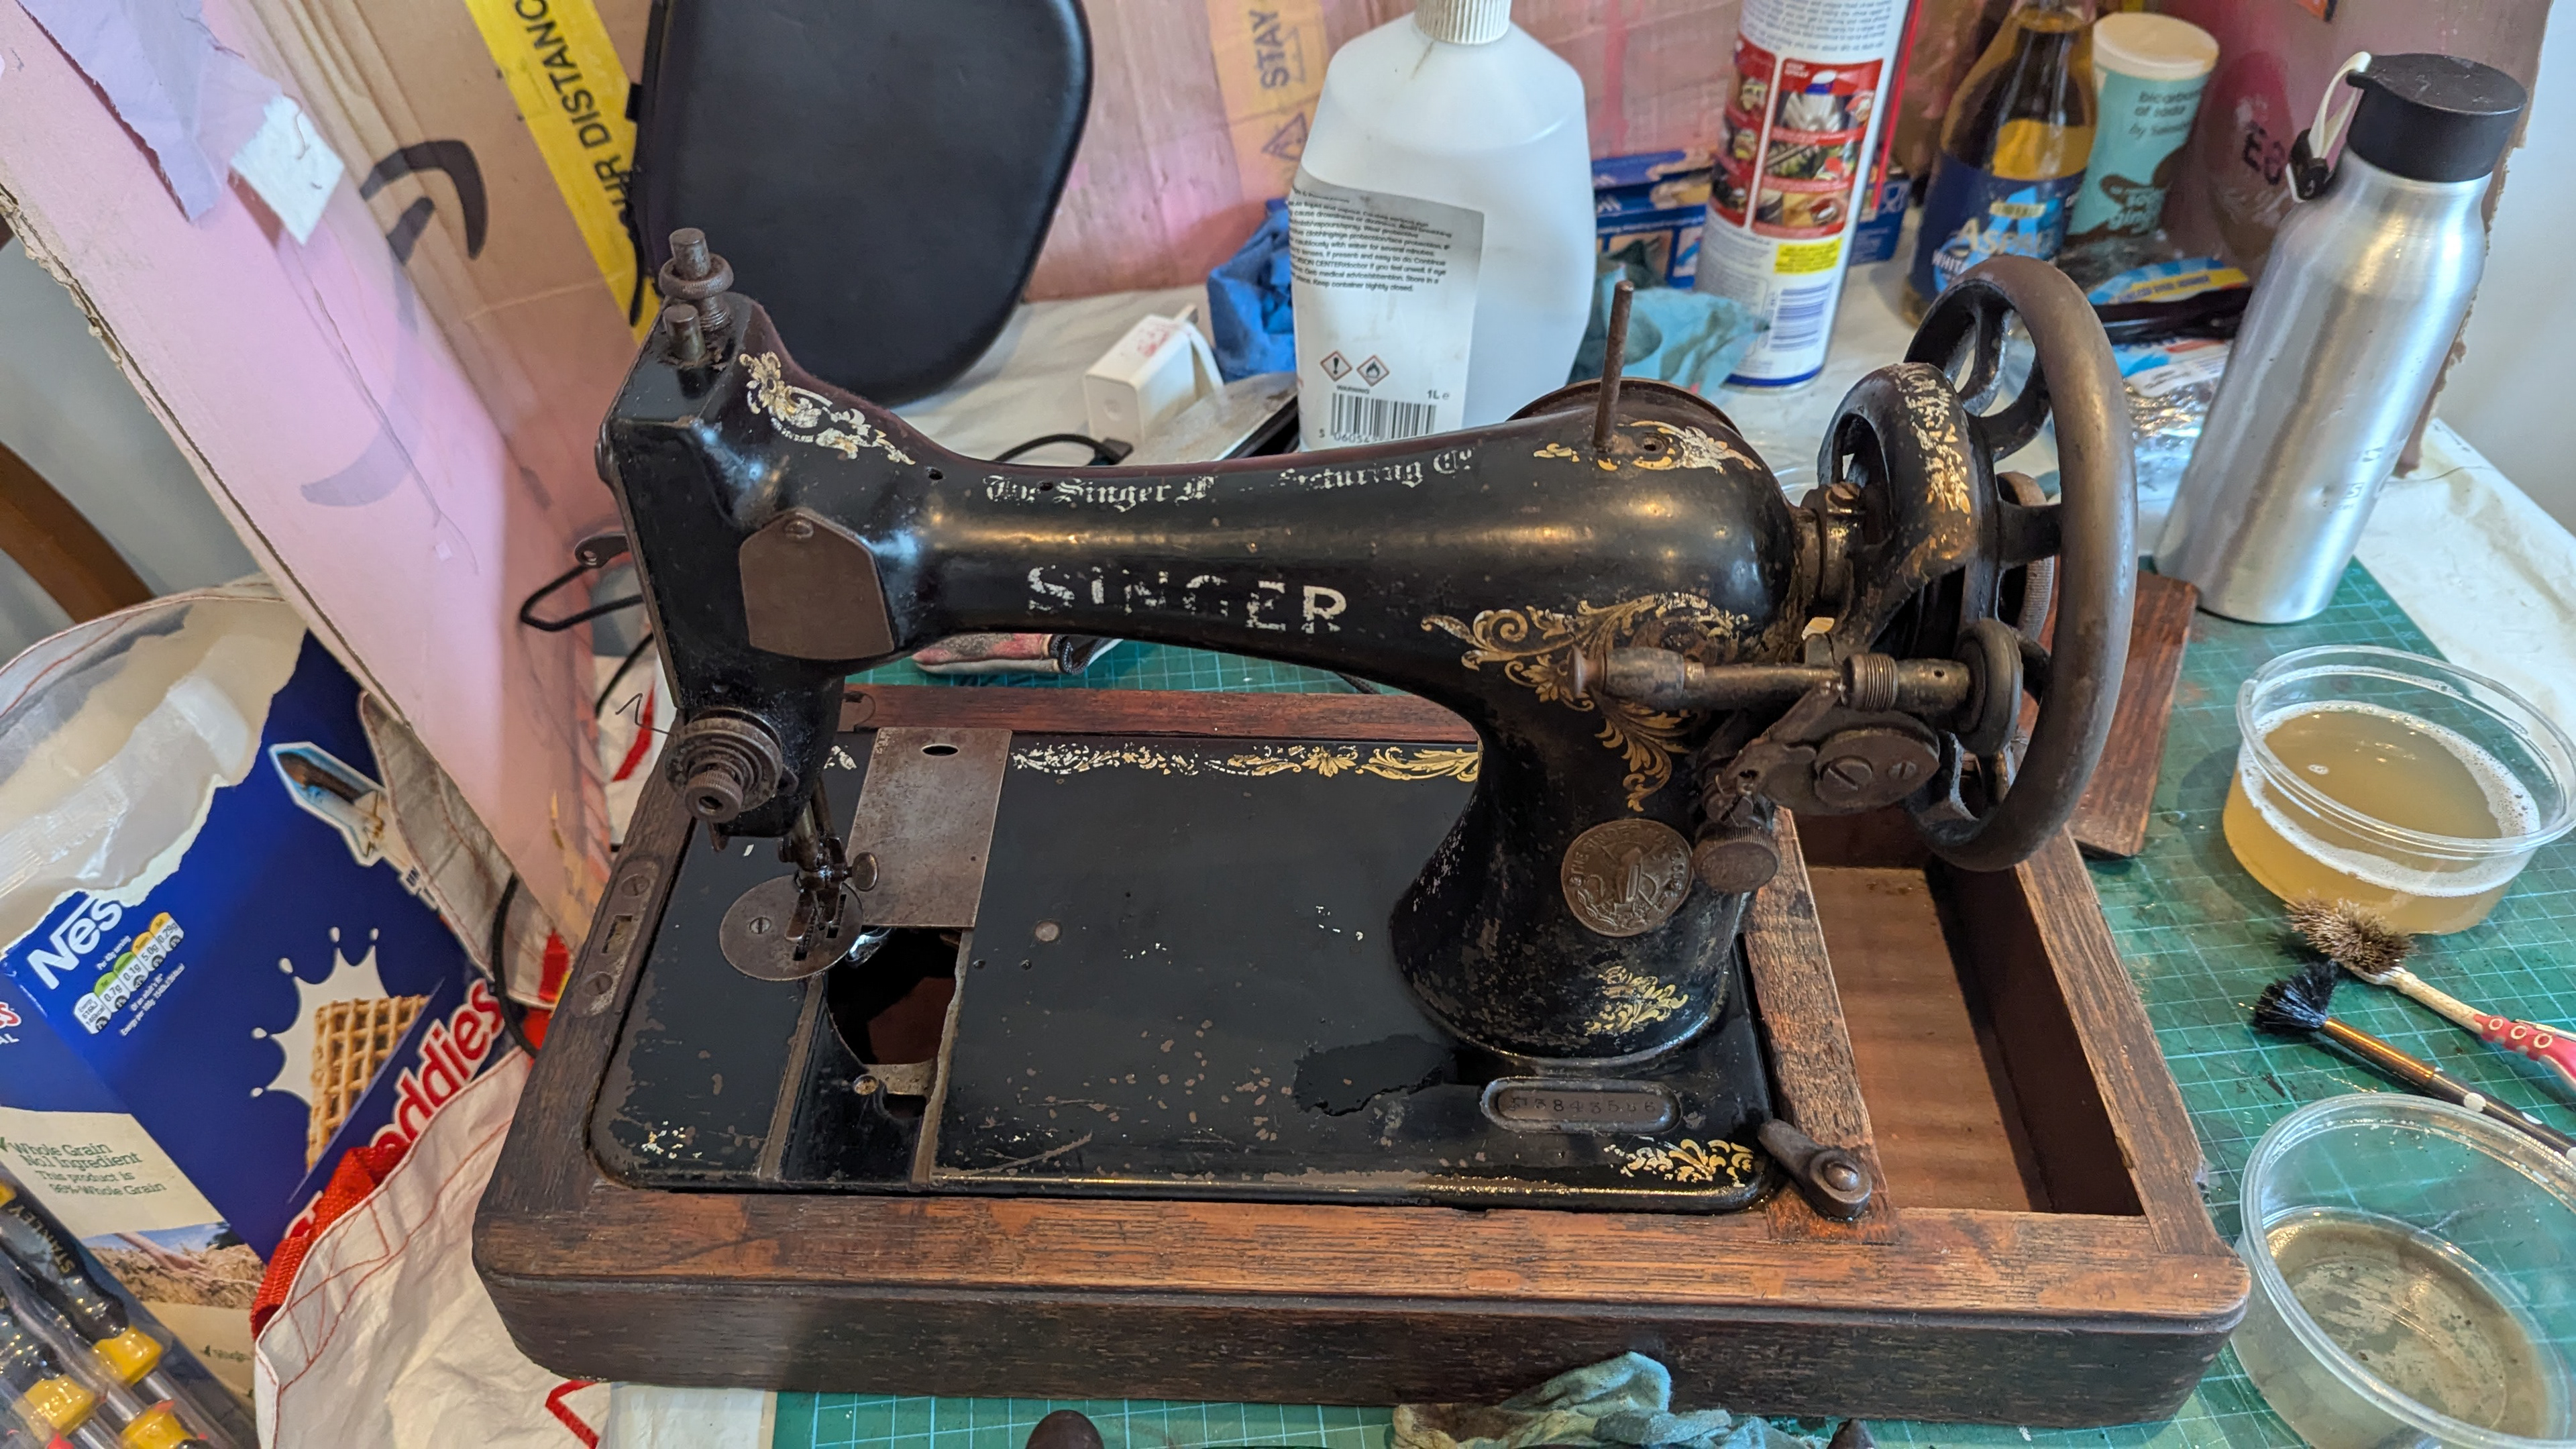
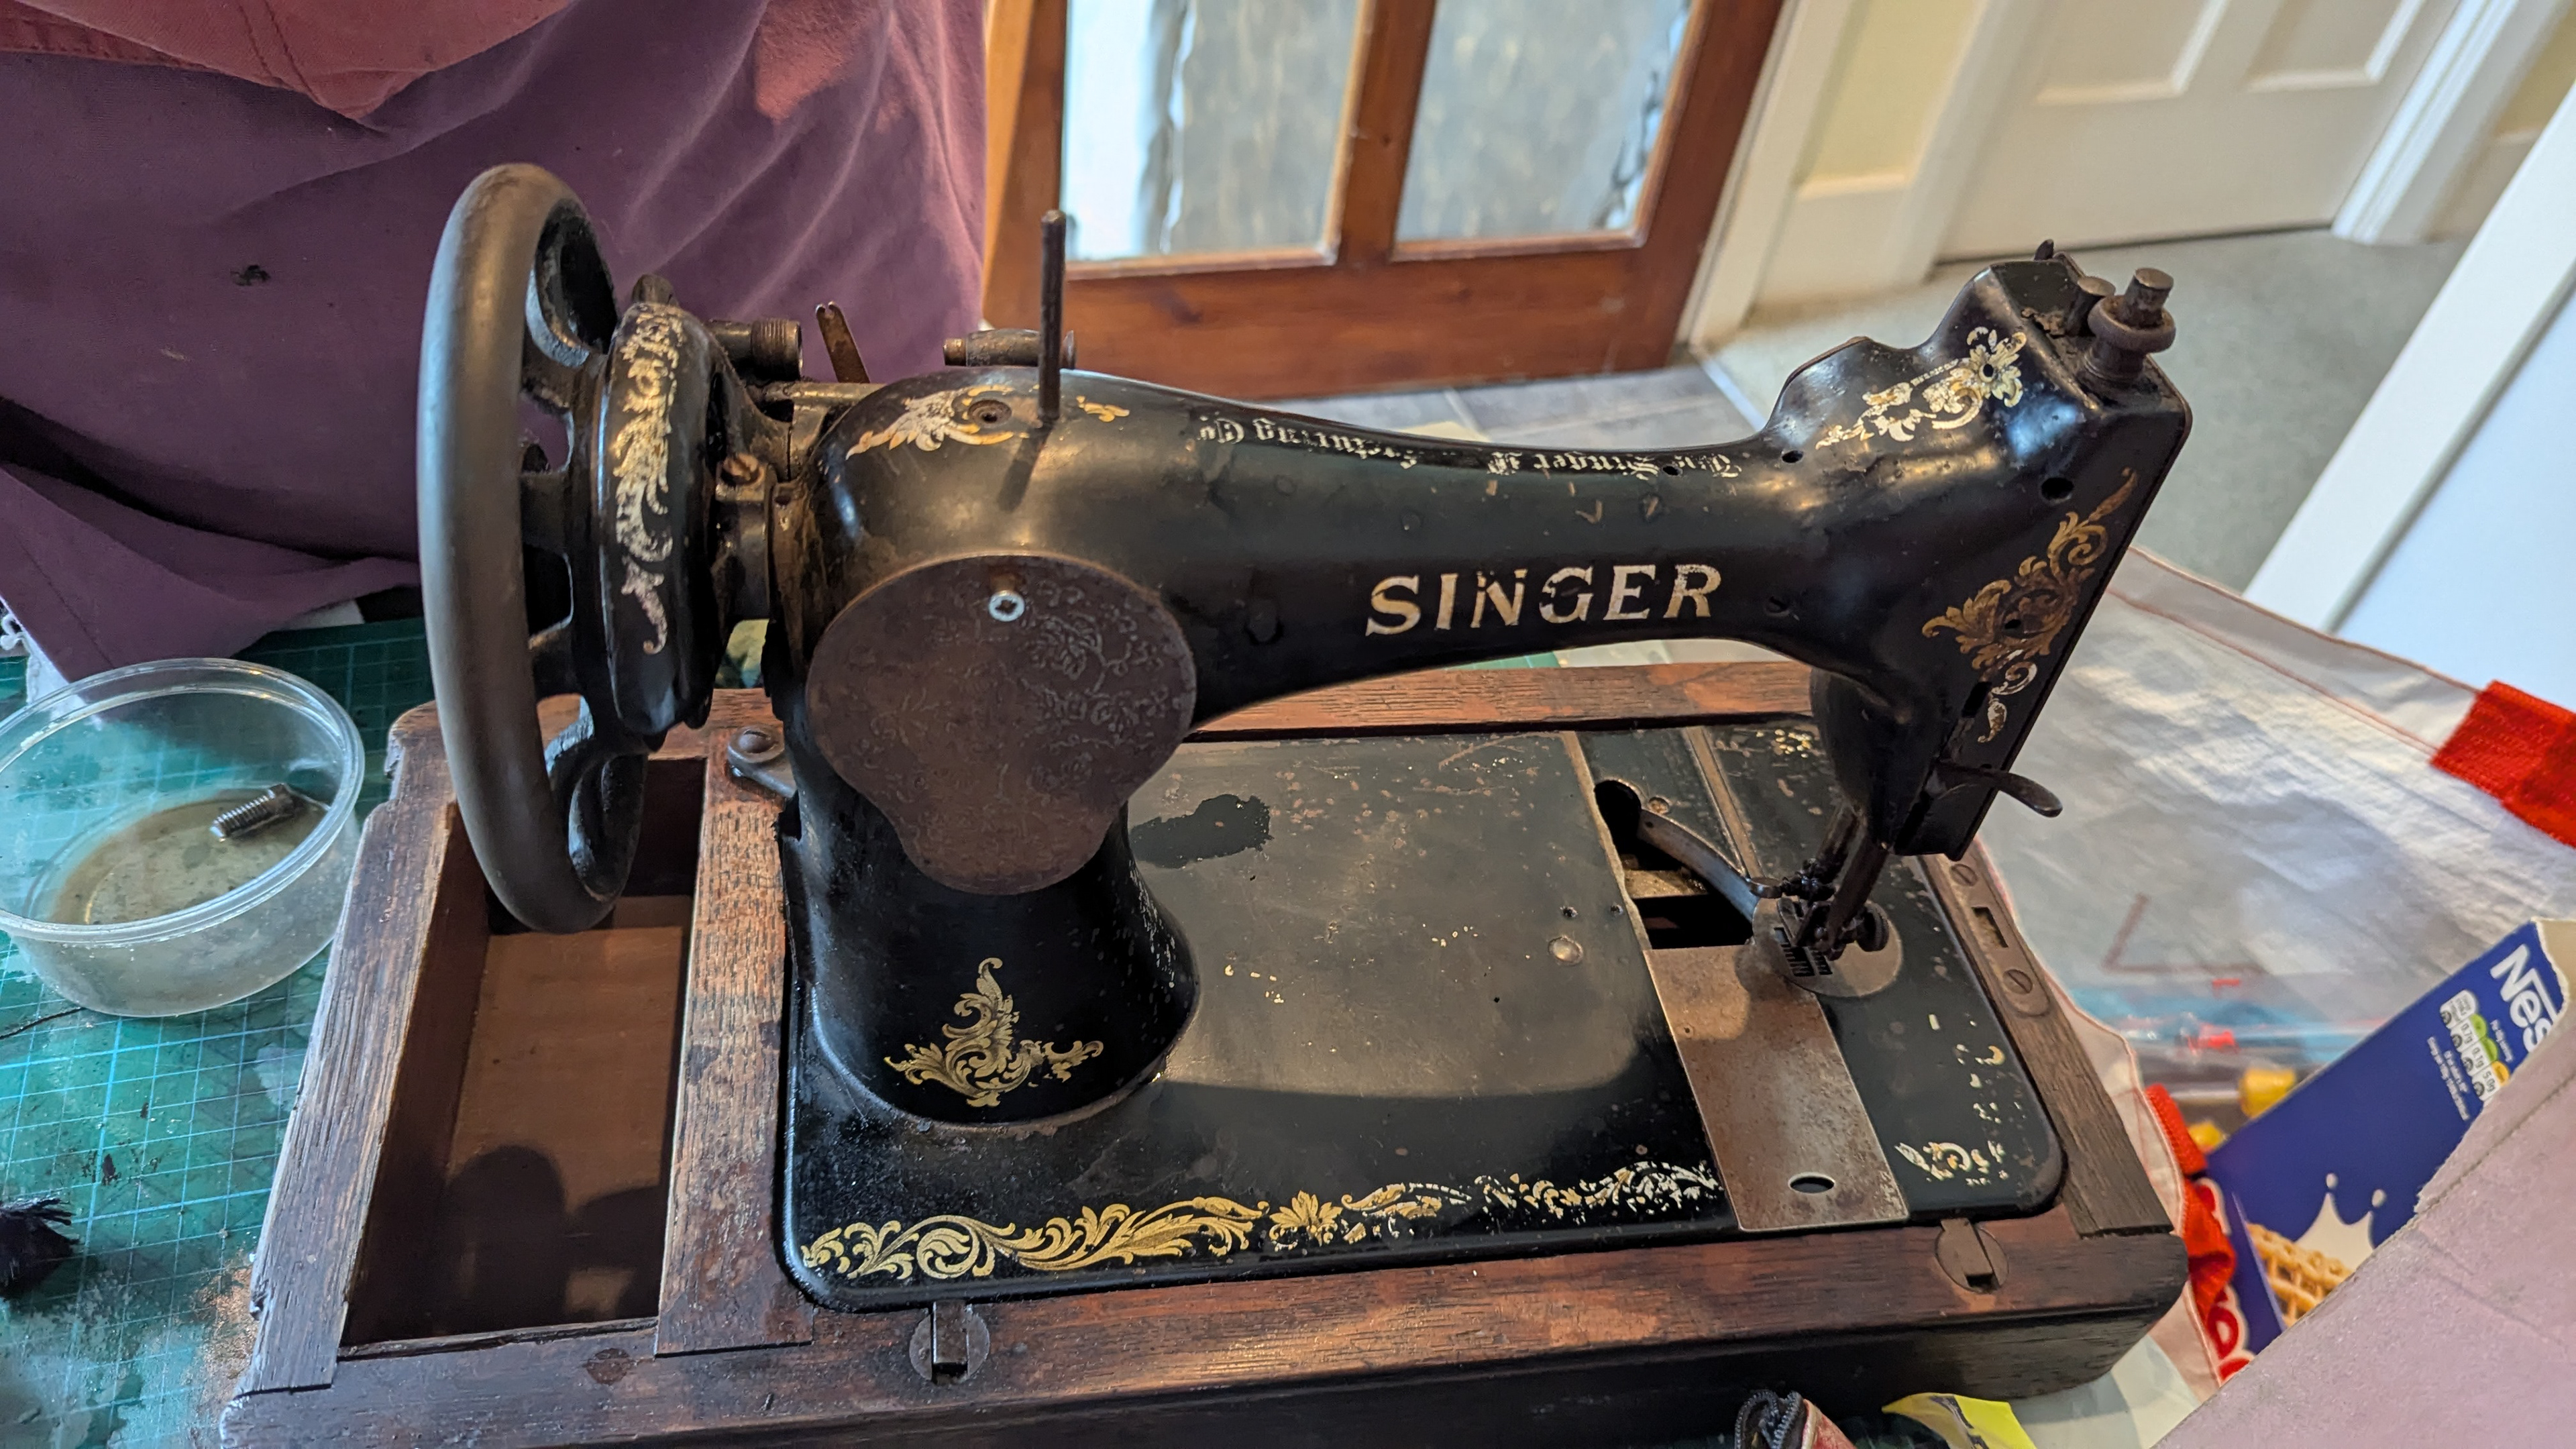
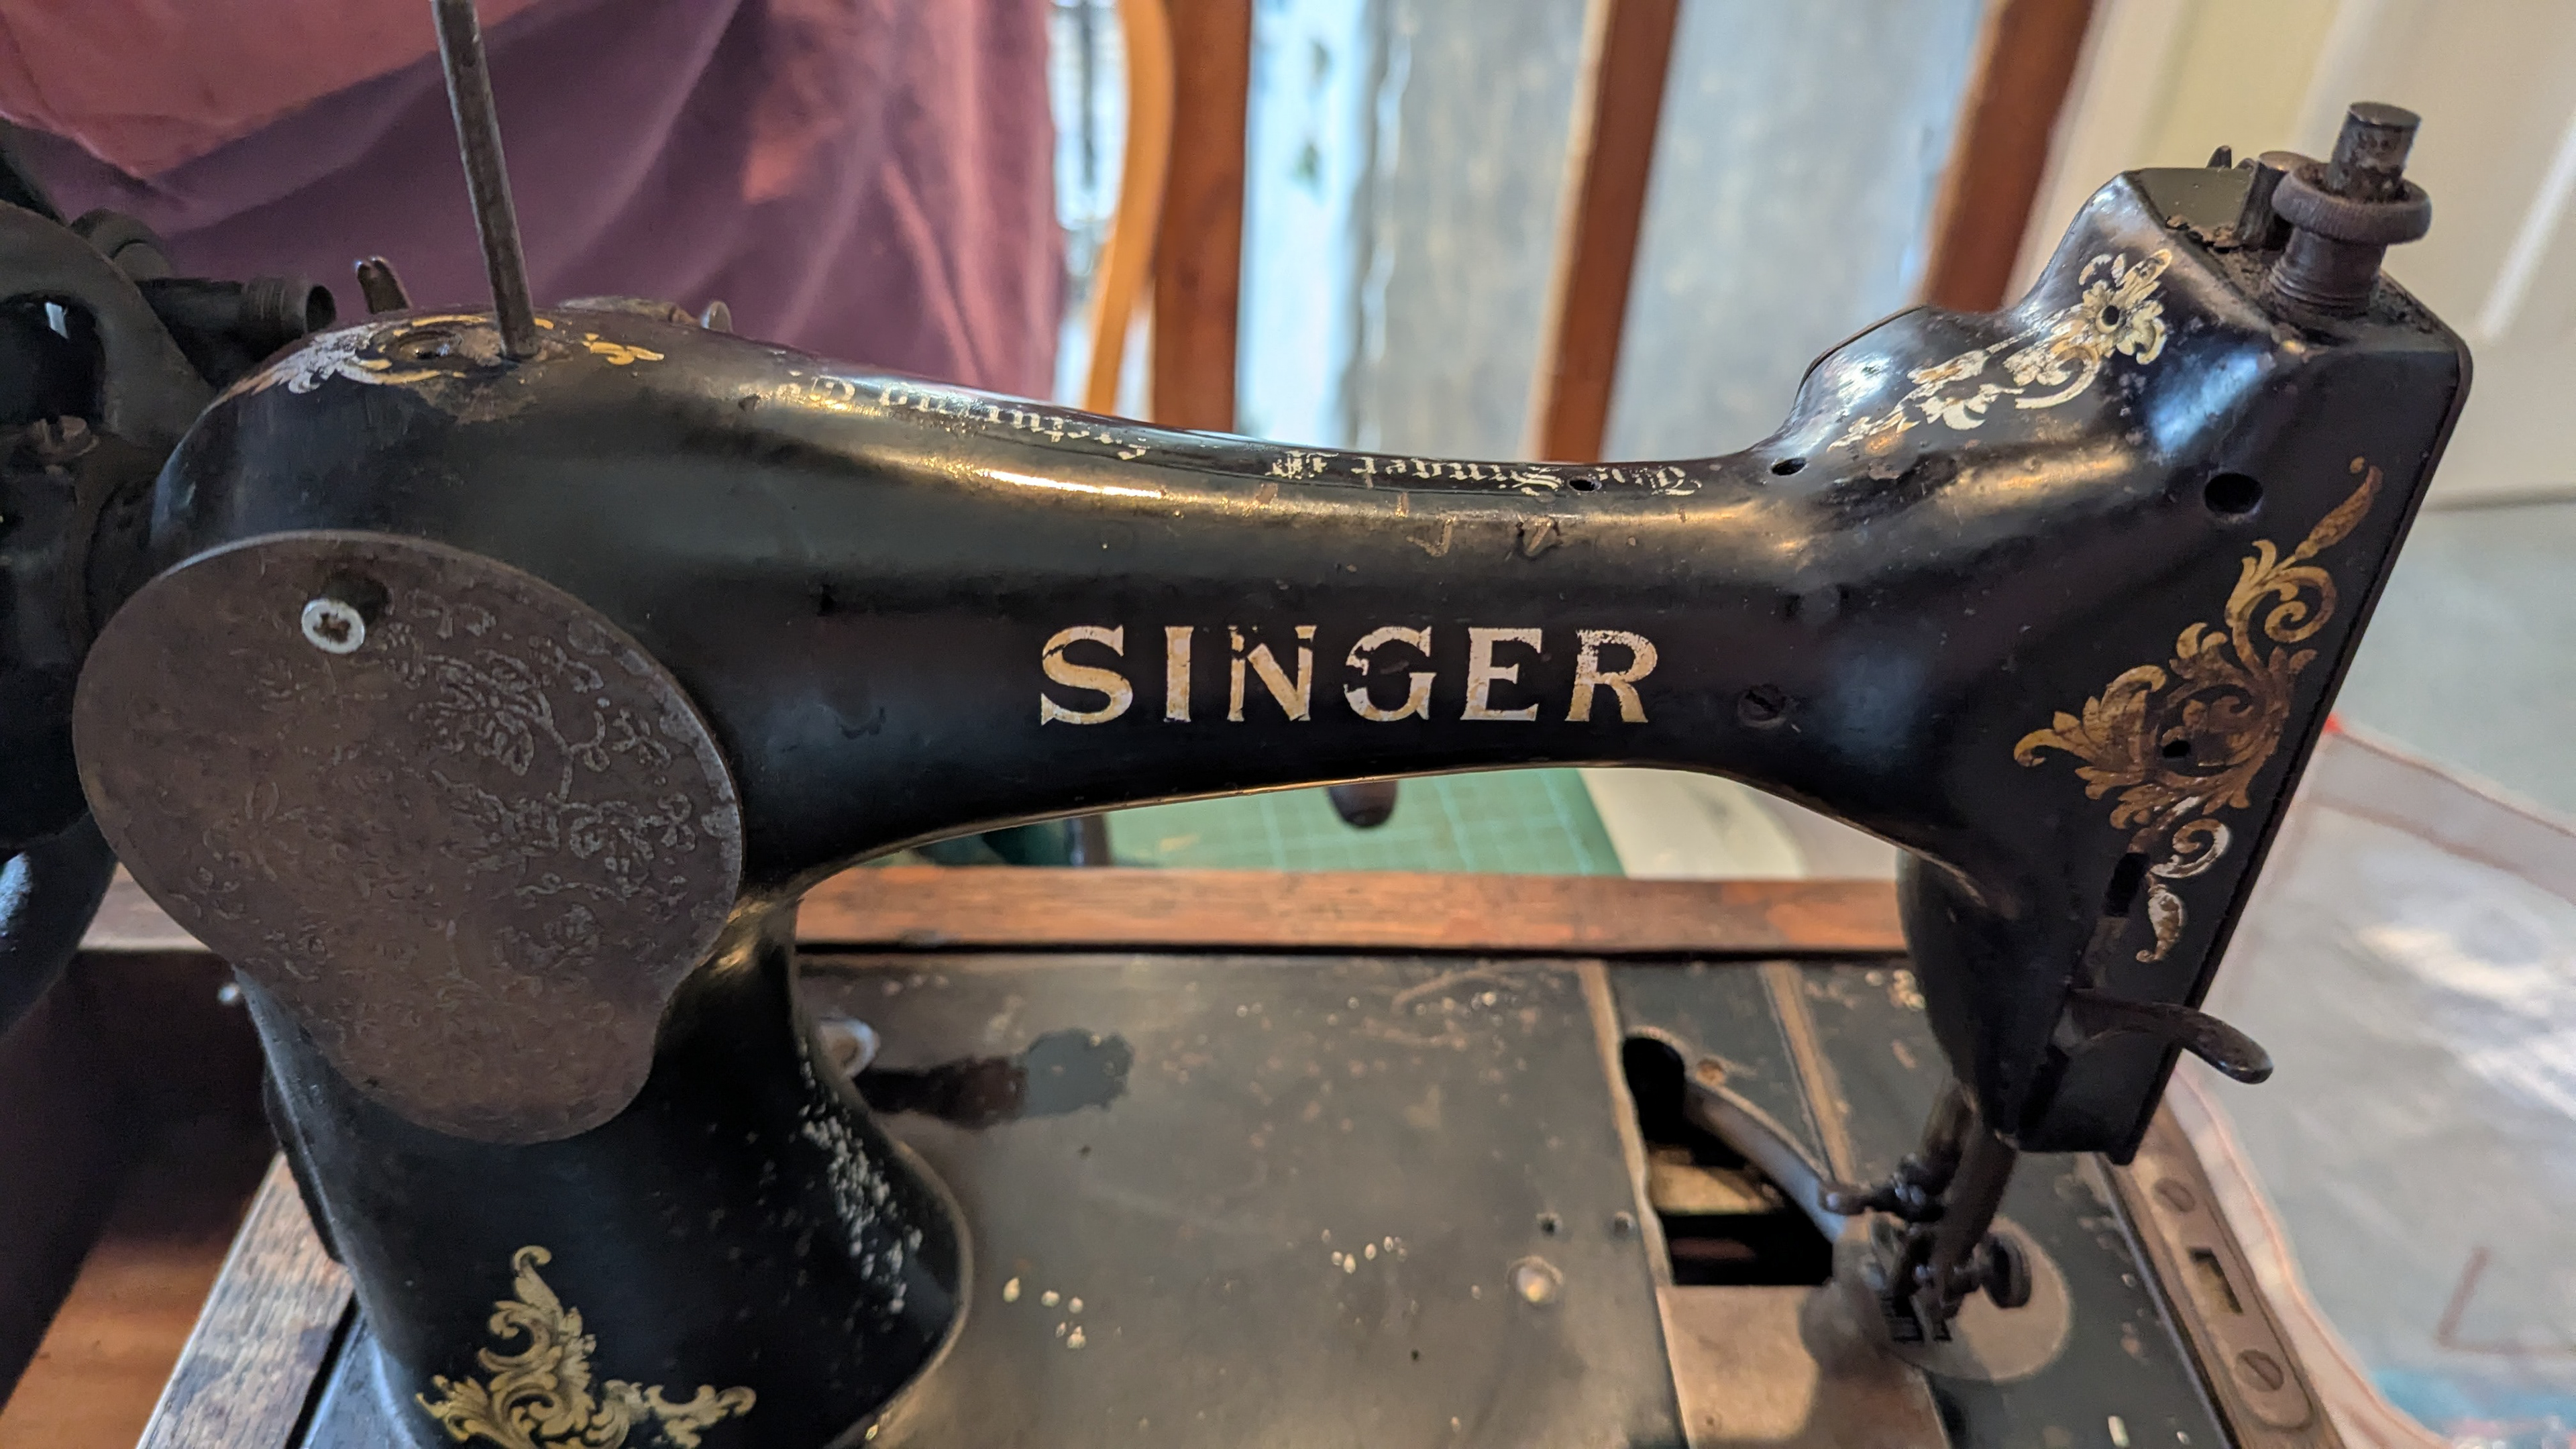
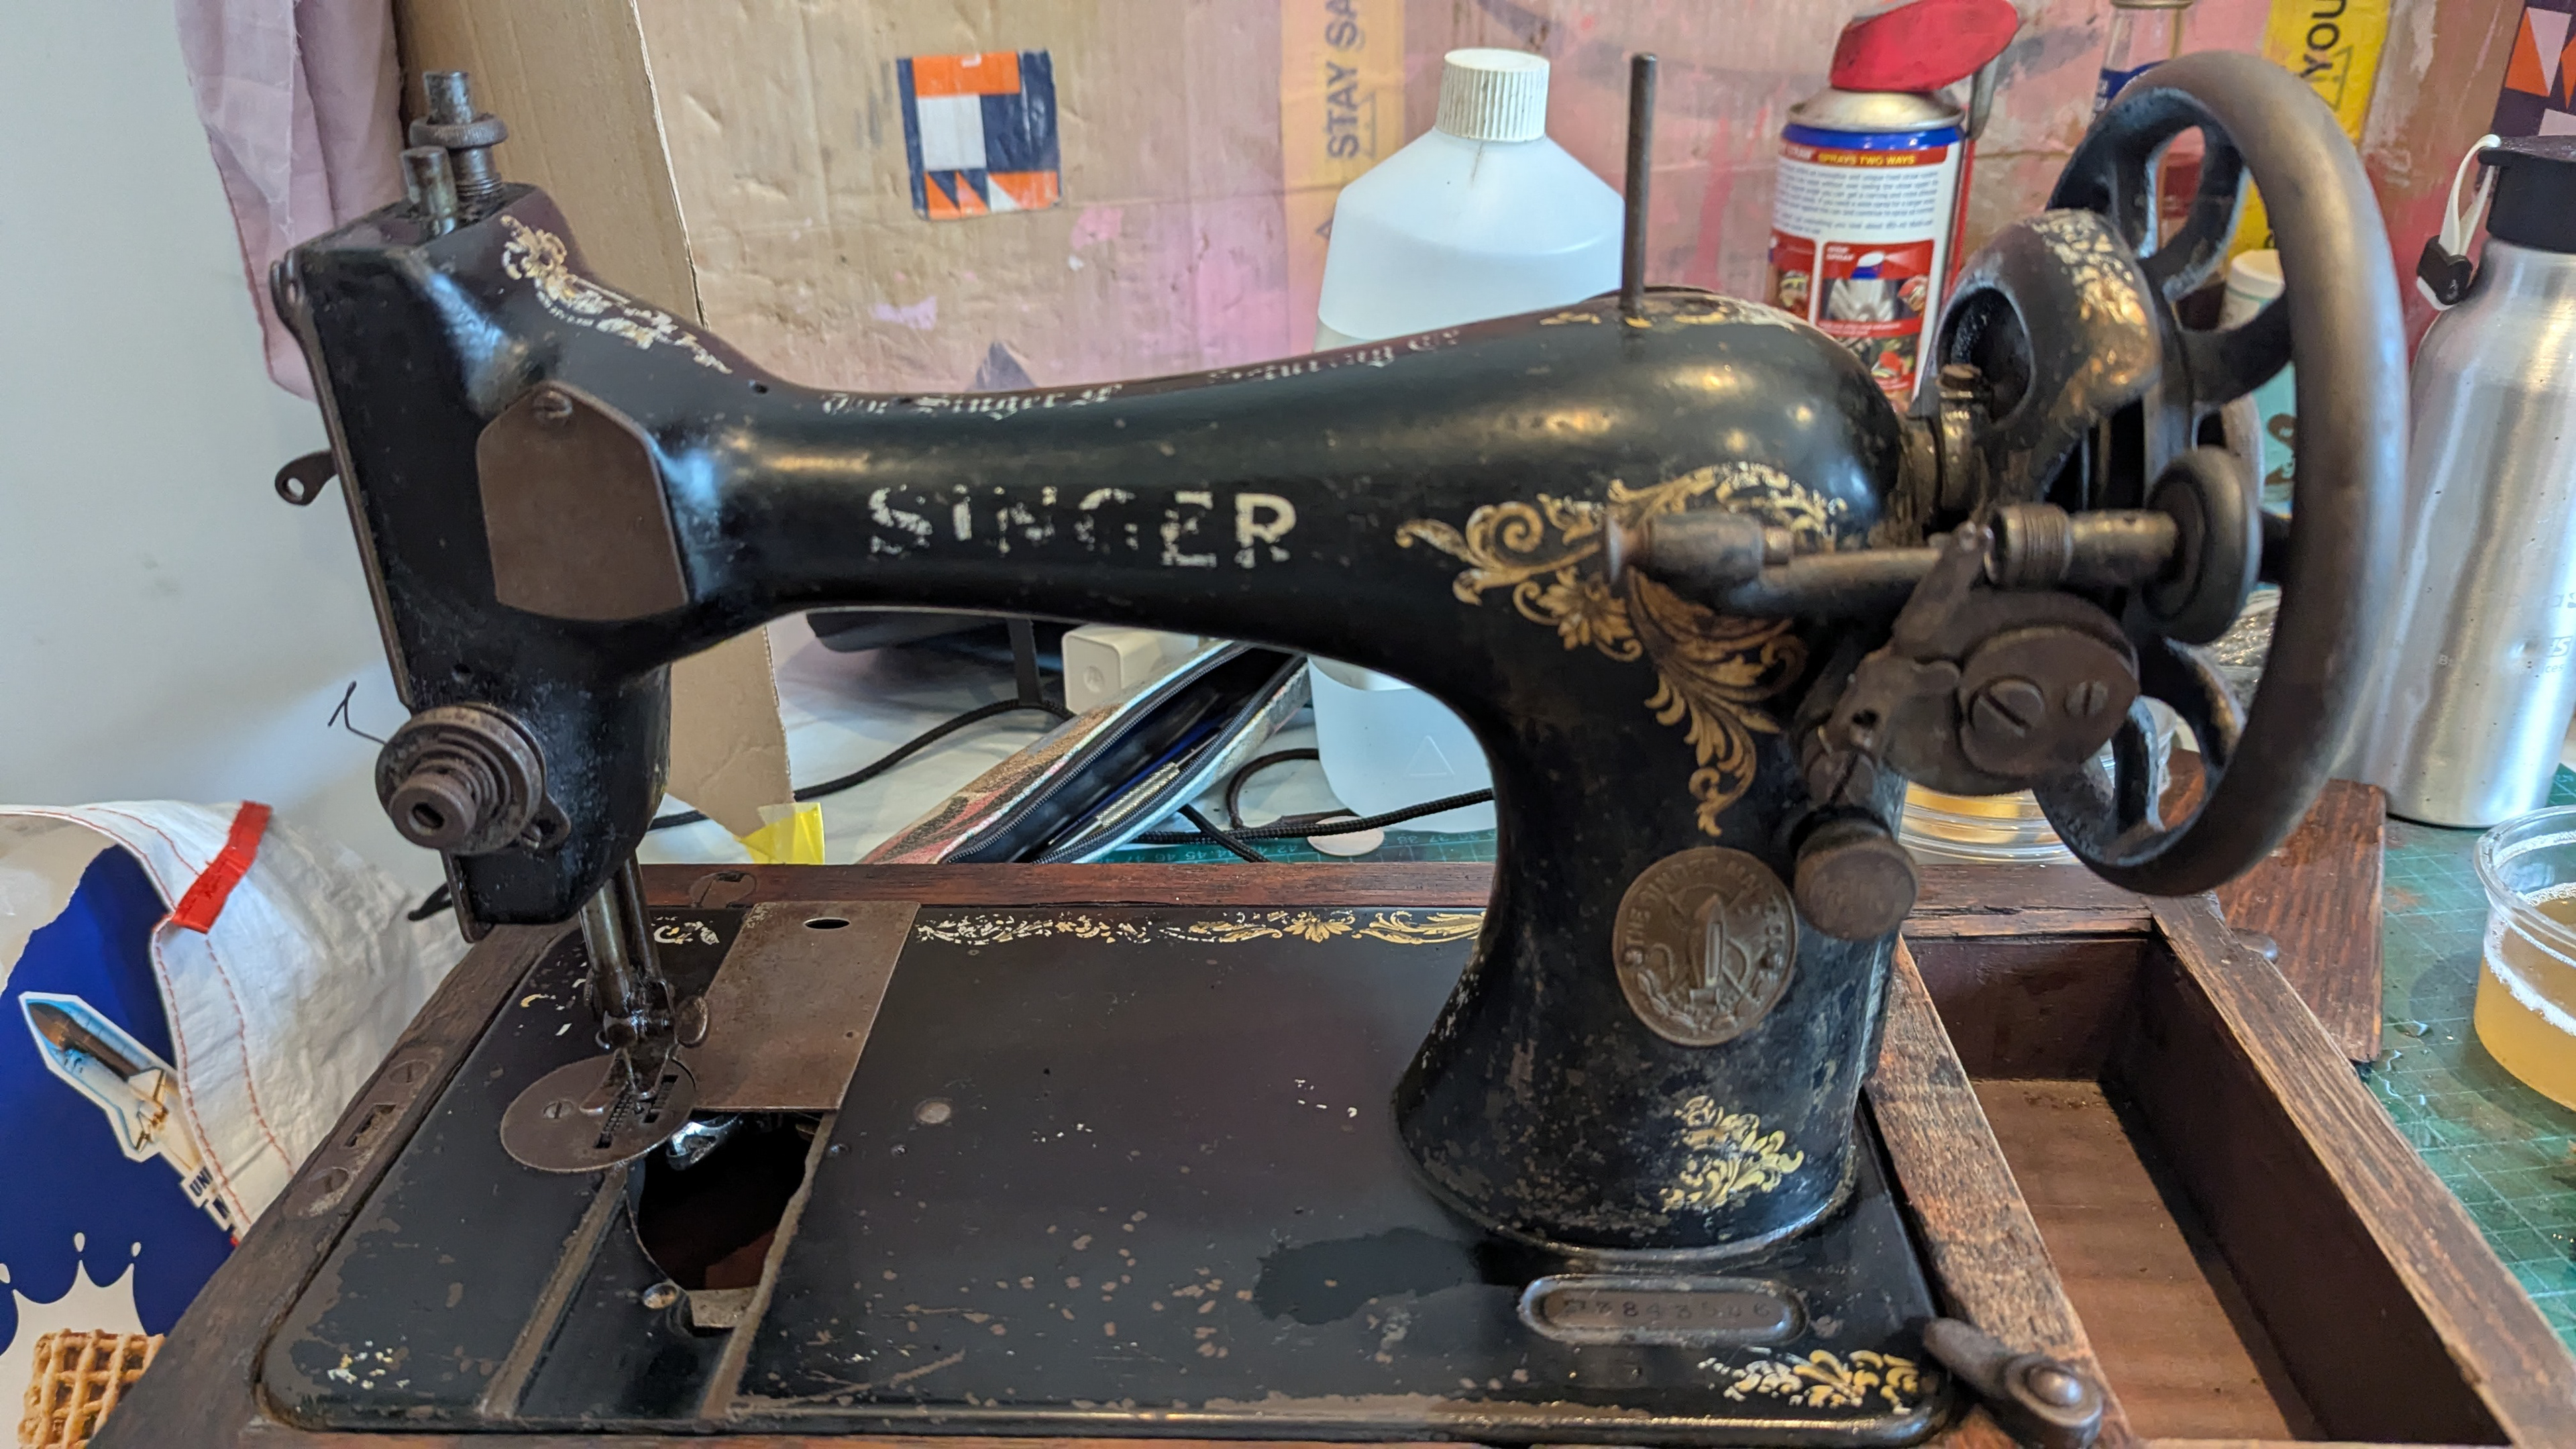
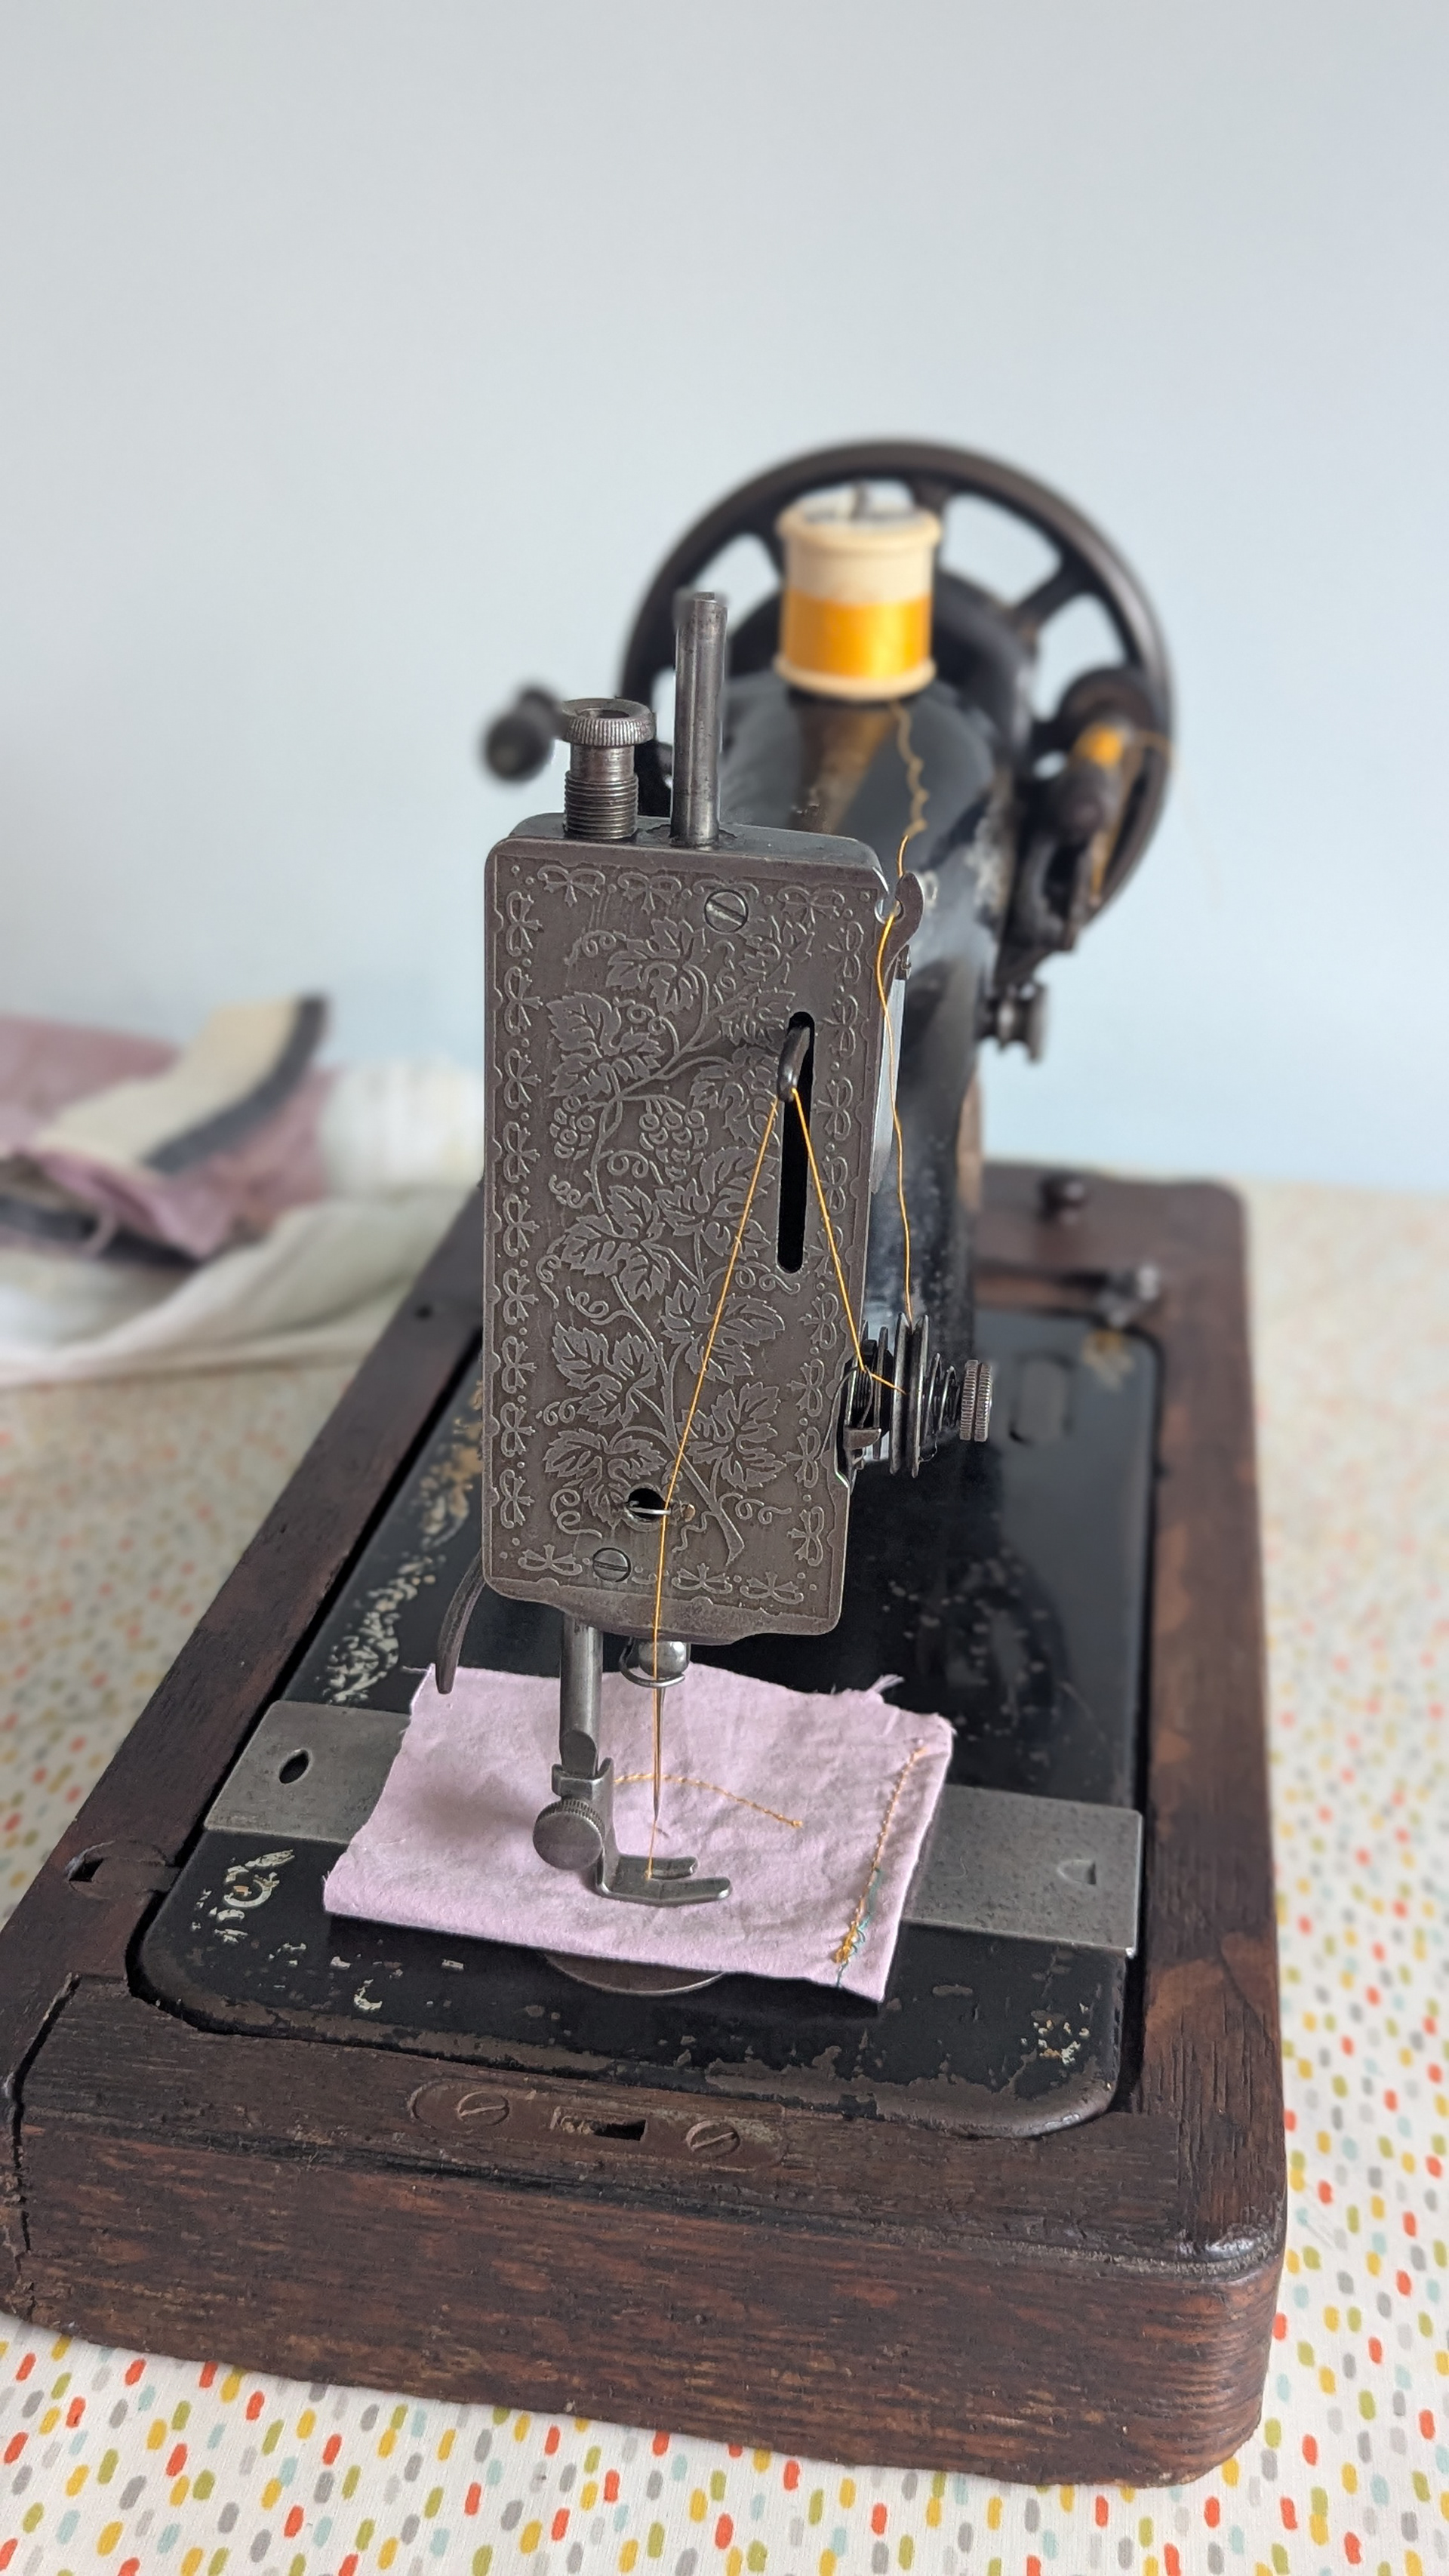
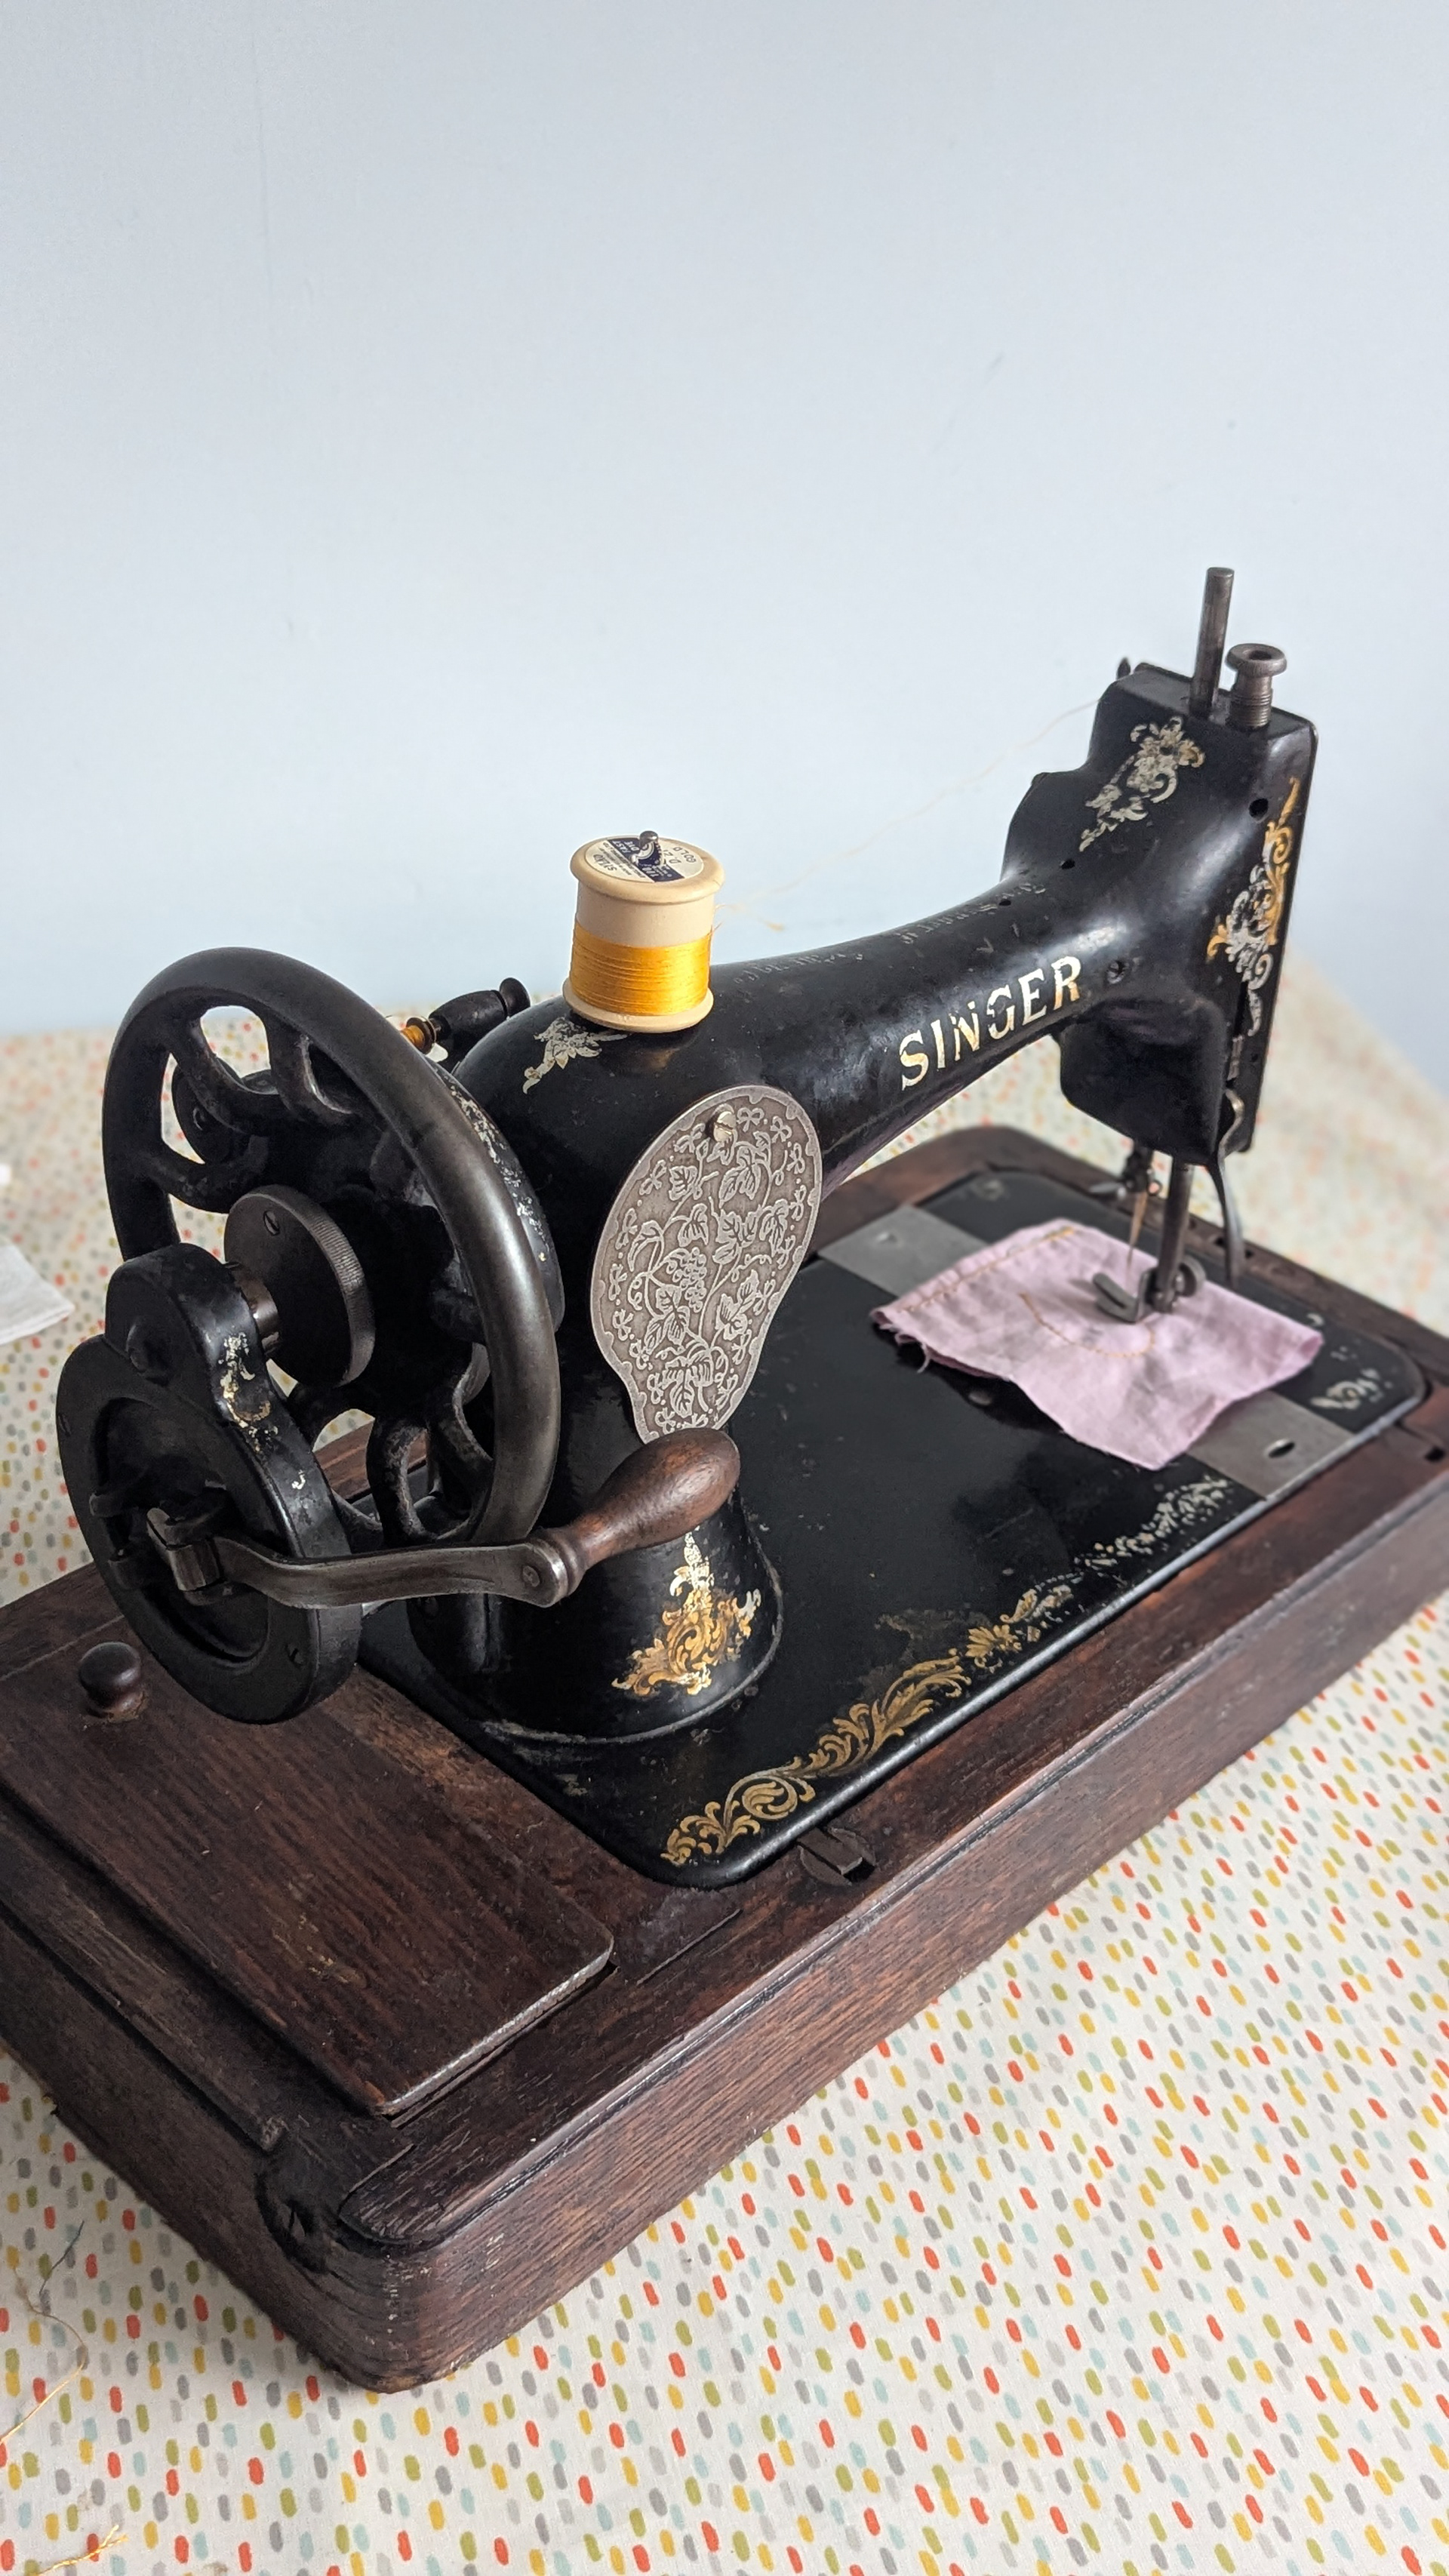
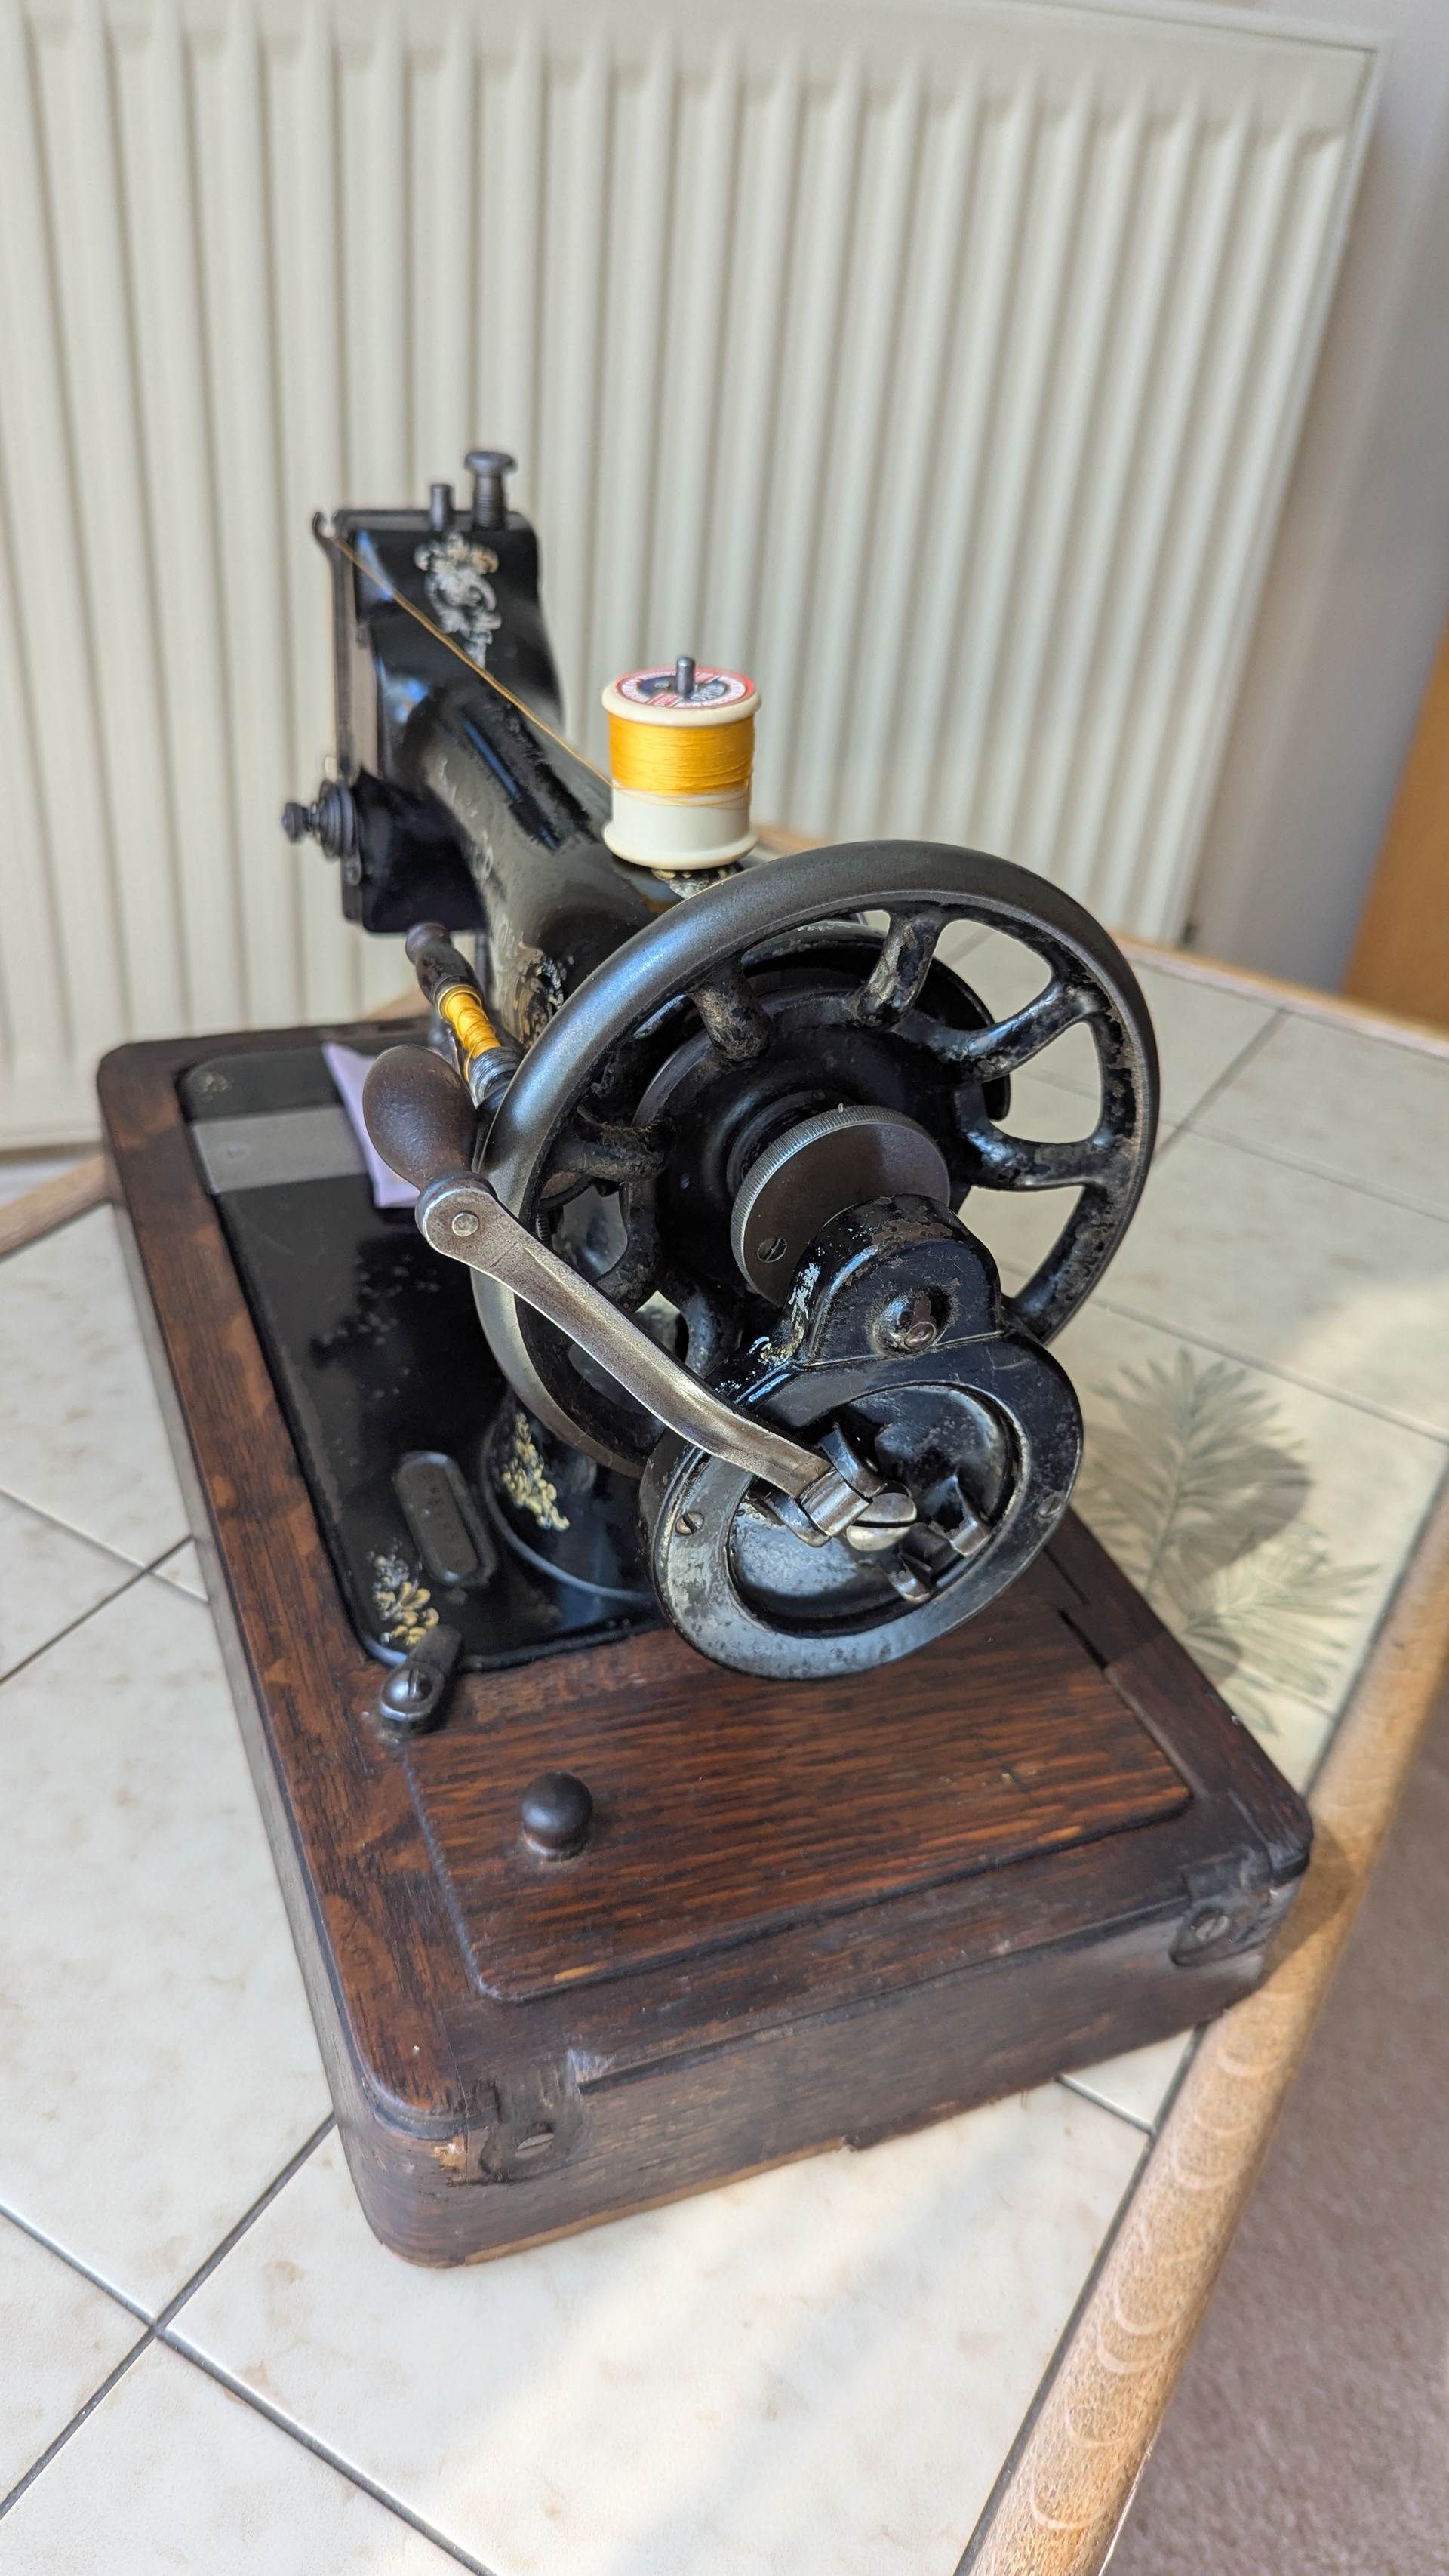
The Singer 128K after removing tons of rust and grease, now with a little cloth showing off its neat stitch.
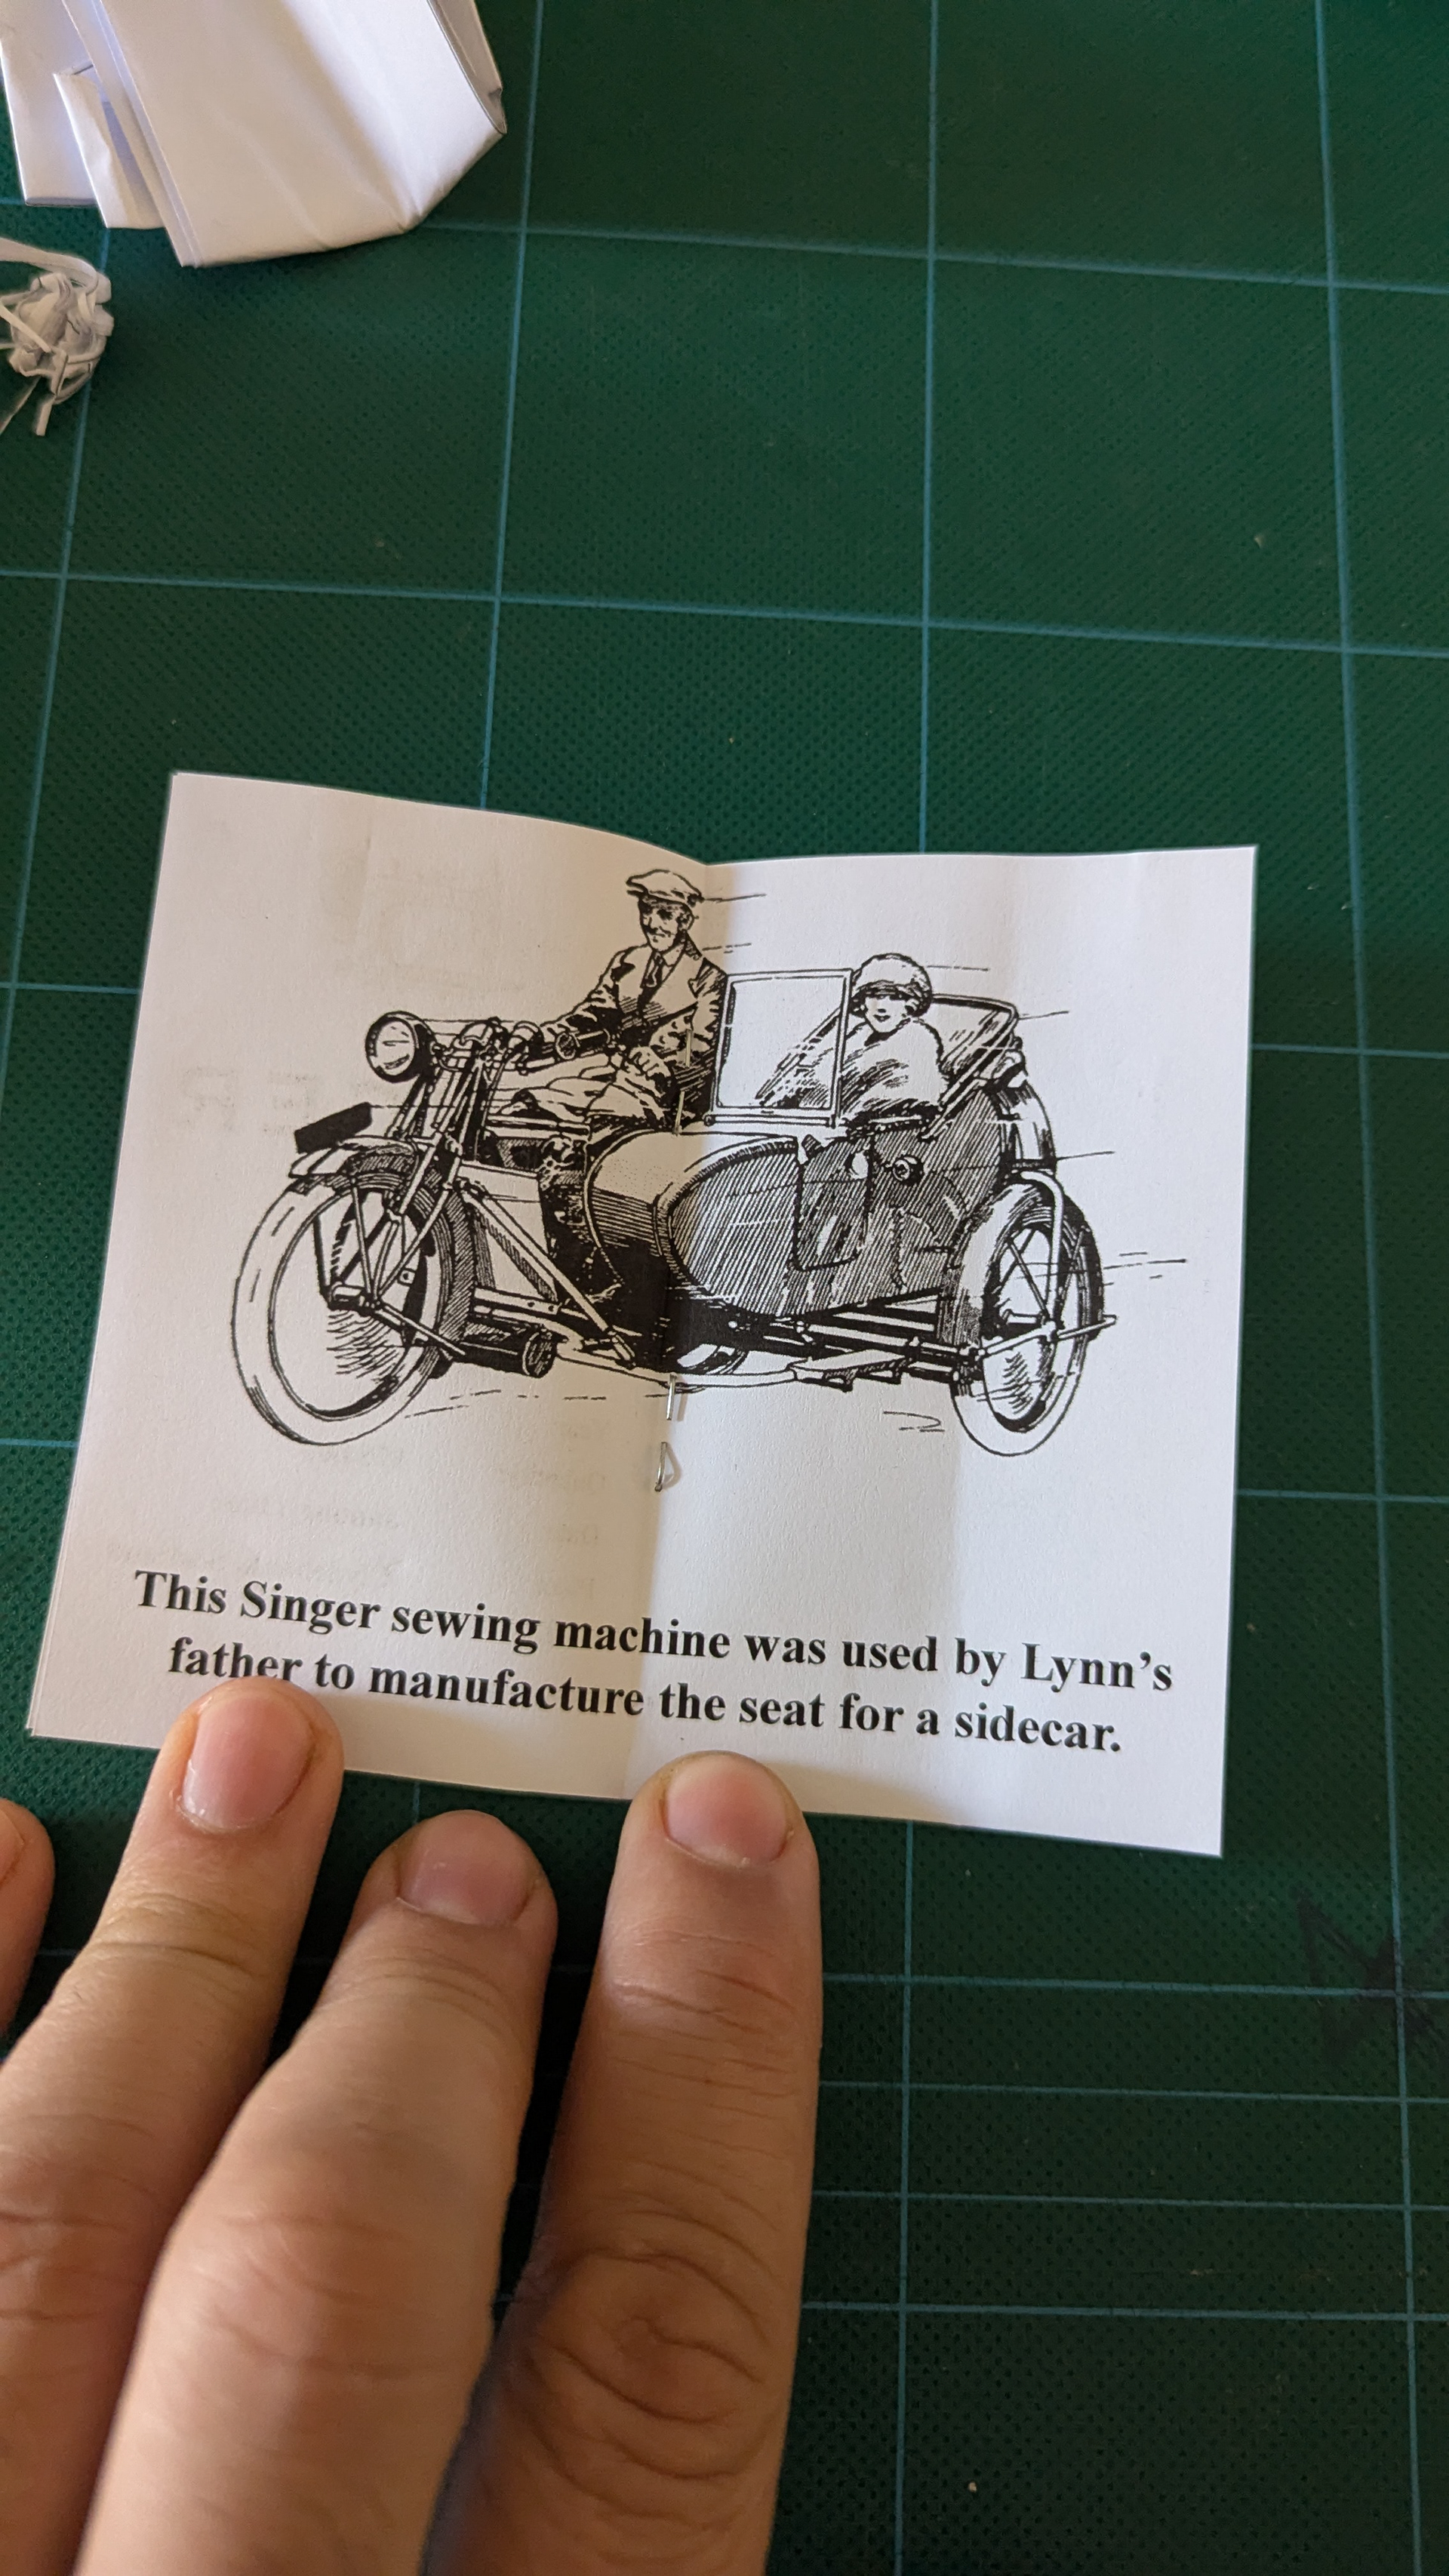
During Easter 2025 I had the opportunity to work on this Singer 128K. It was stored for a while, unused and a apparently exposed to damage. Chatting with Lynn, its current owner, we learnt that the machine was used by her father, and that he even saw the seats for a sidecar with it! The machine has a sentimental value and it was ideal to bring it back to a working order, so Lynn can bring all those lovely memories back and also make good use of it.
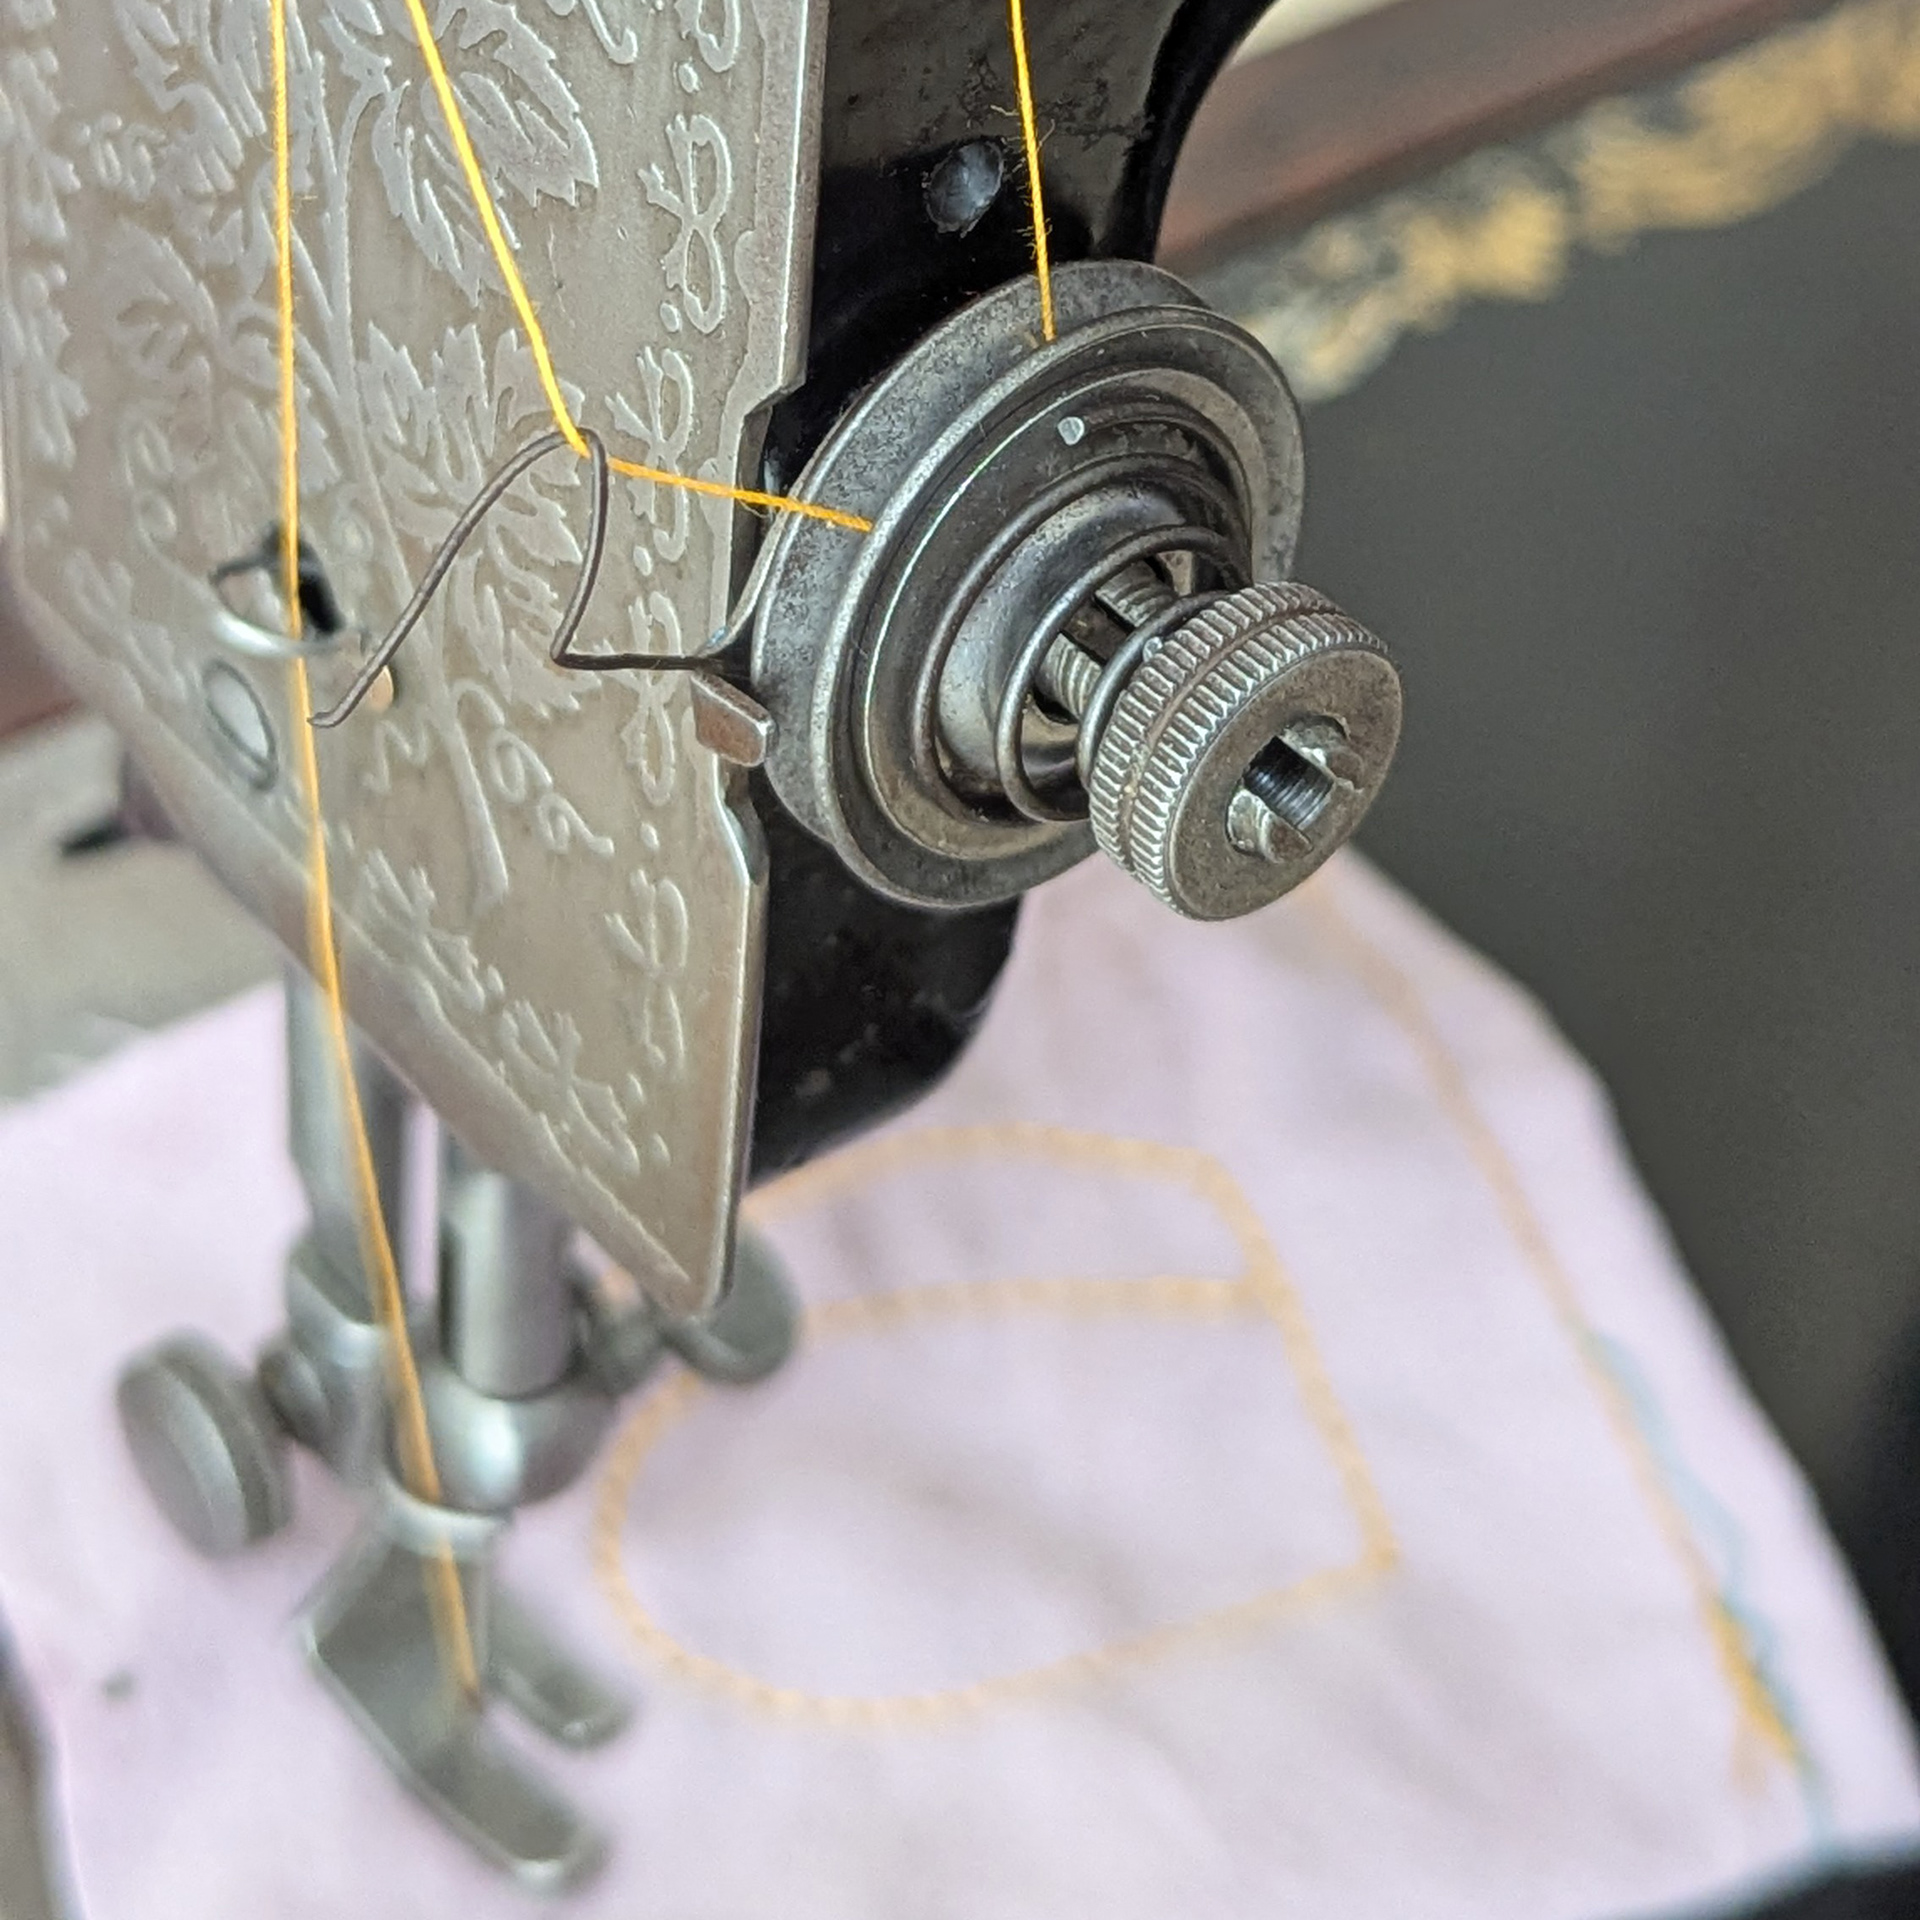
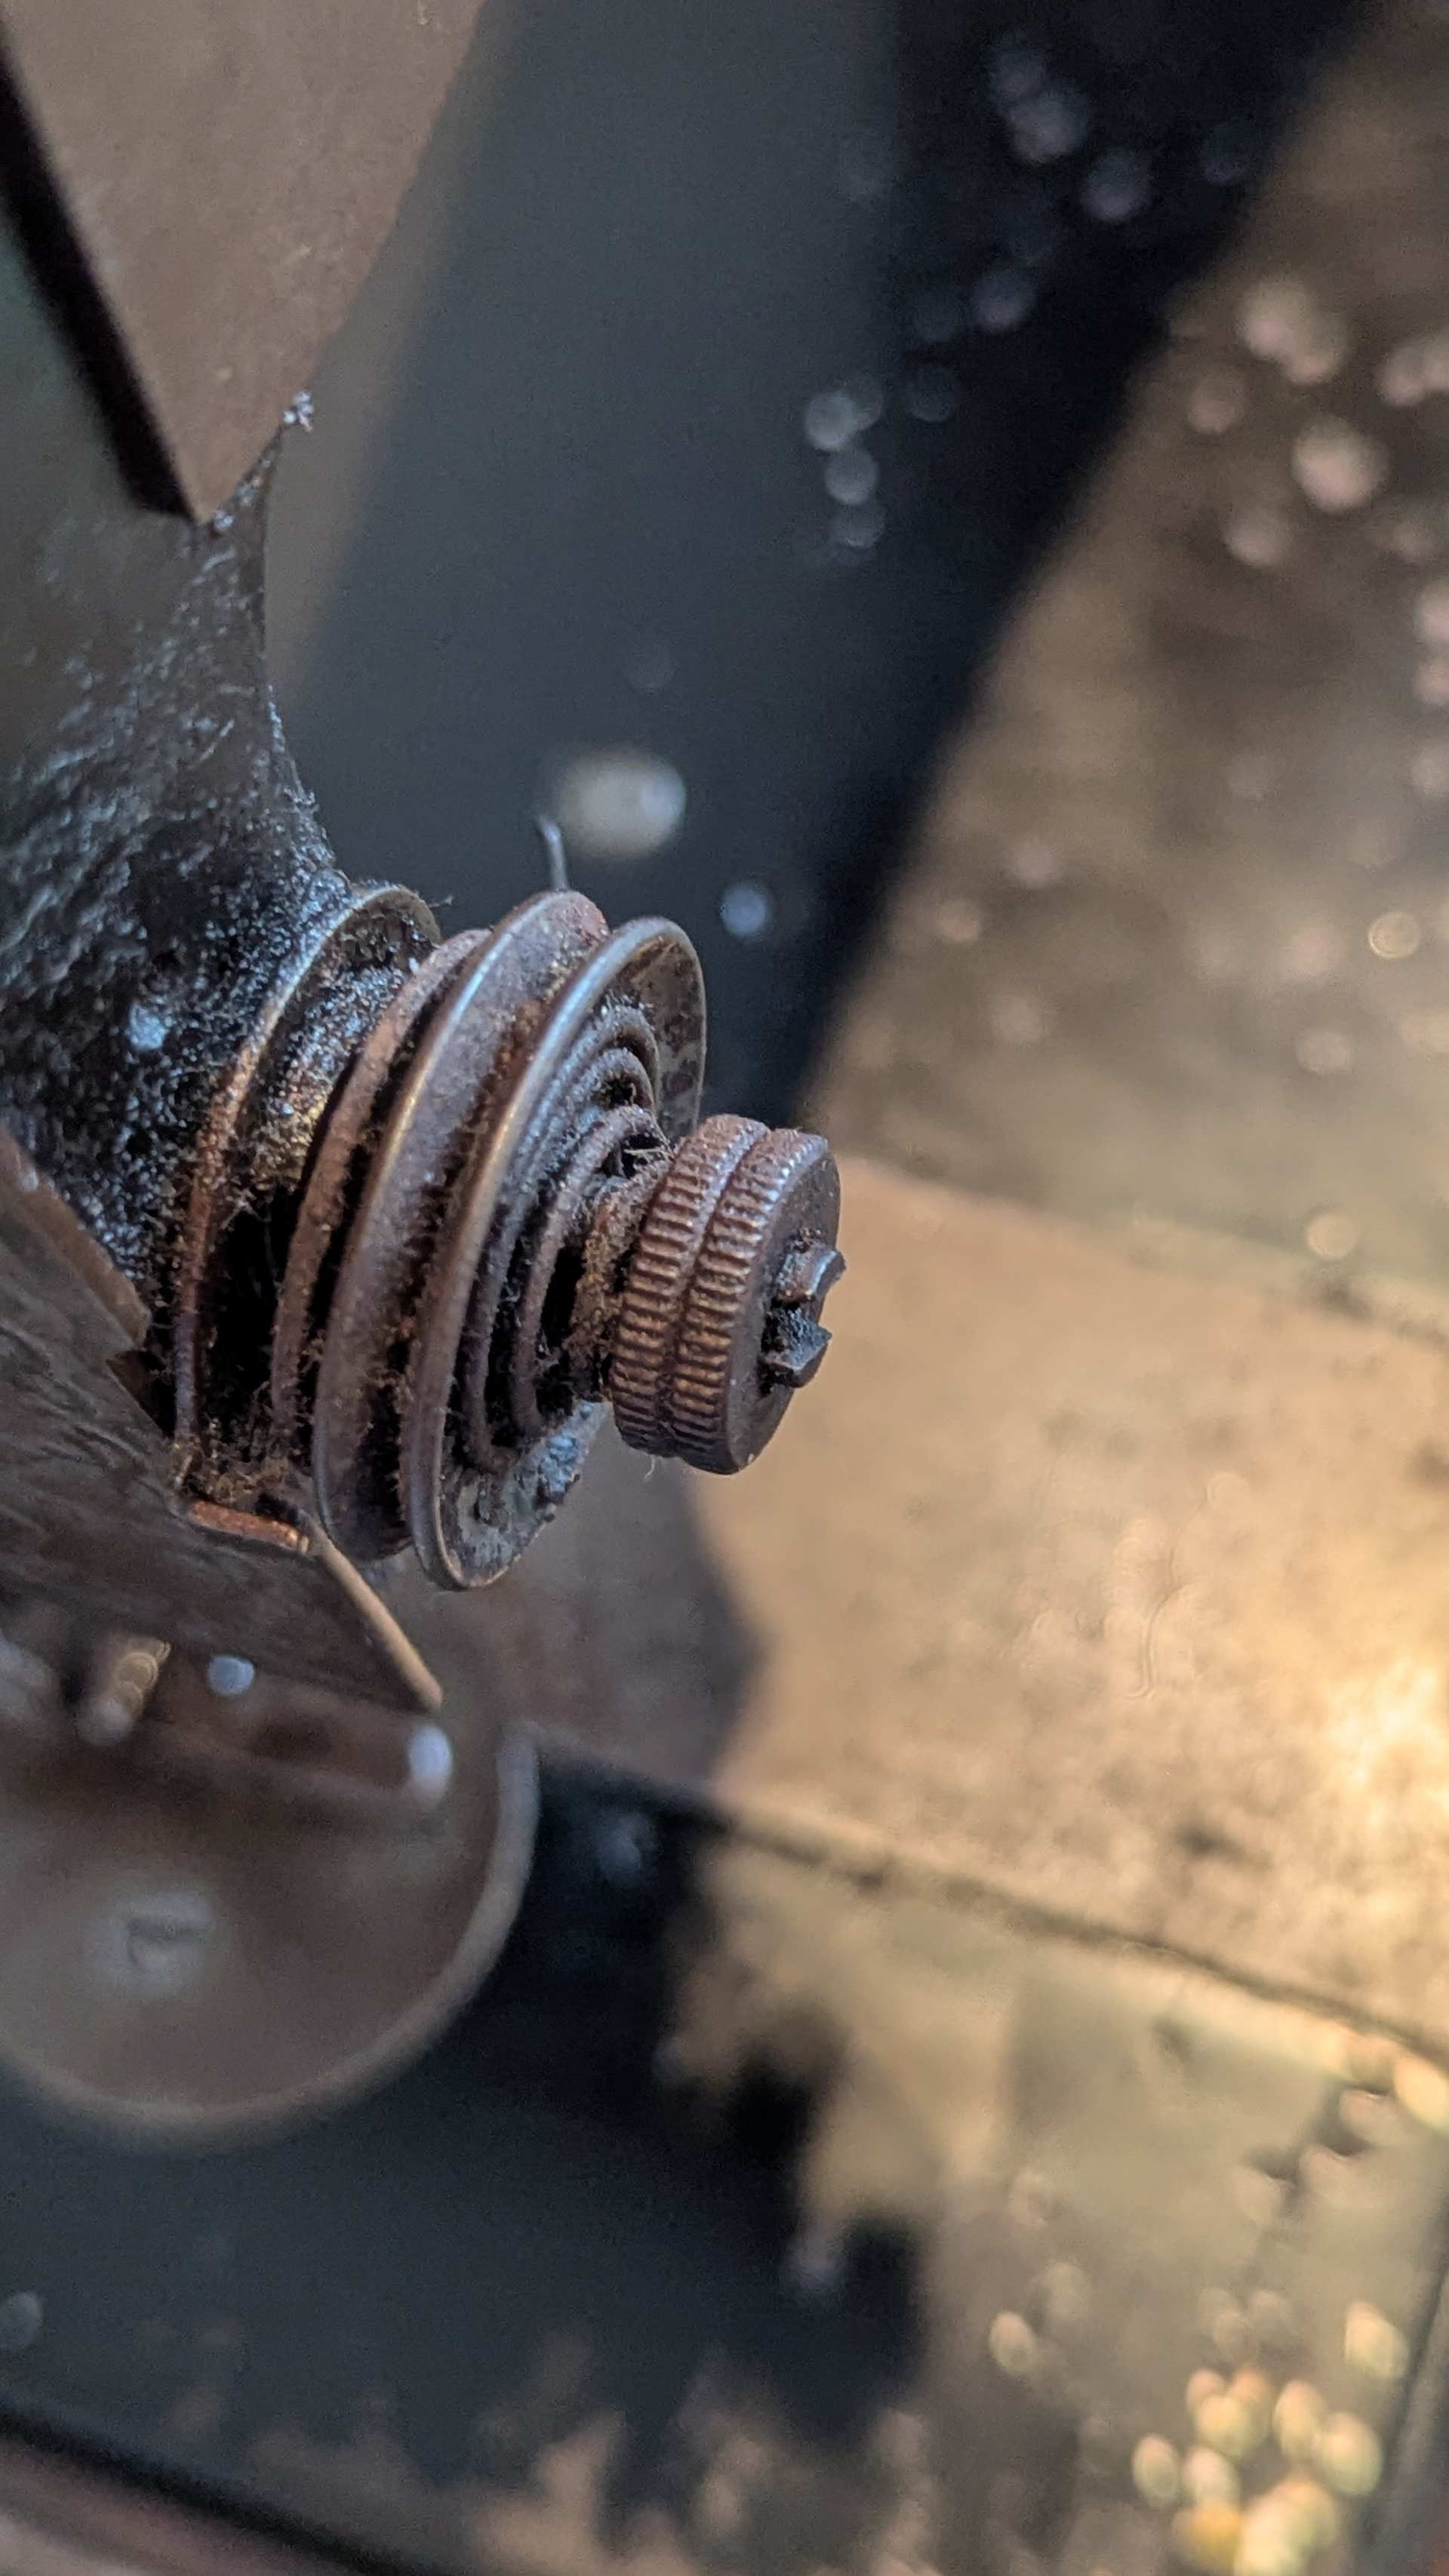
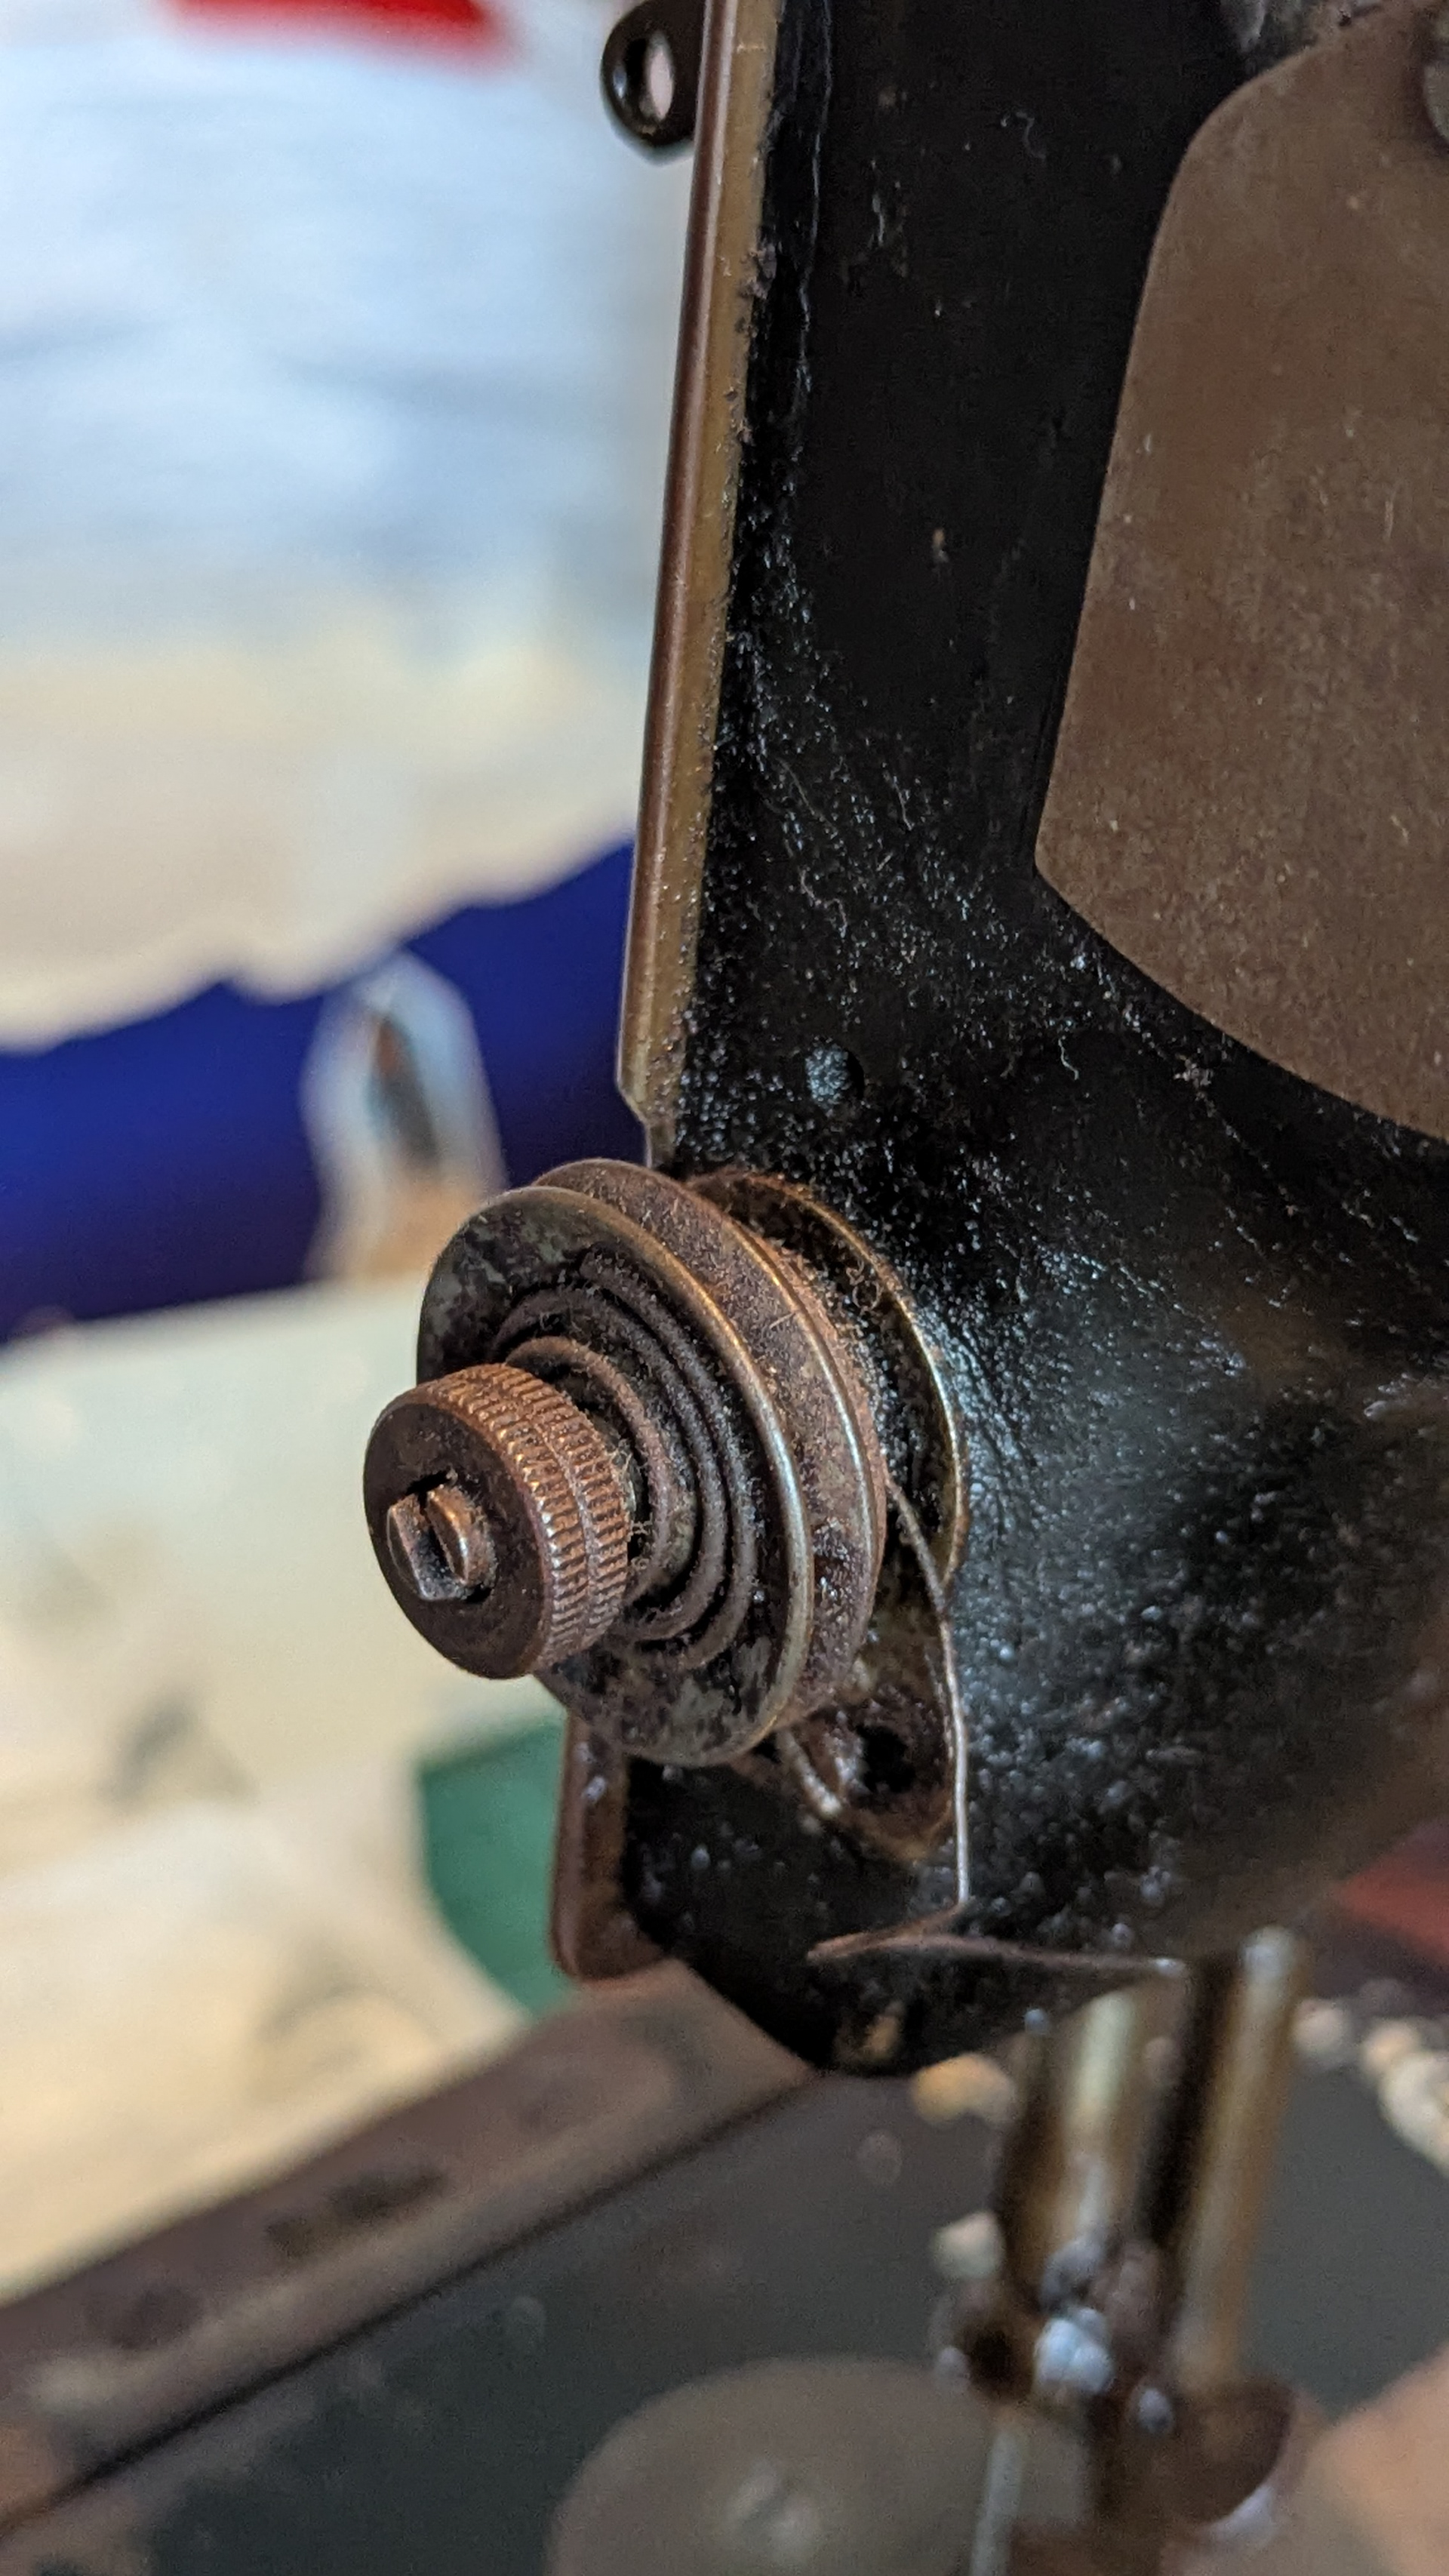
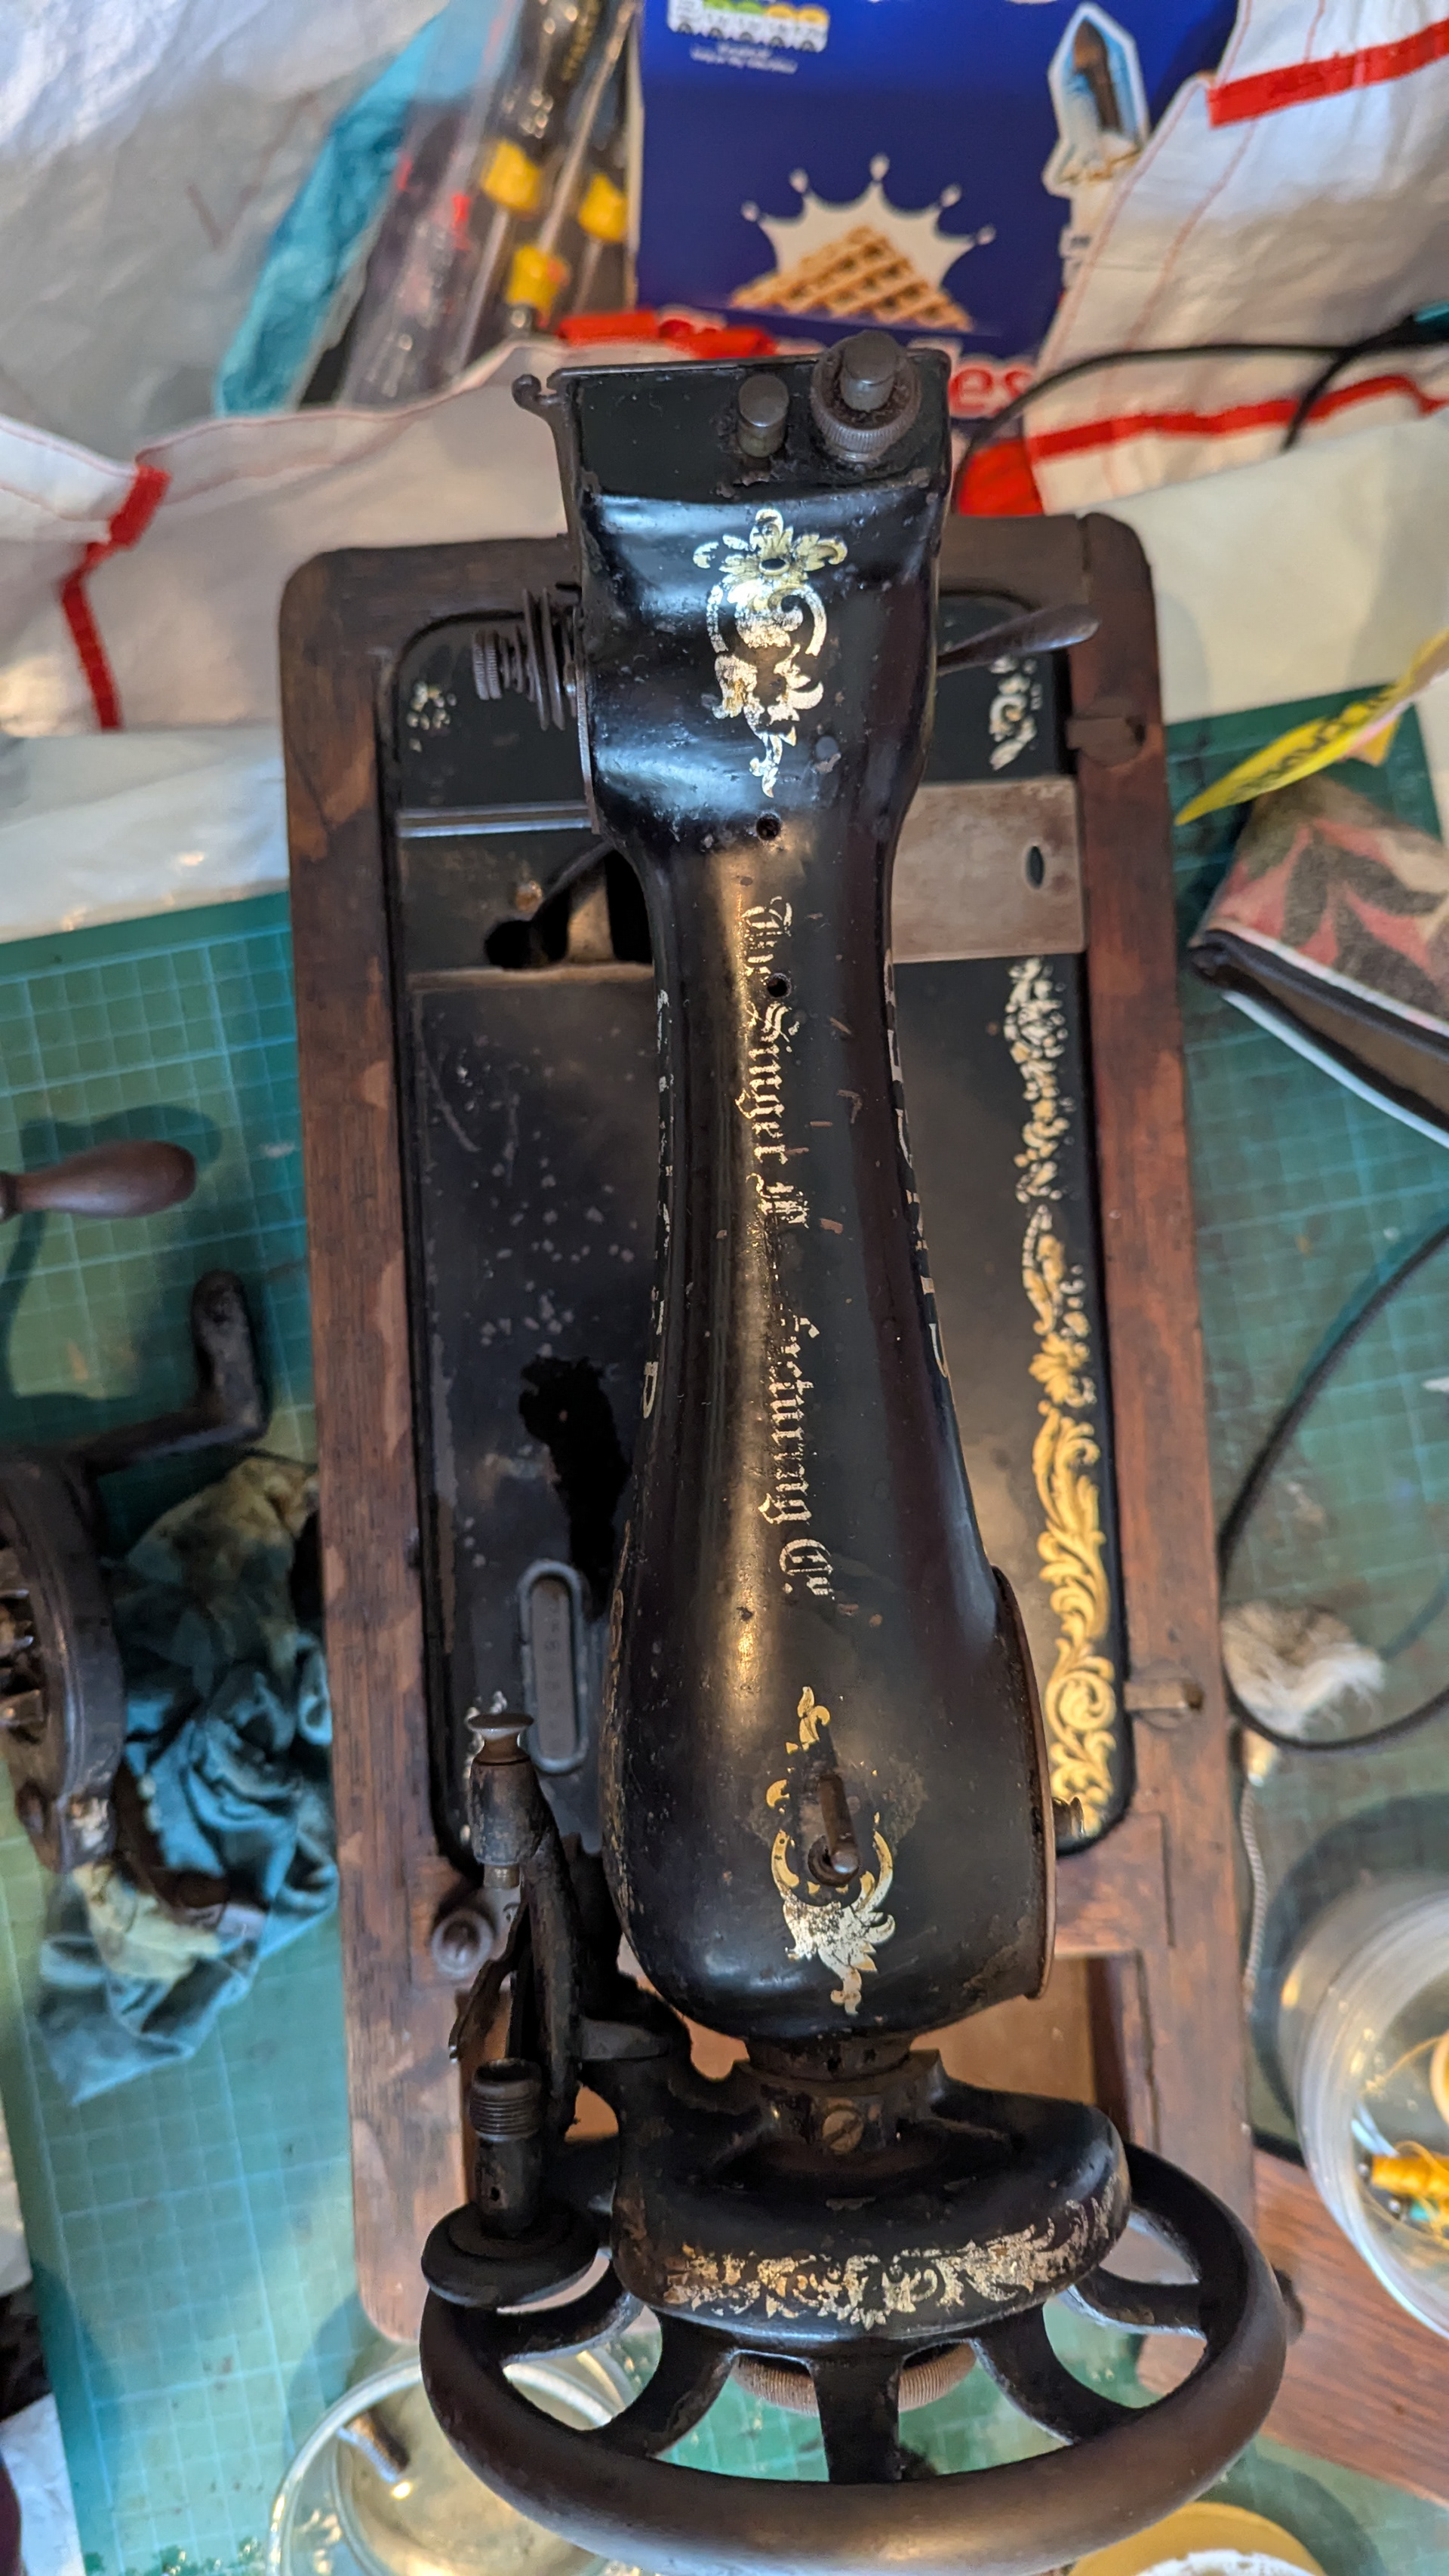
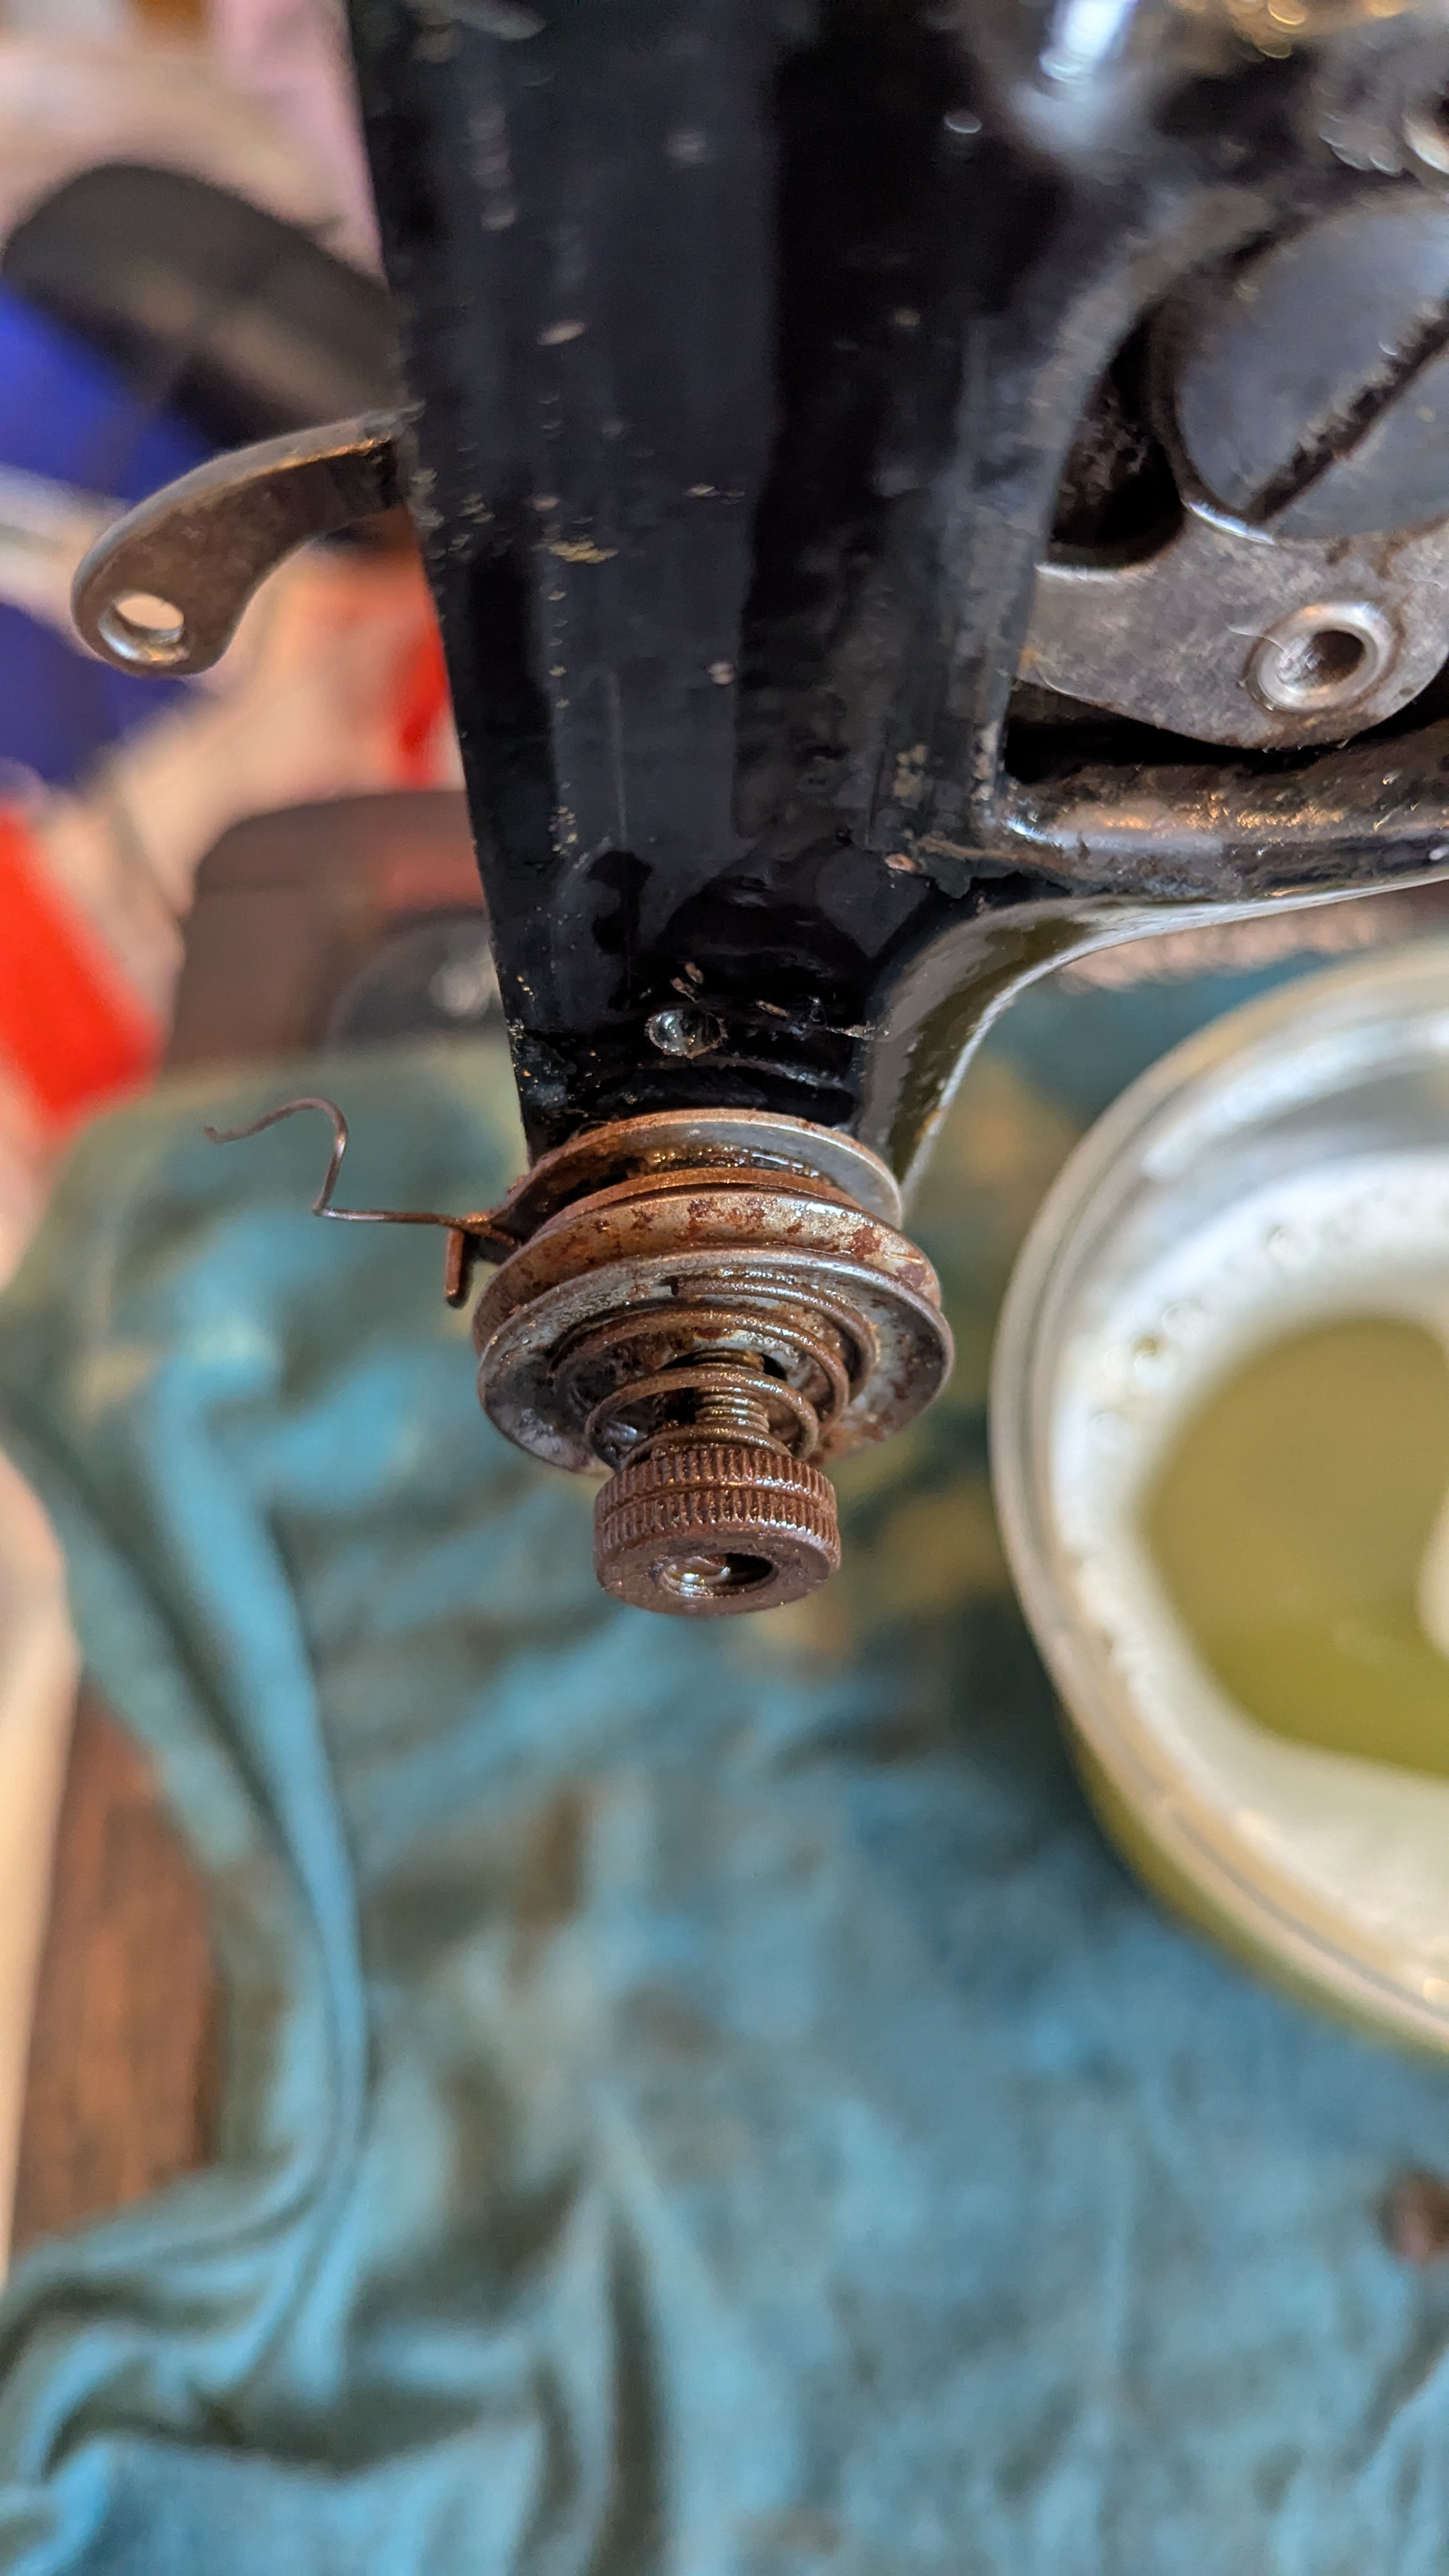
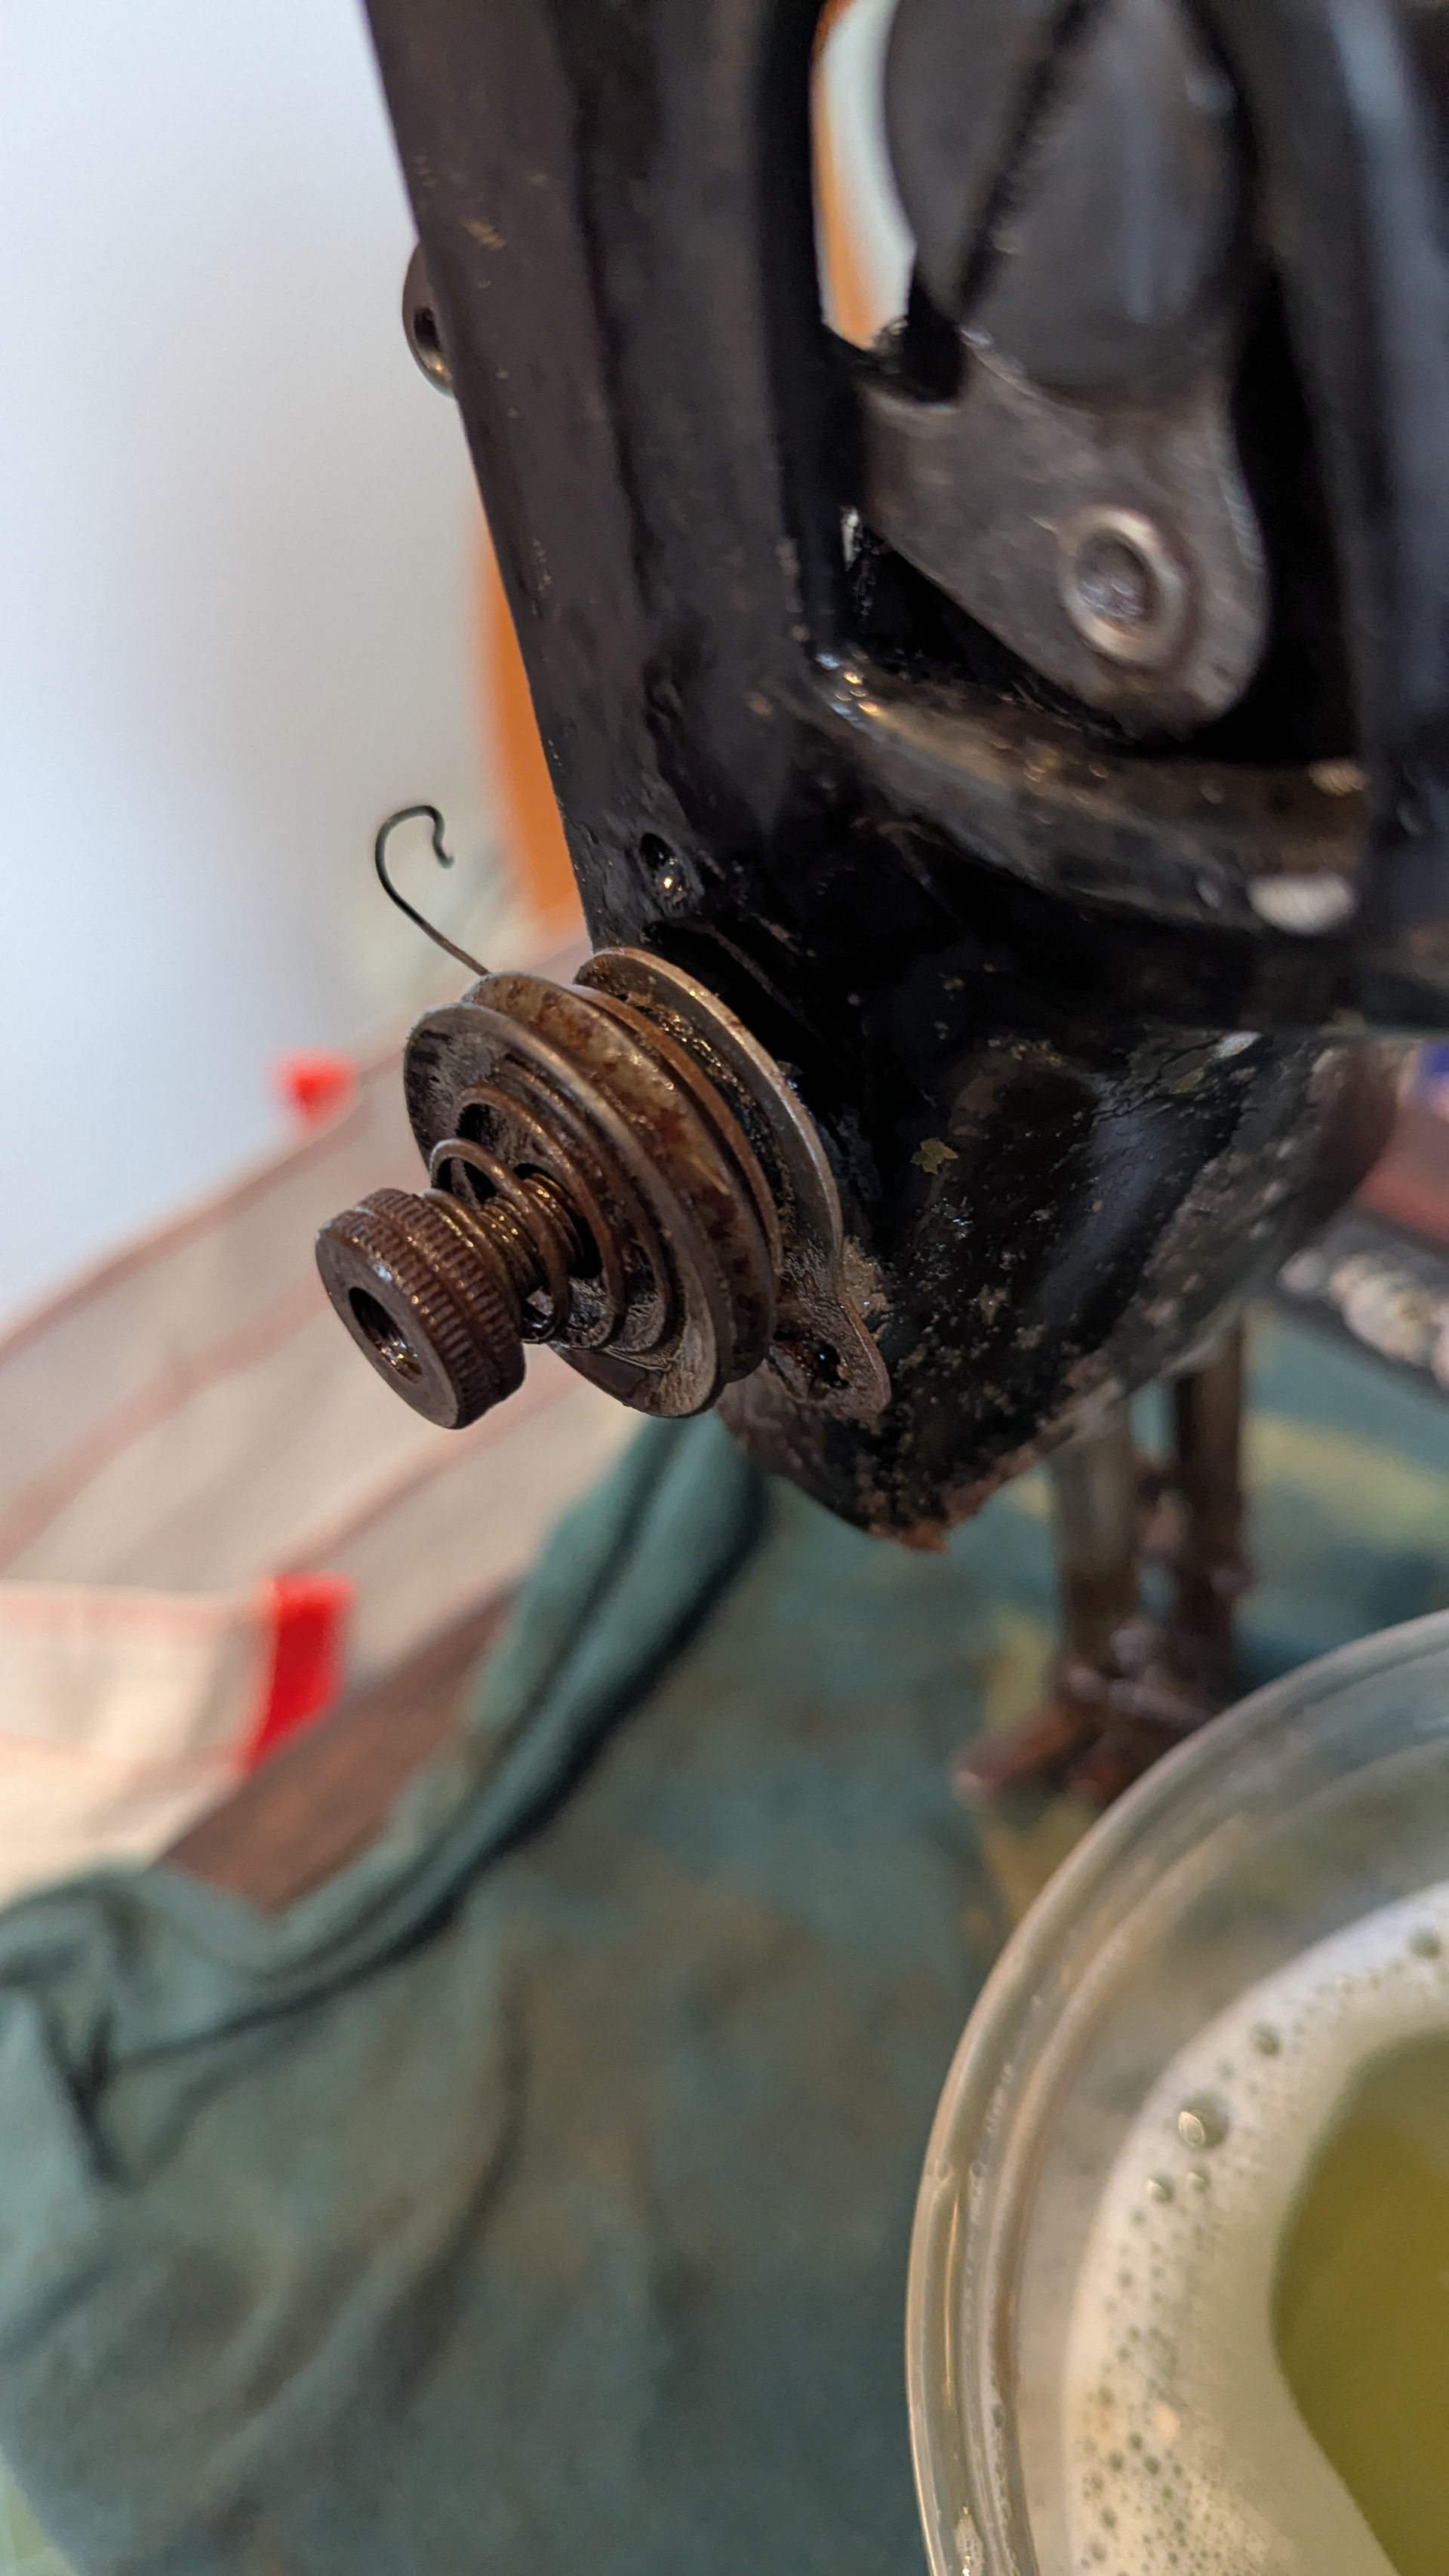
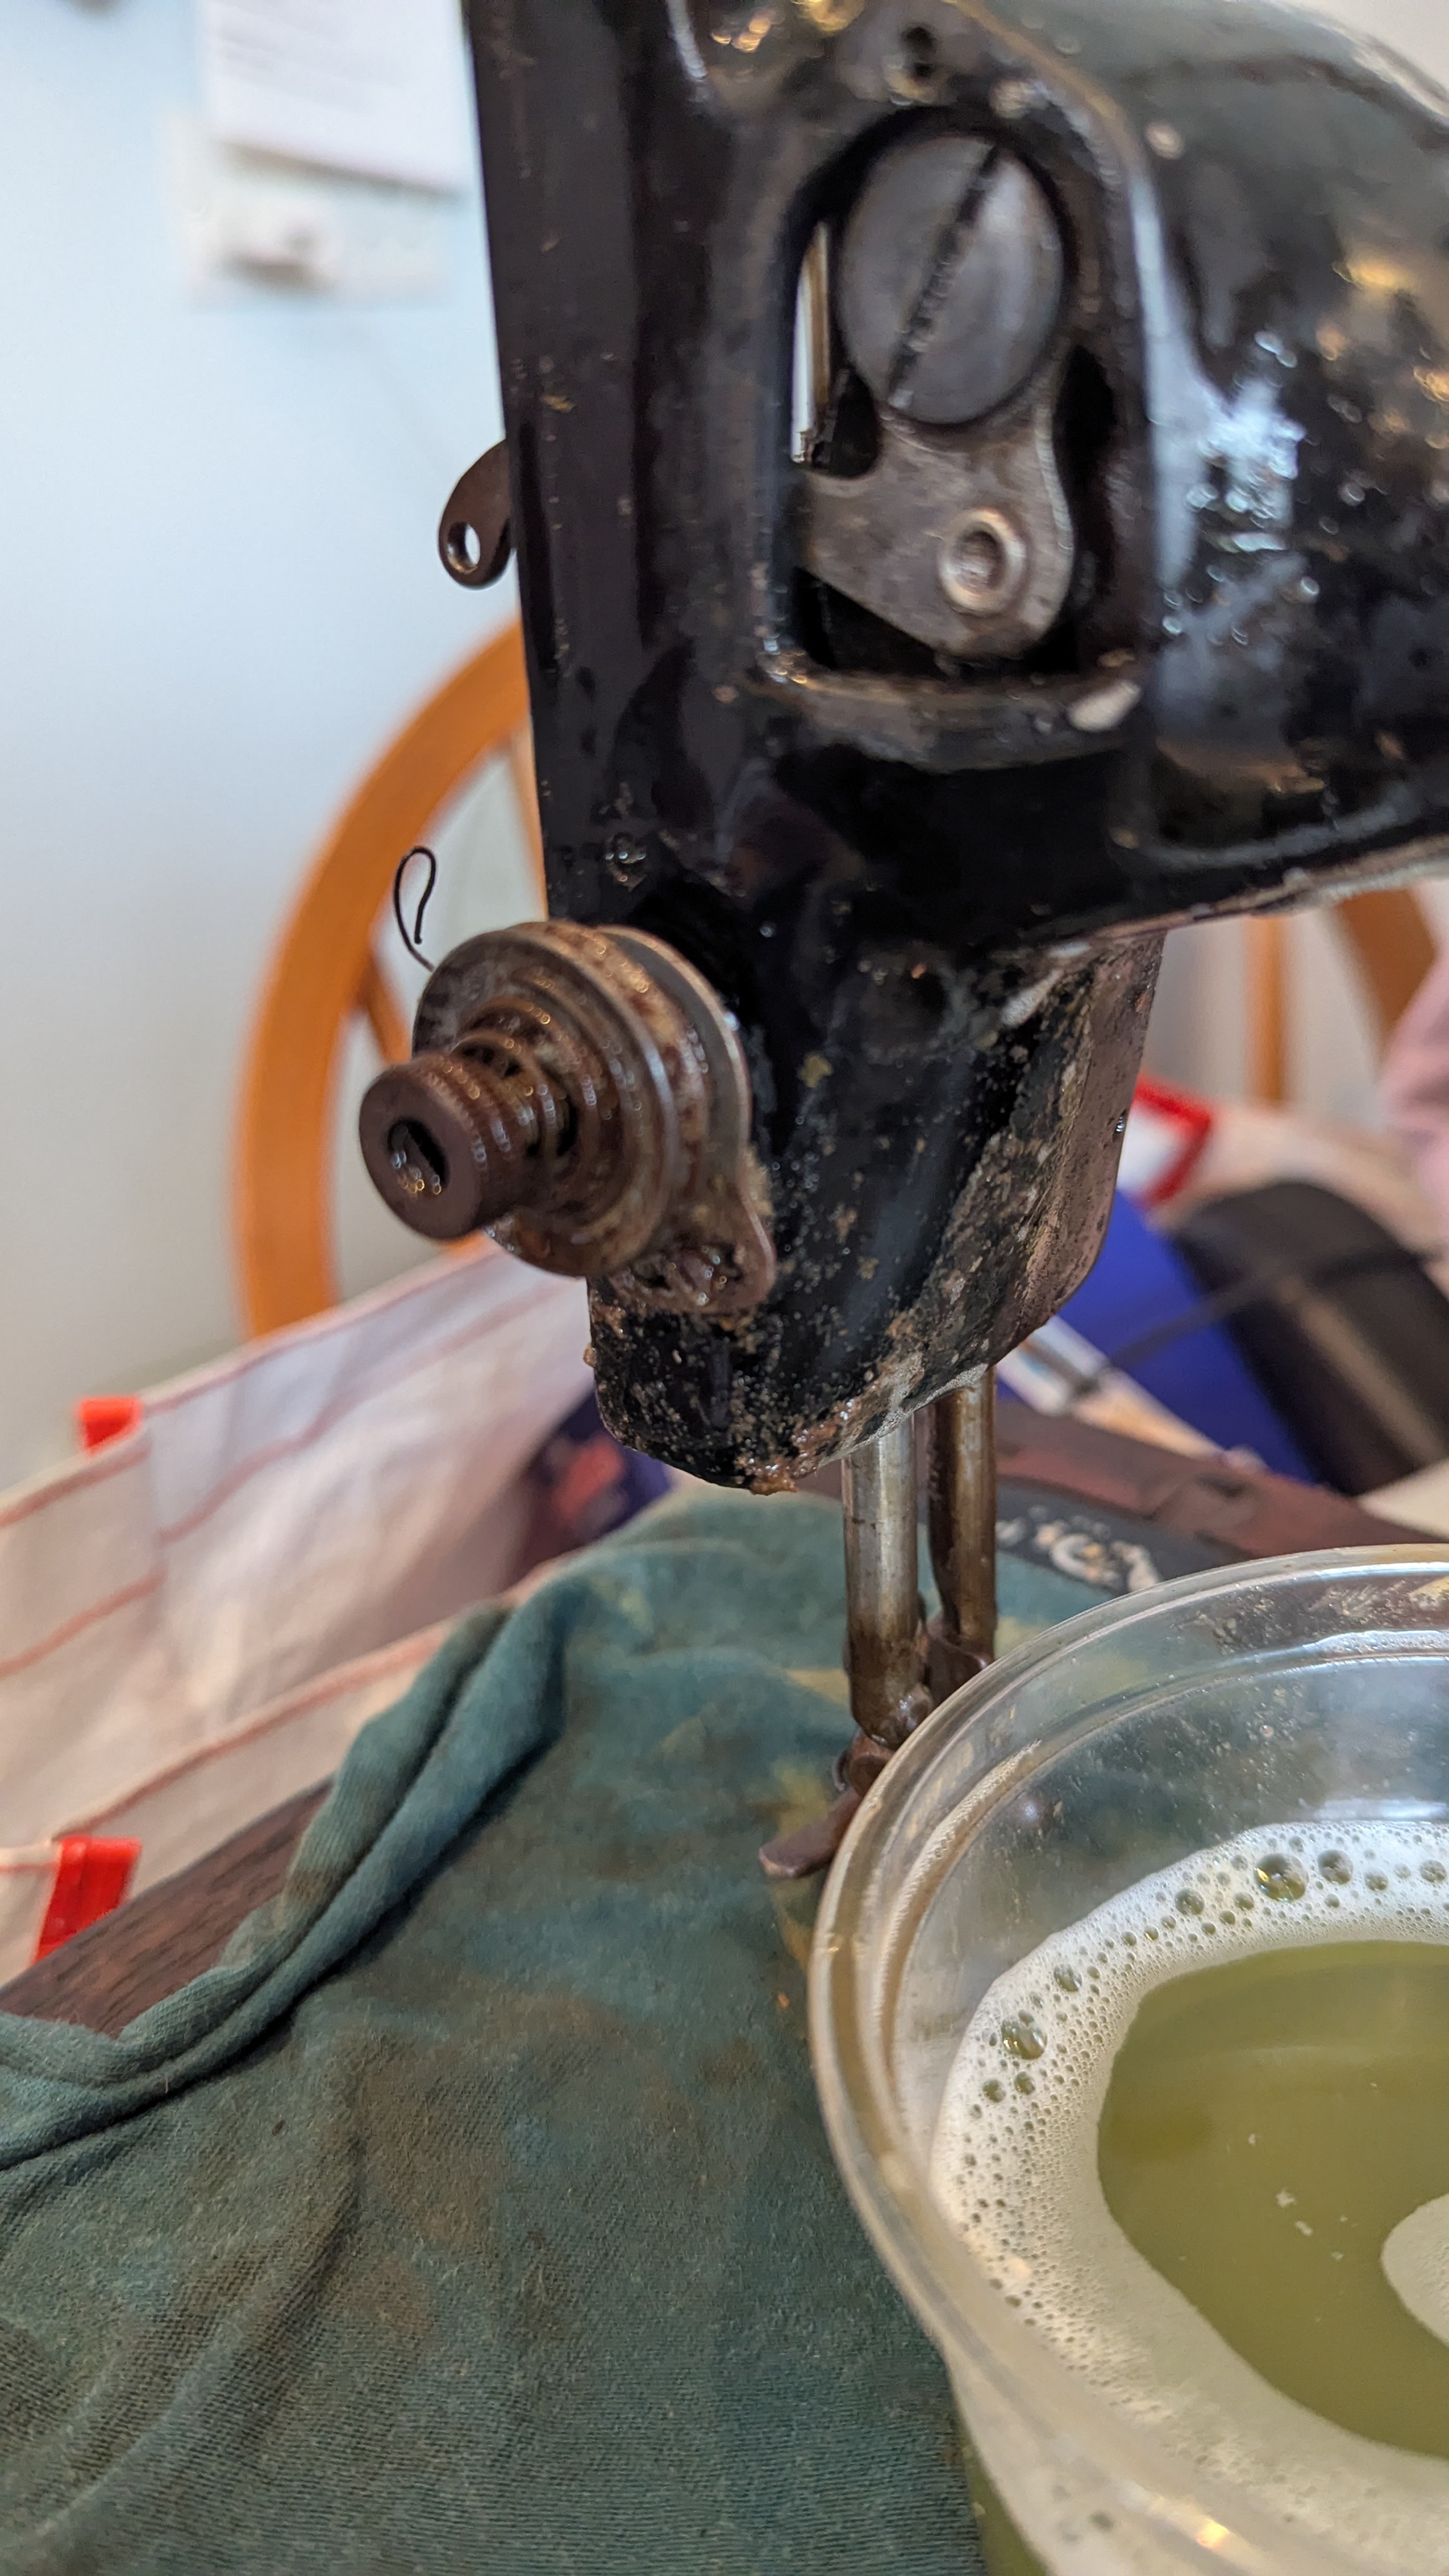
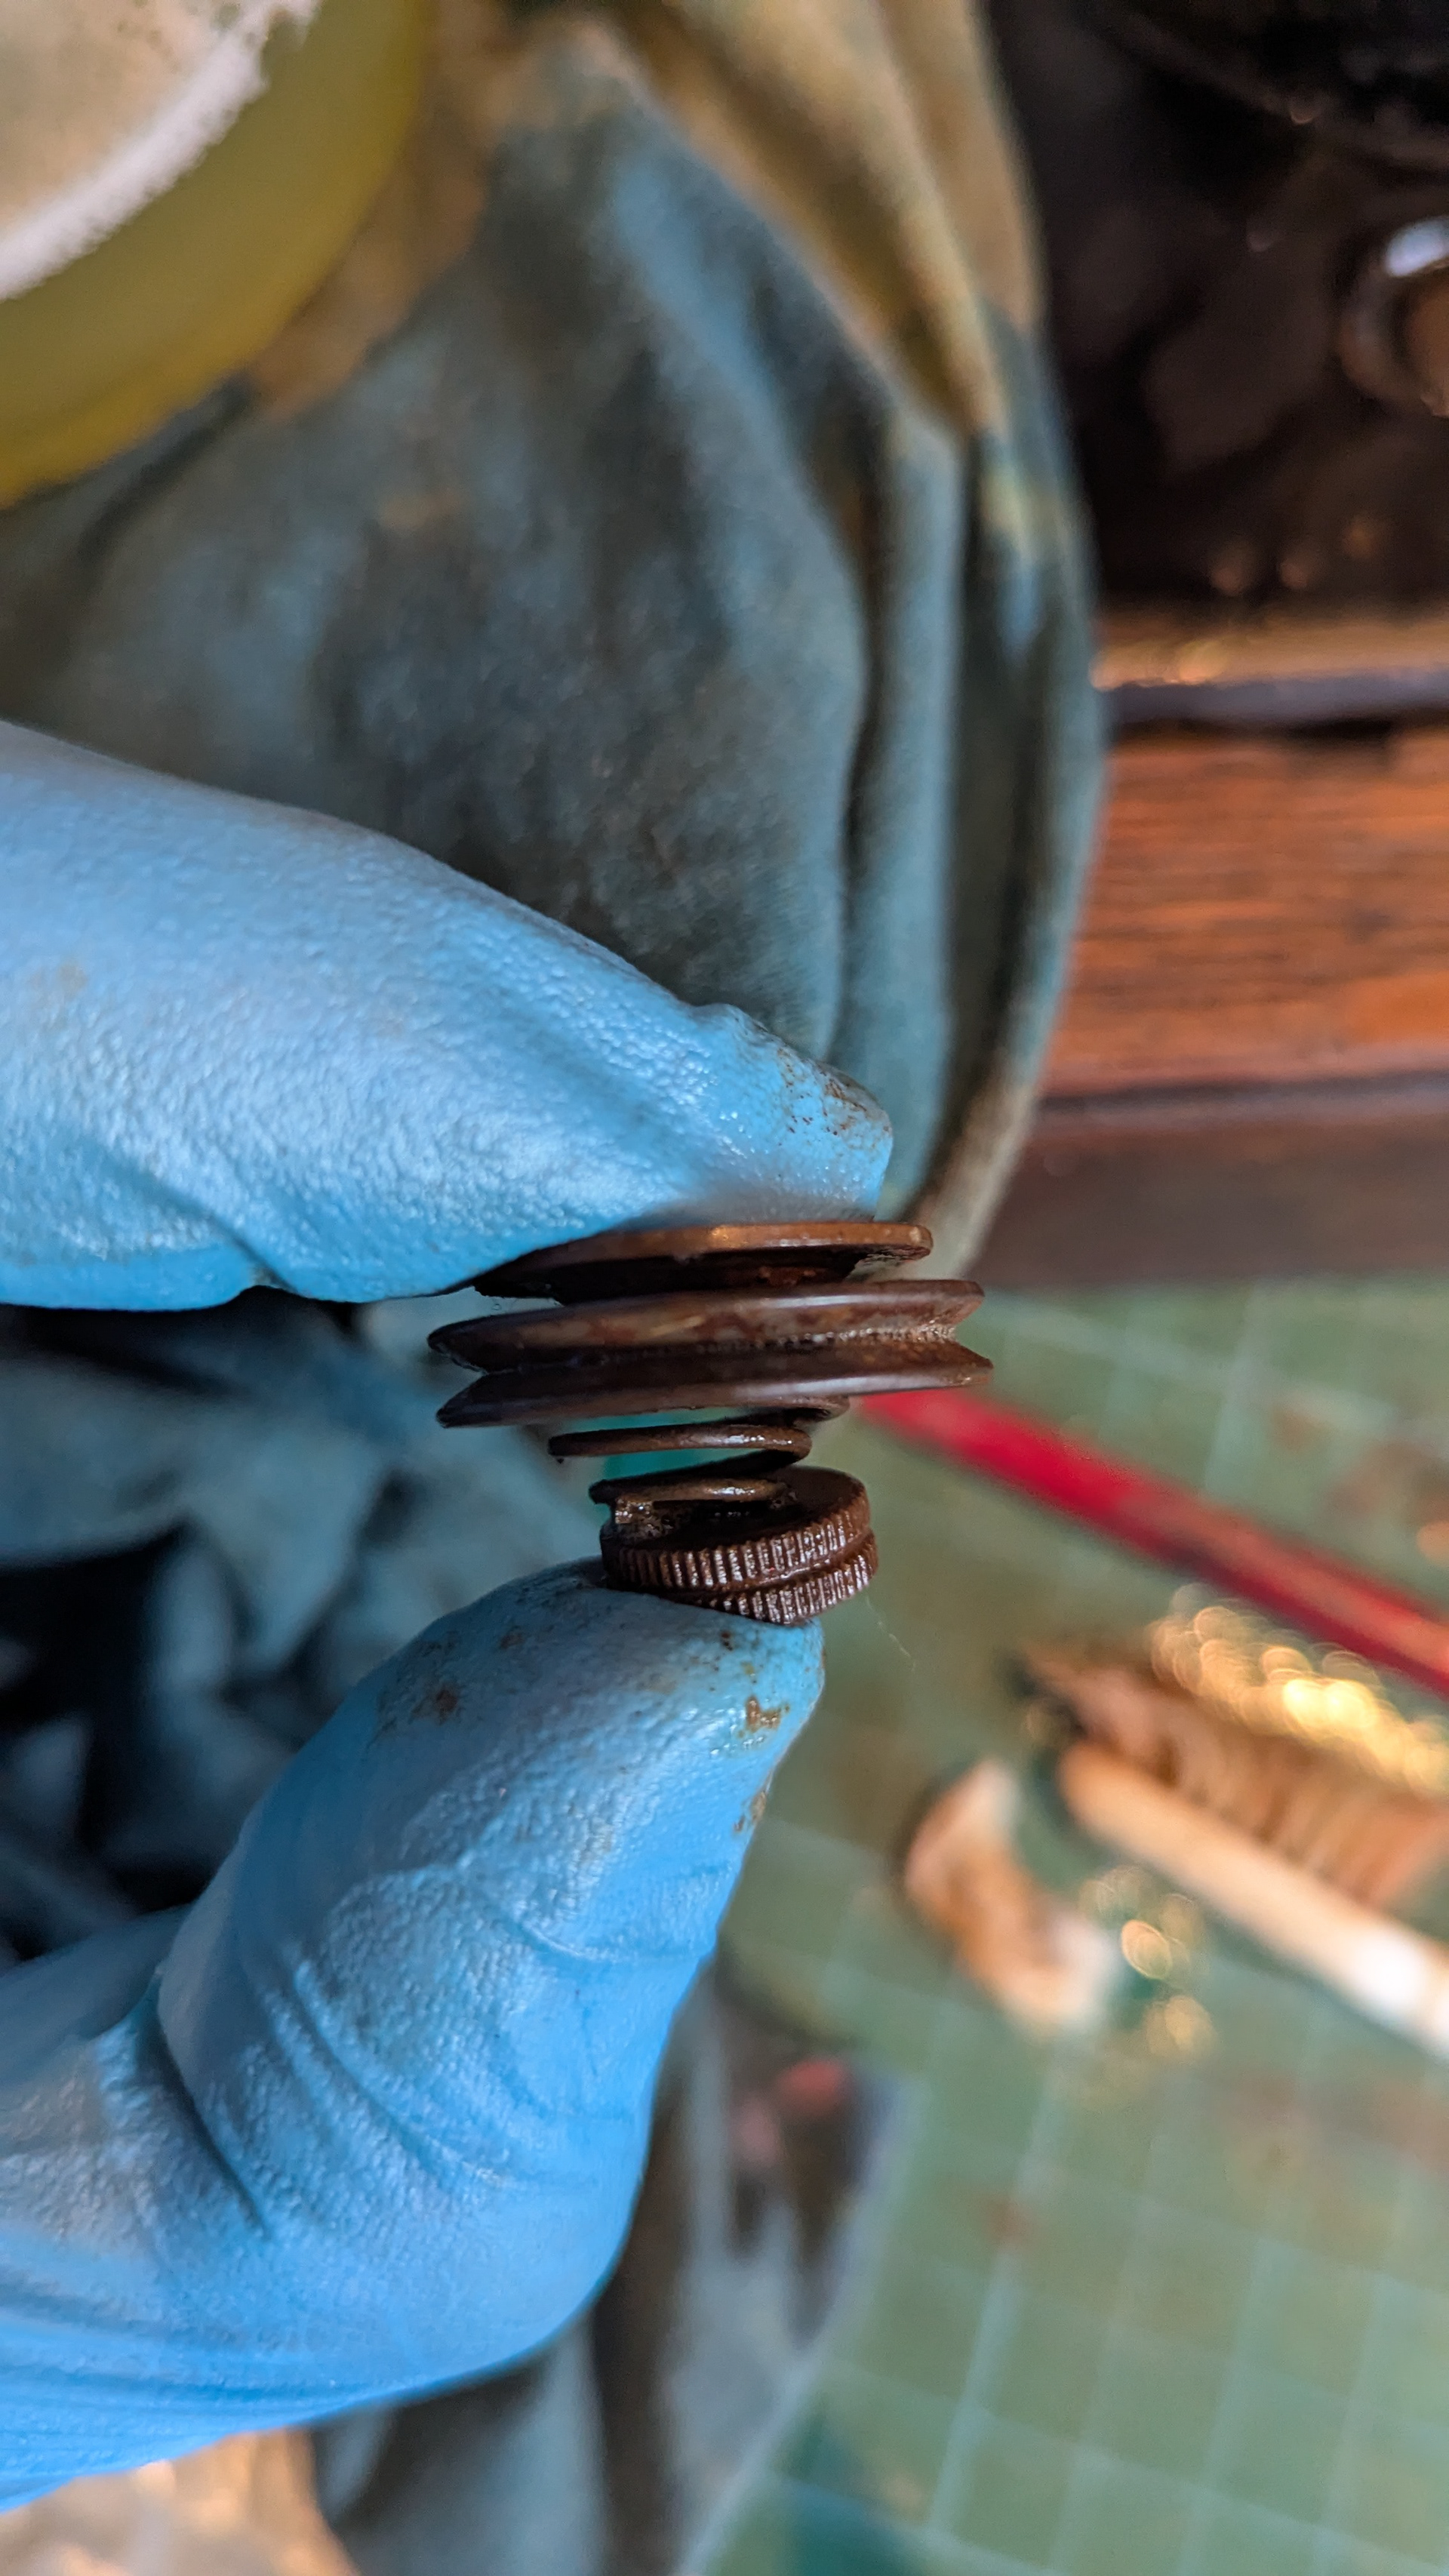
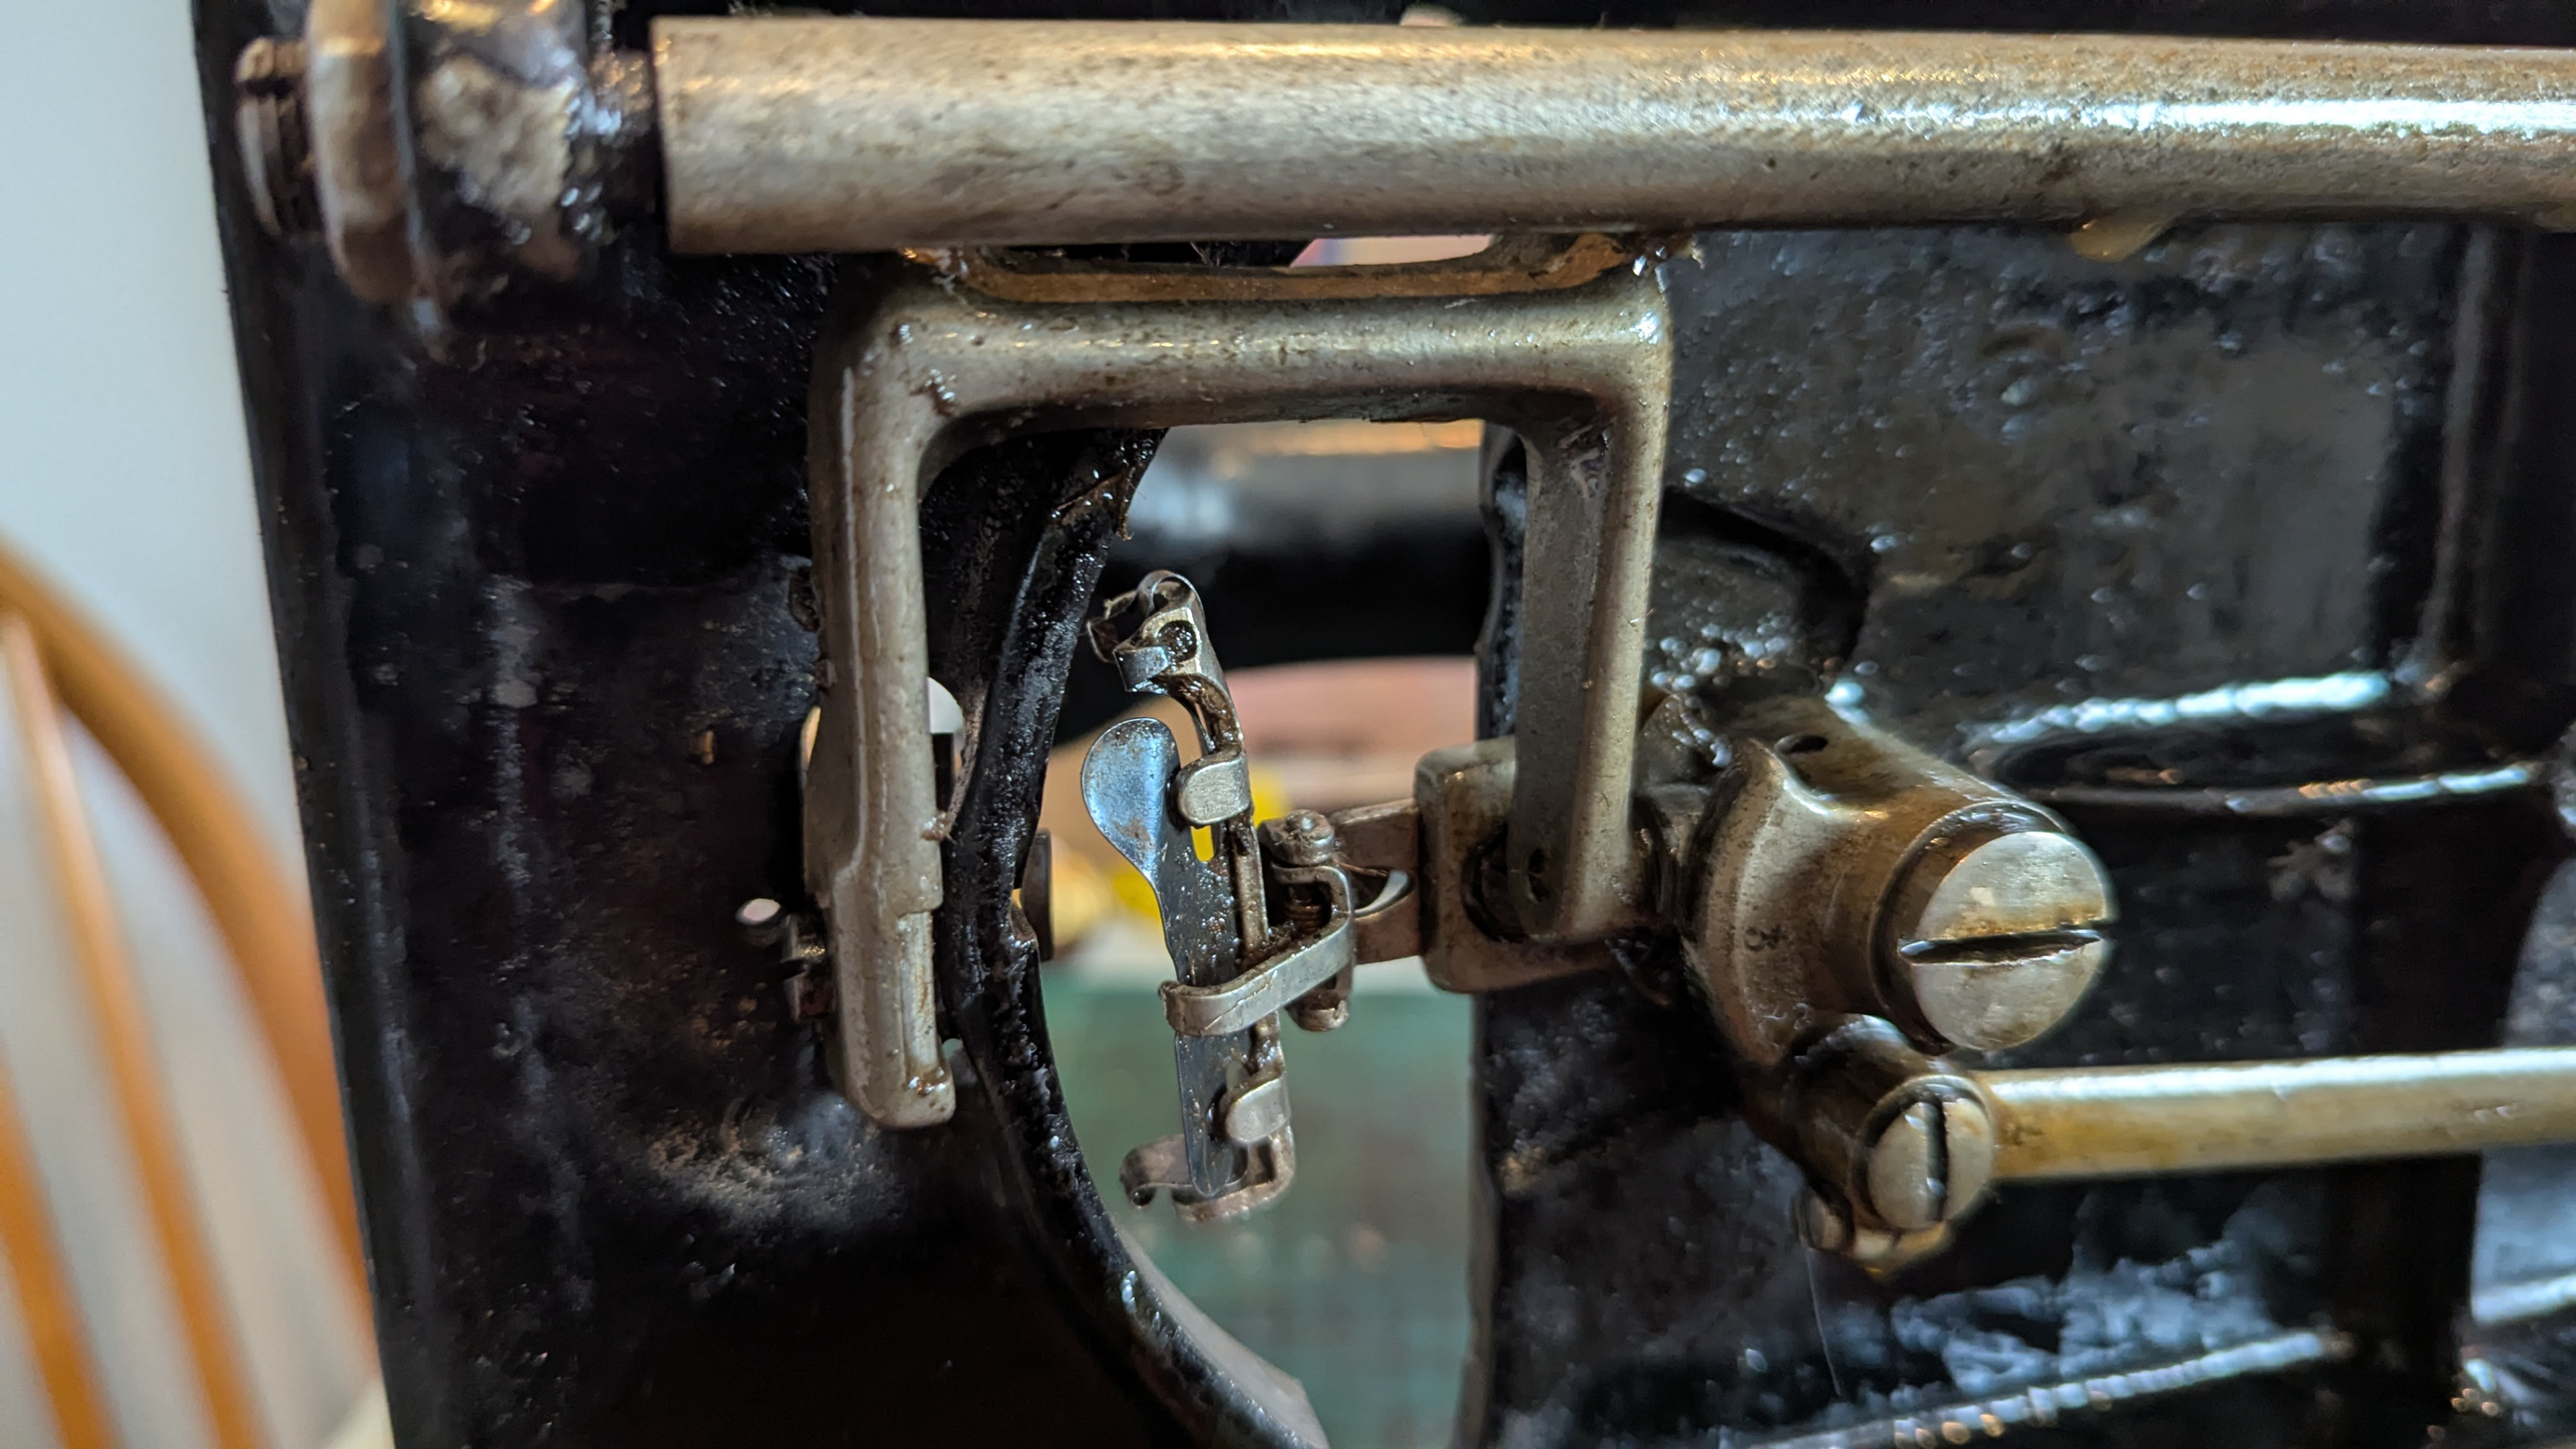
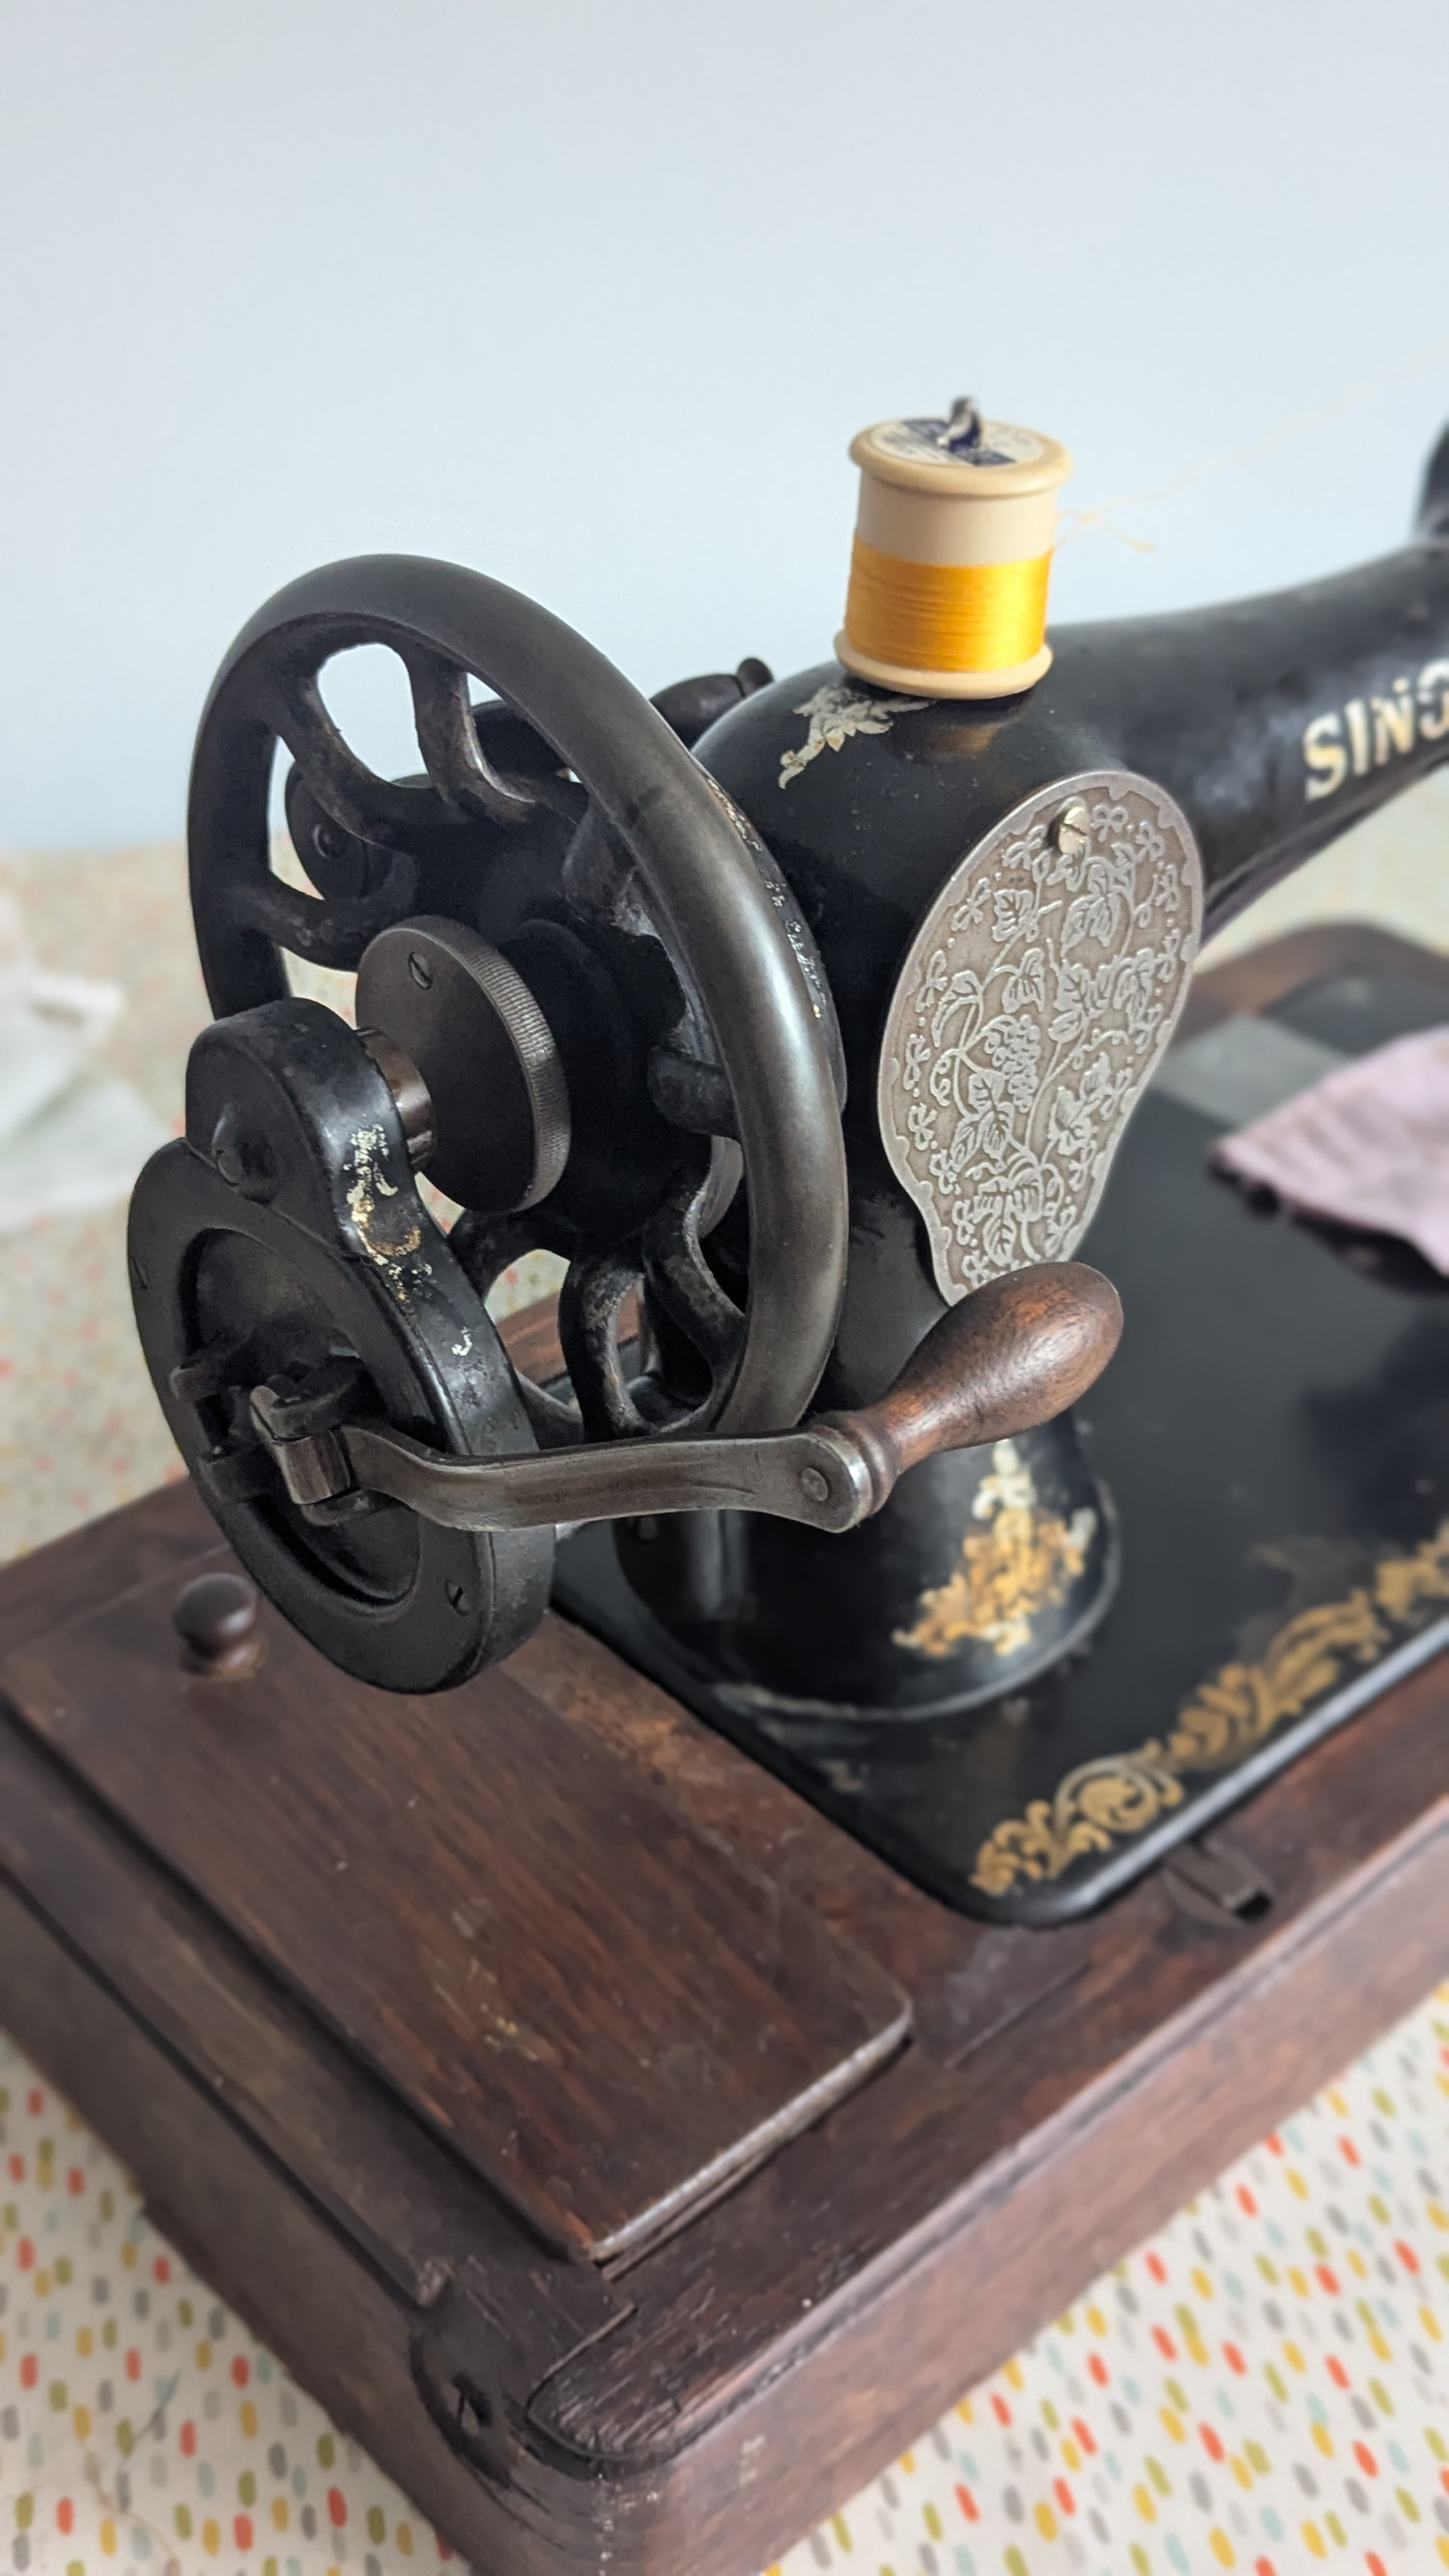
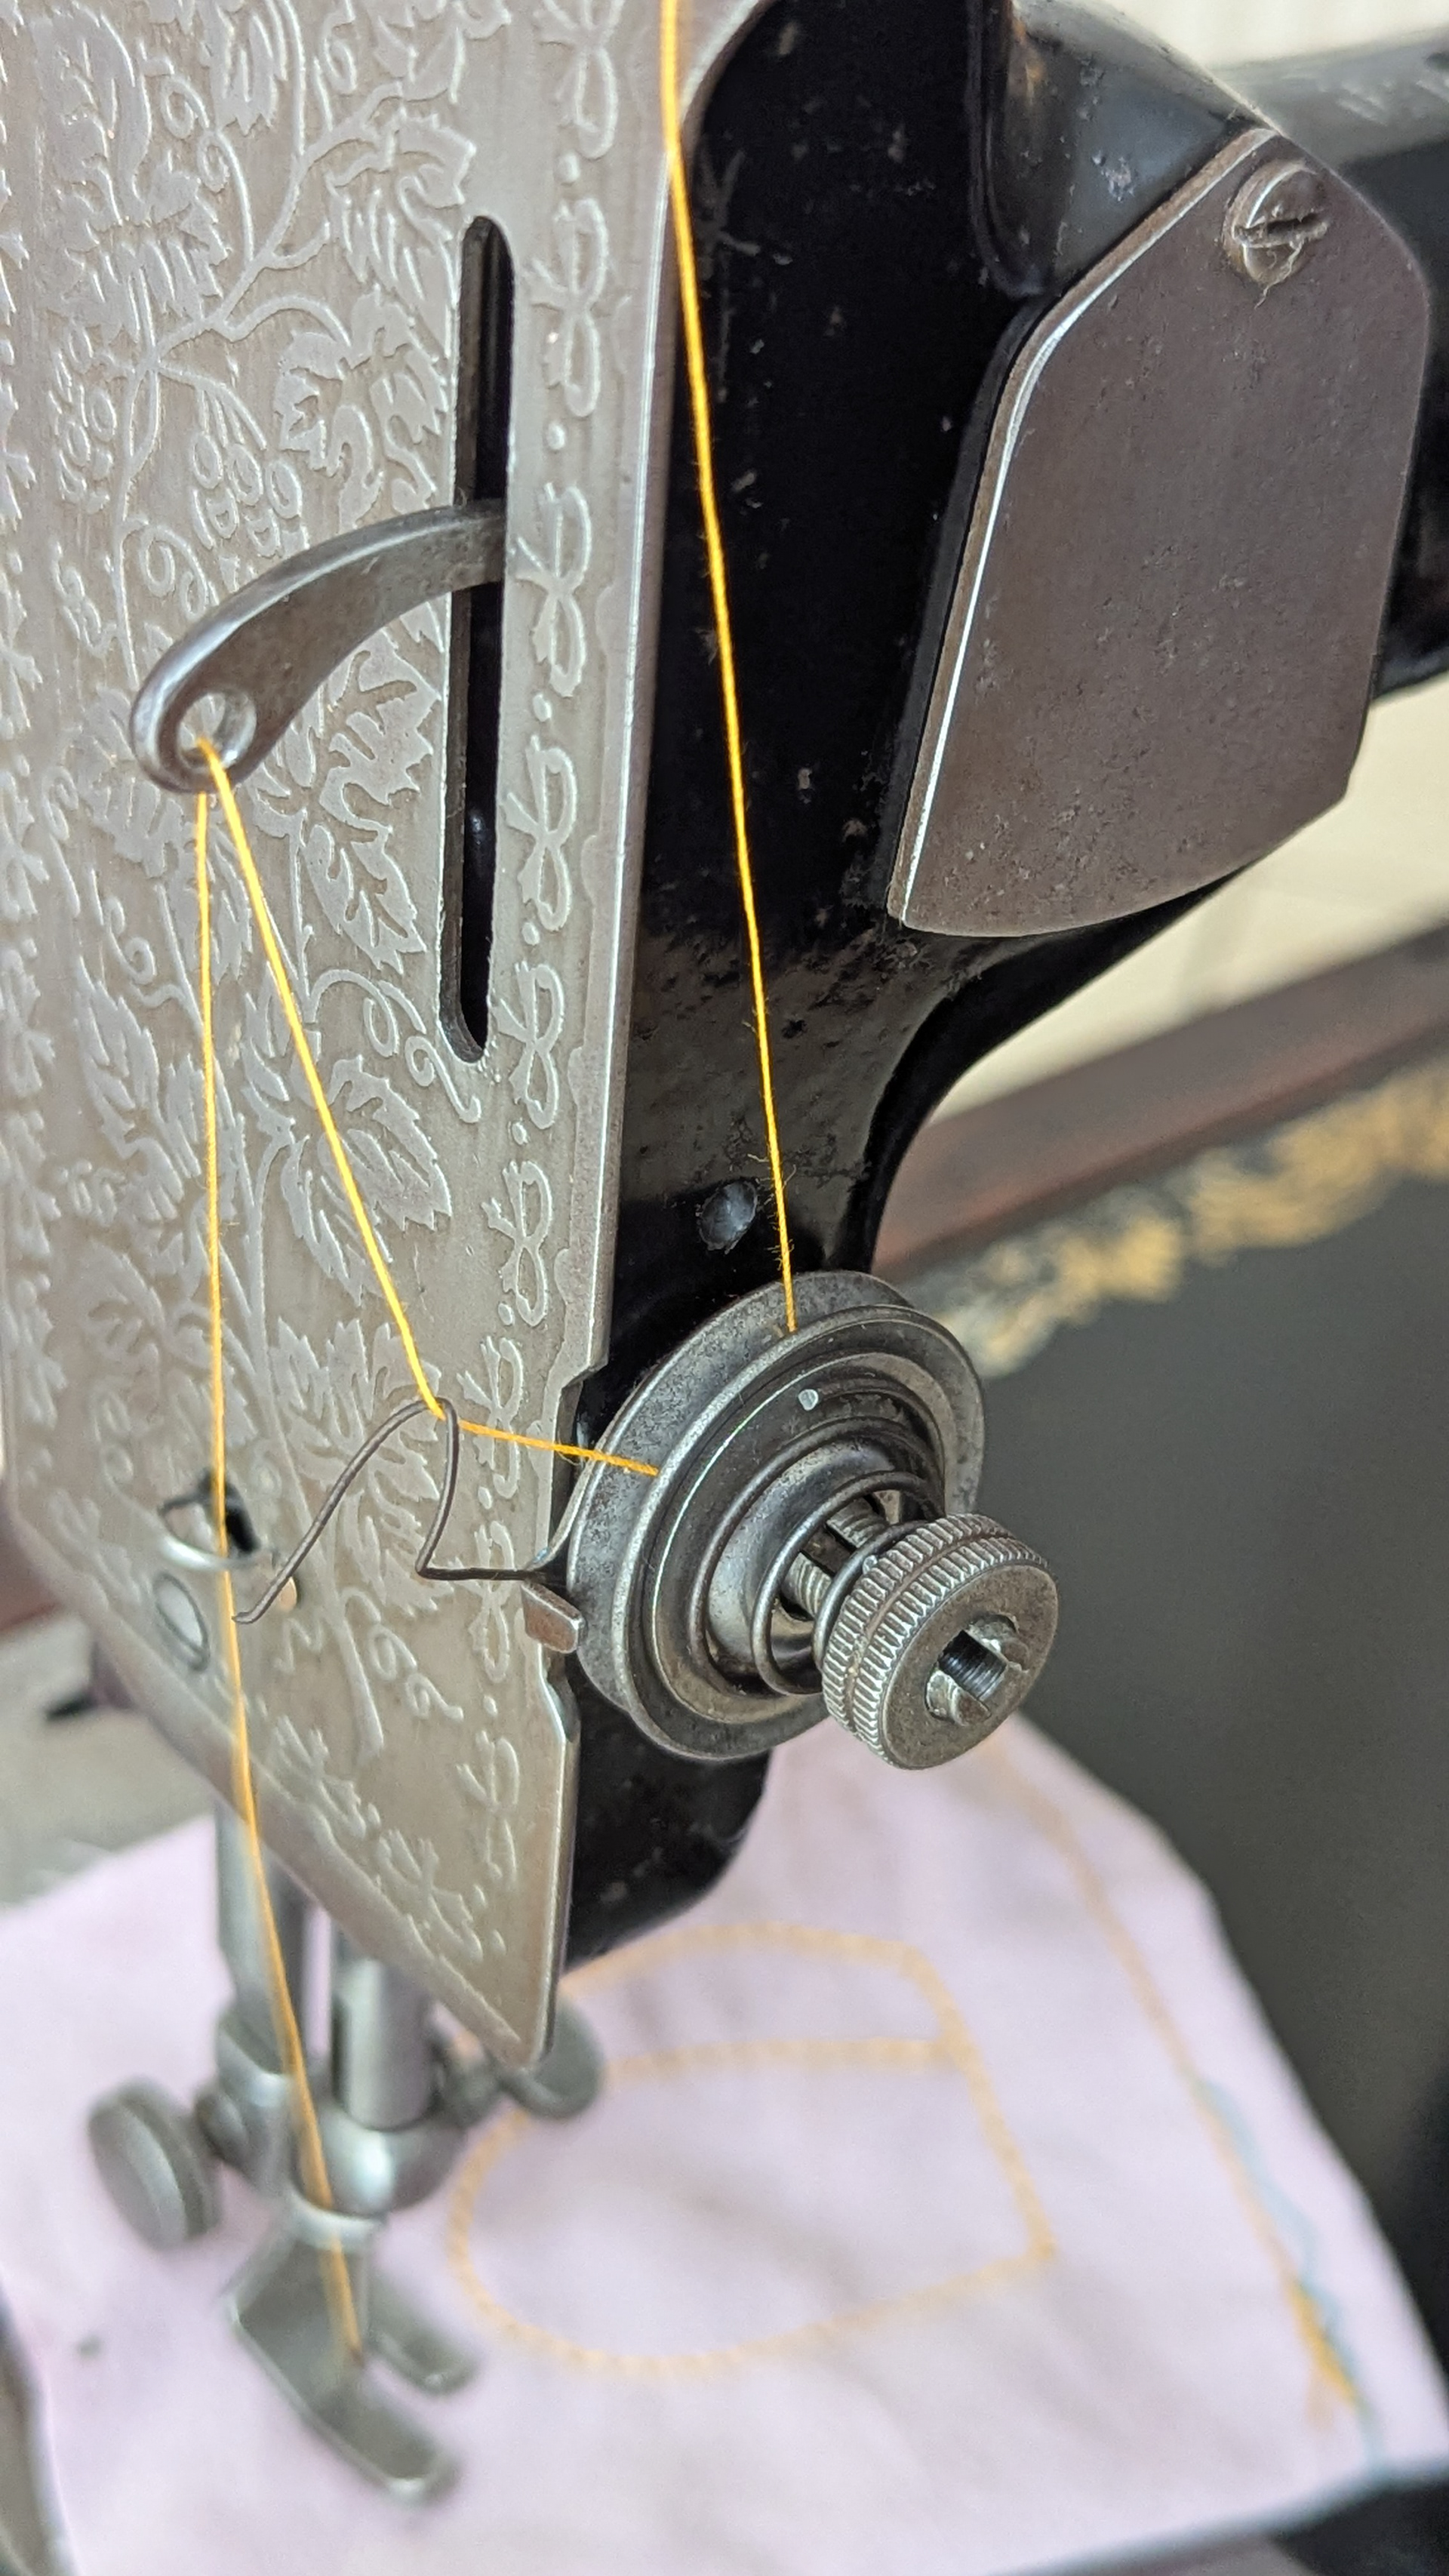
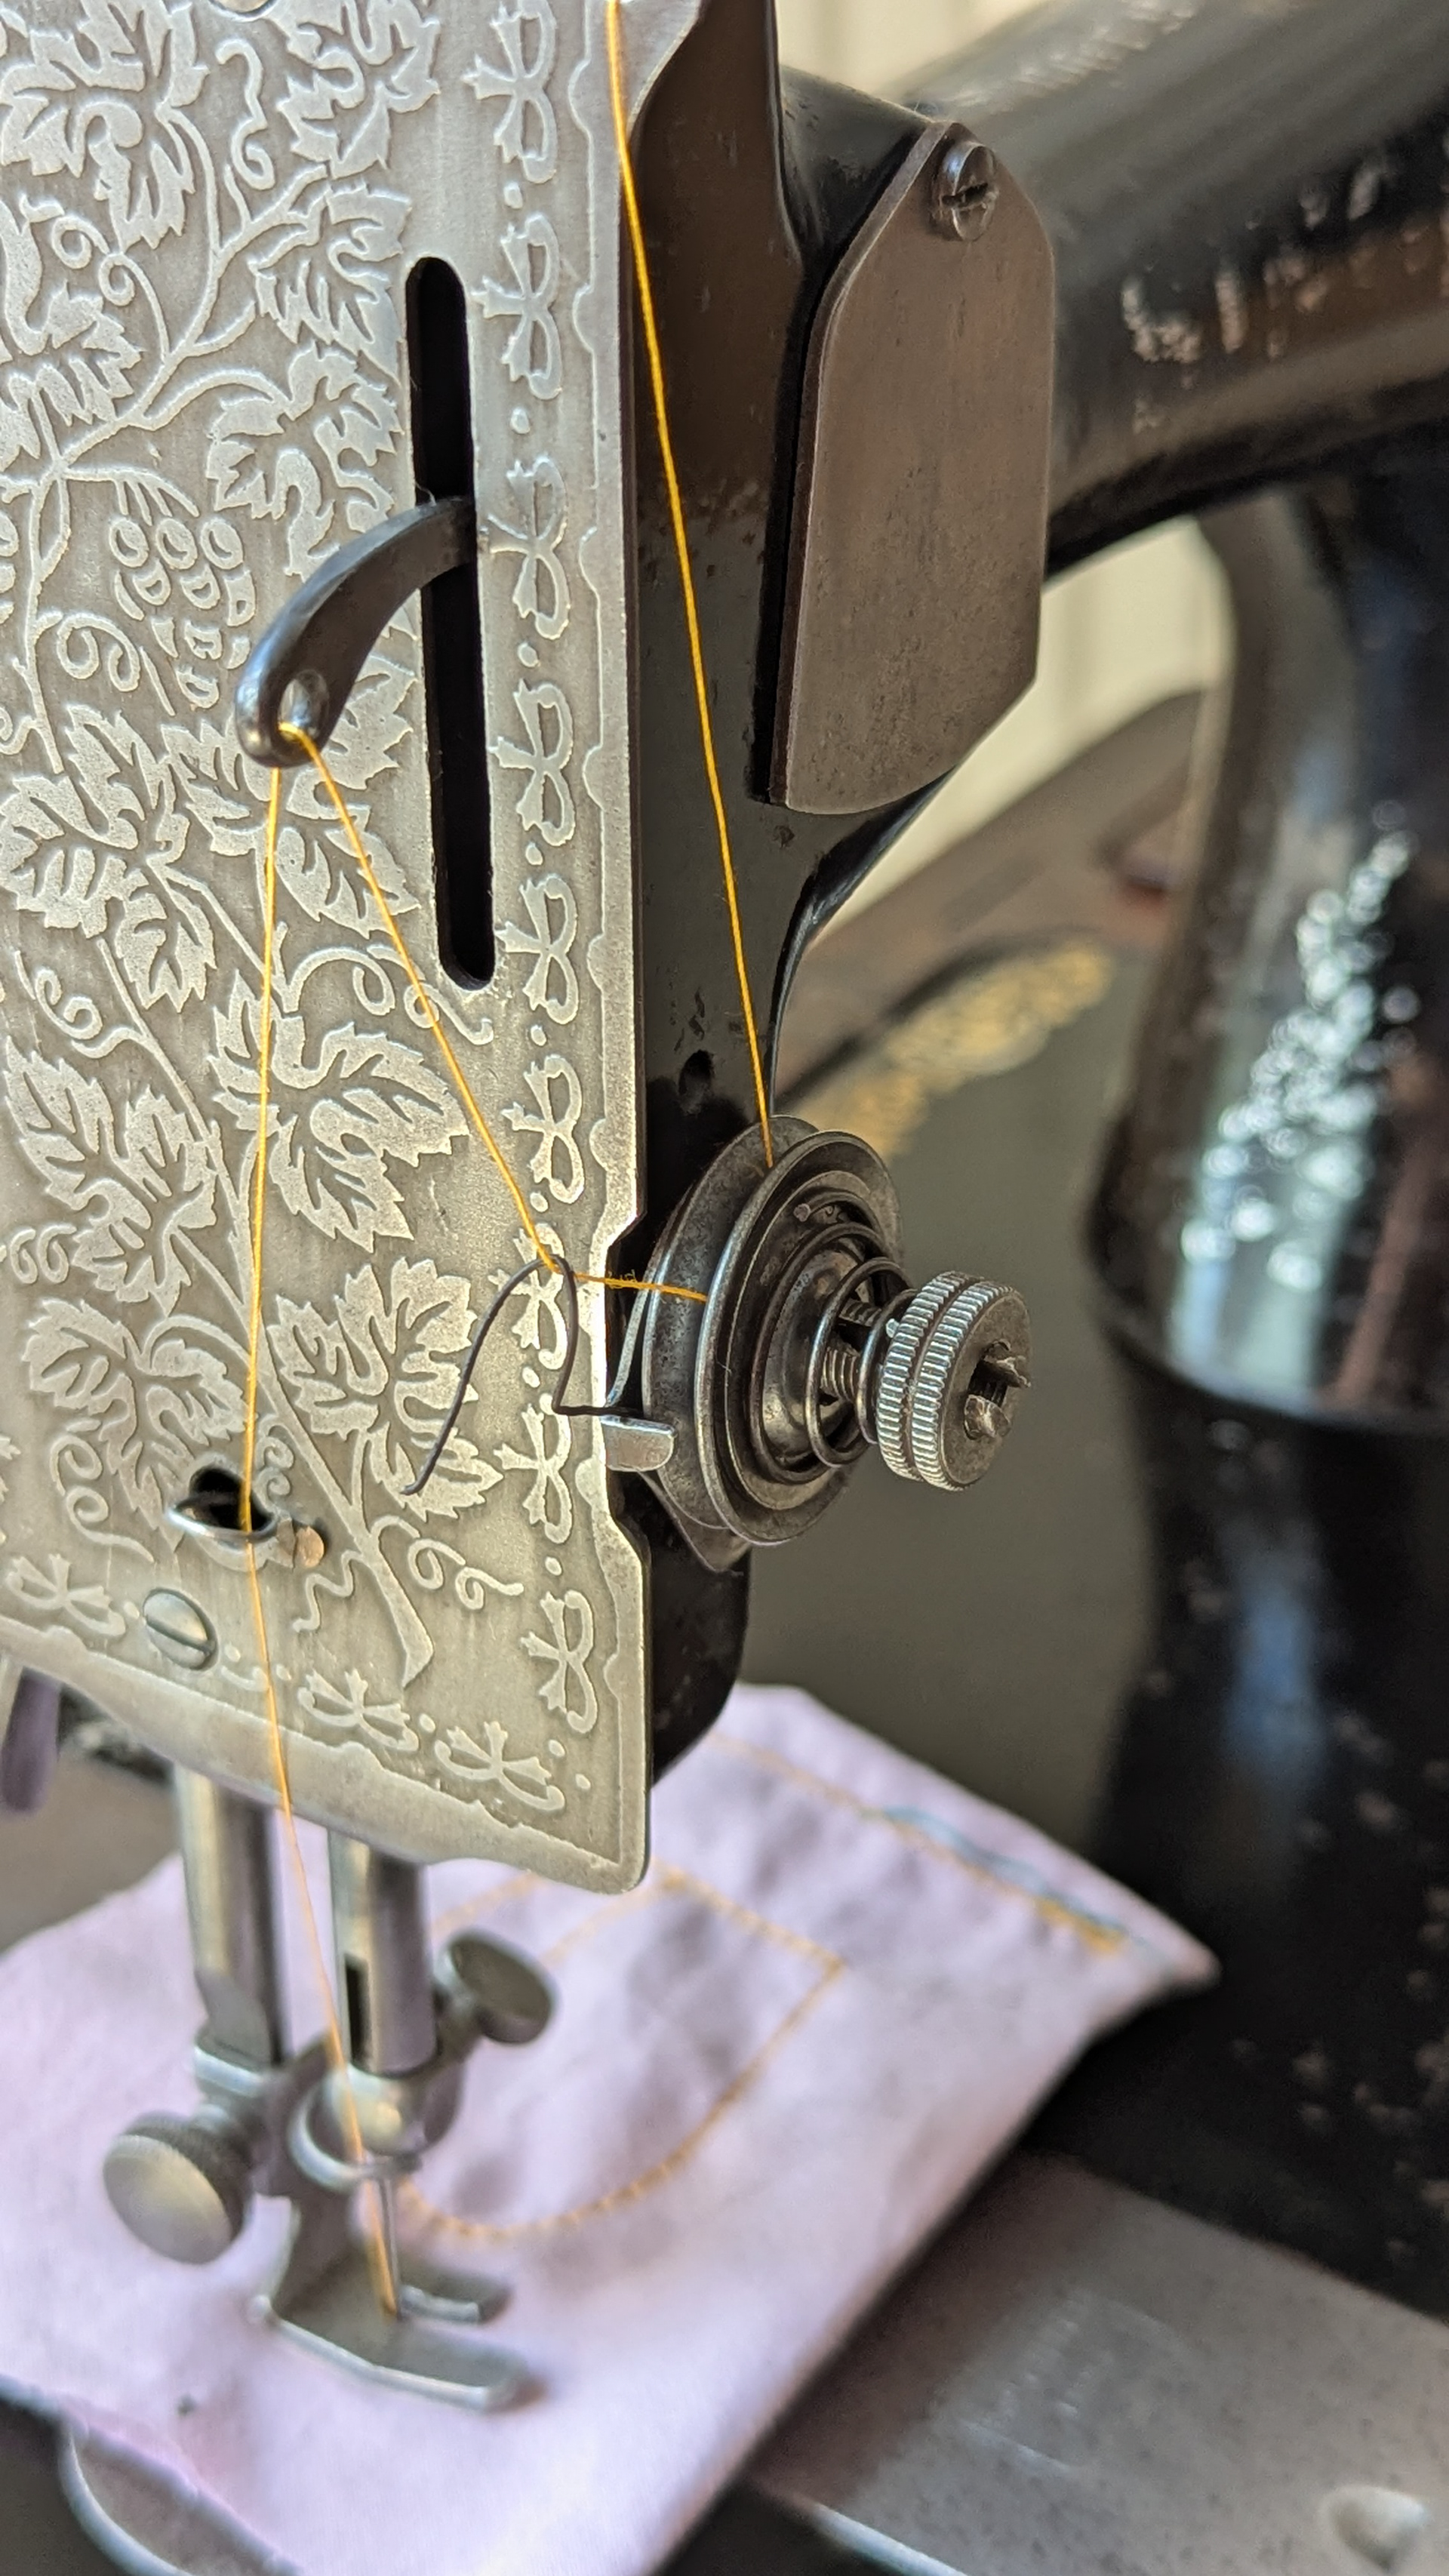
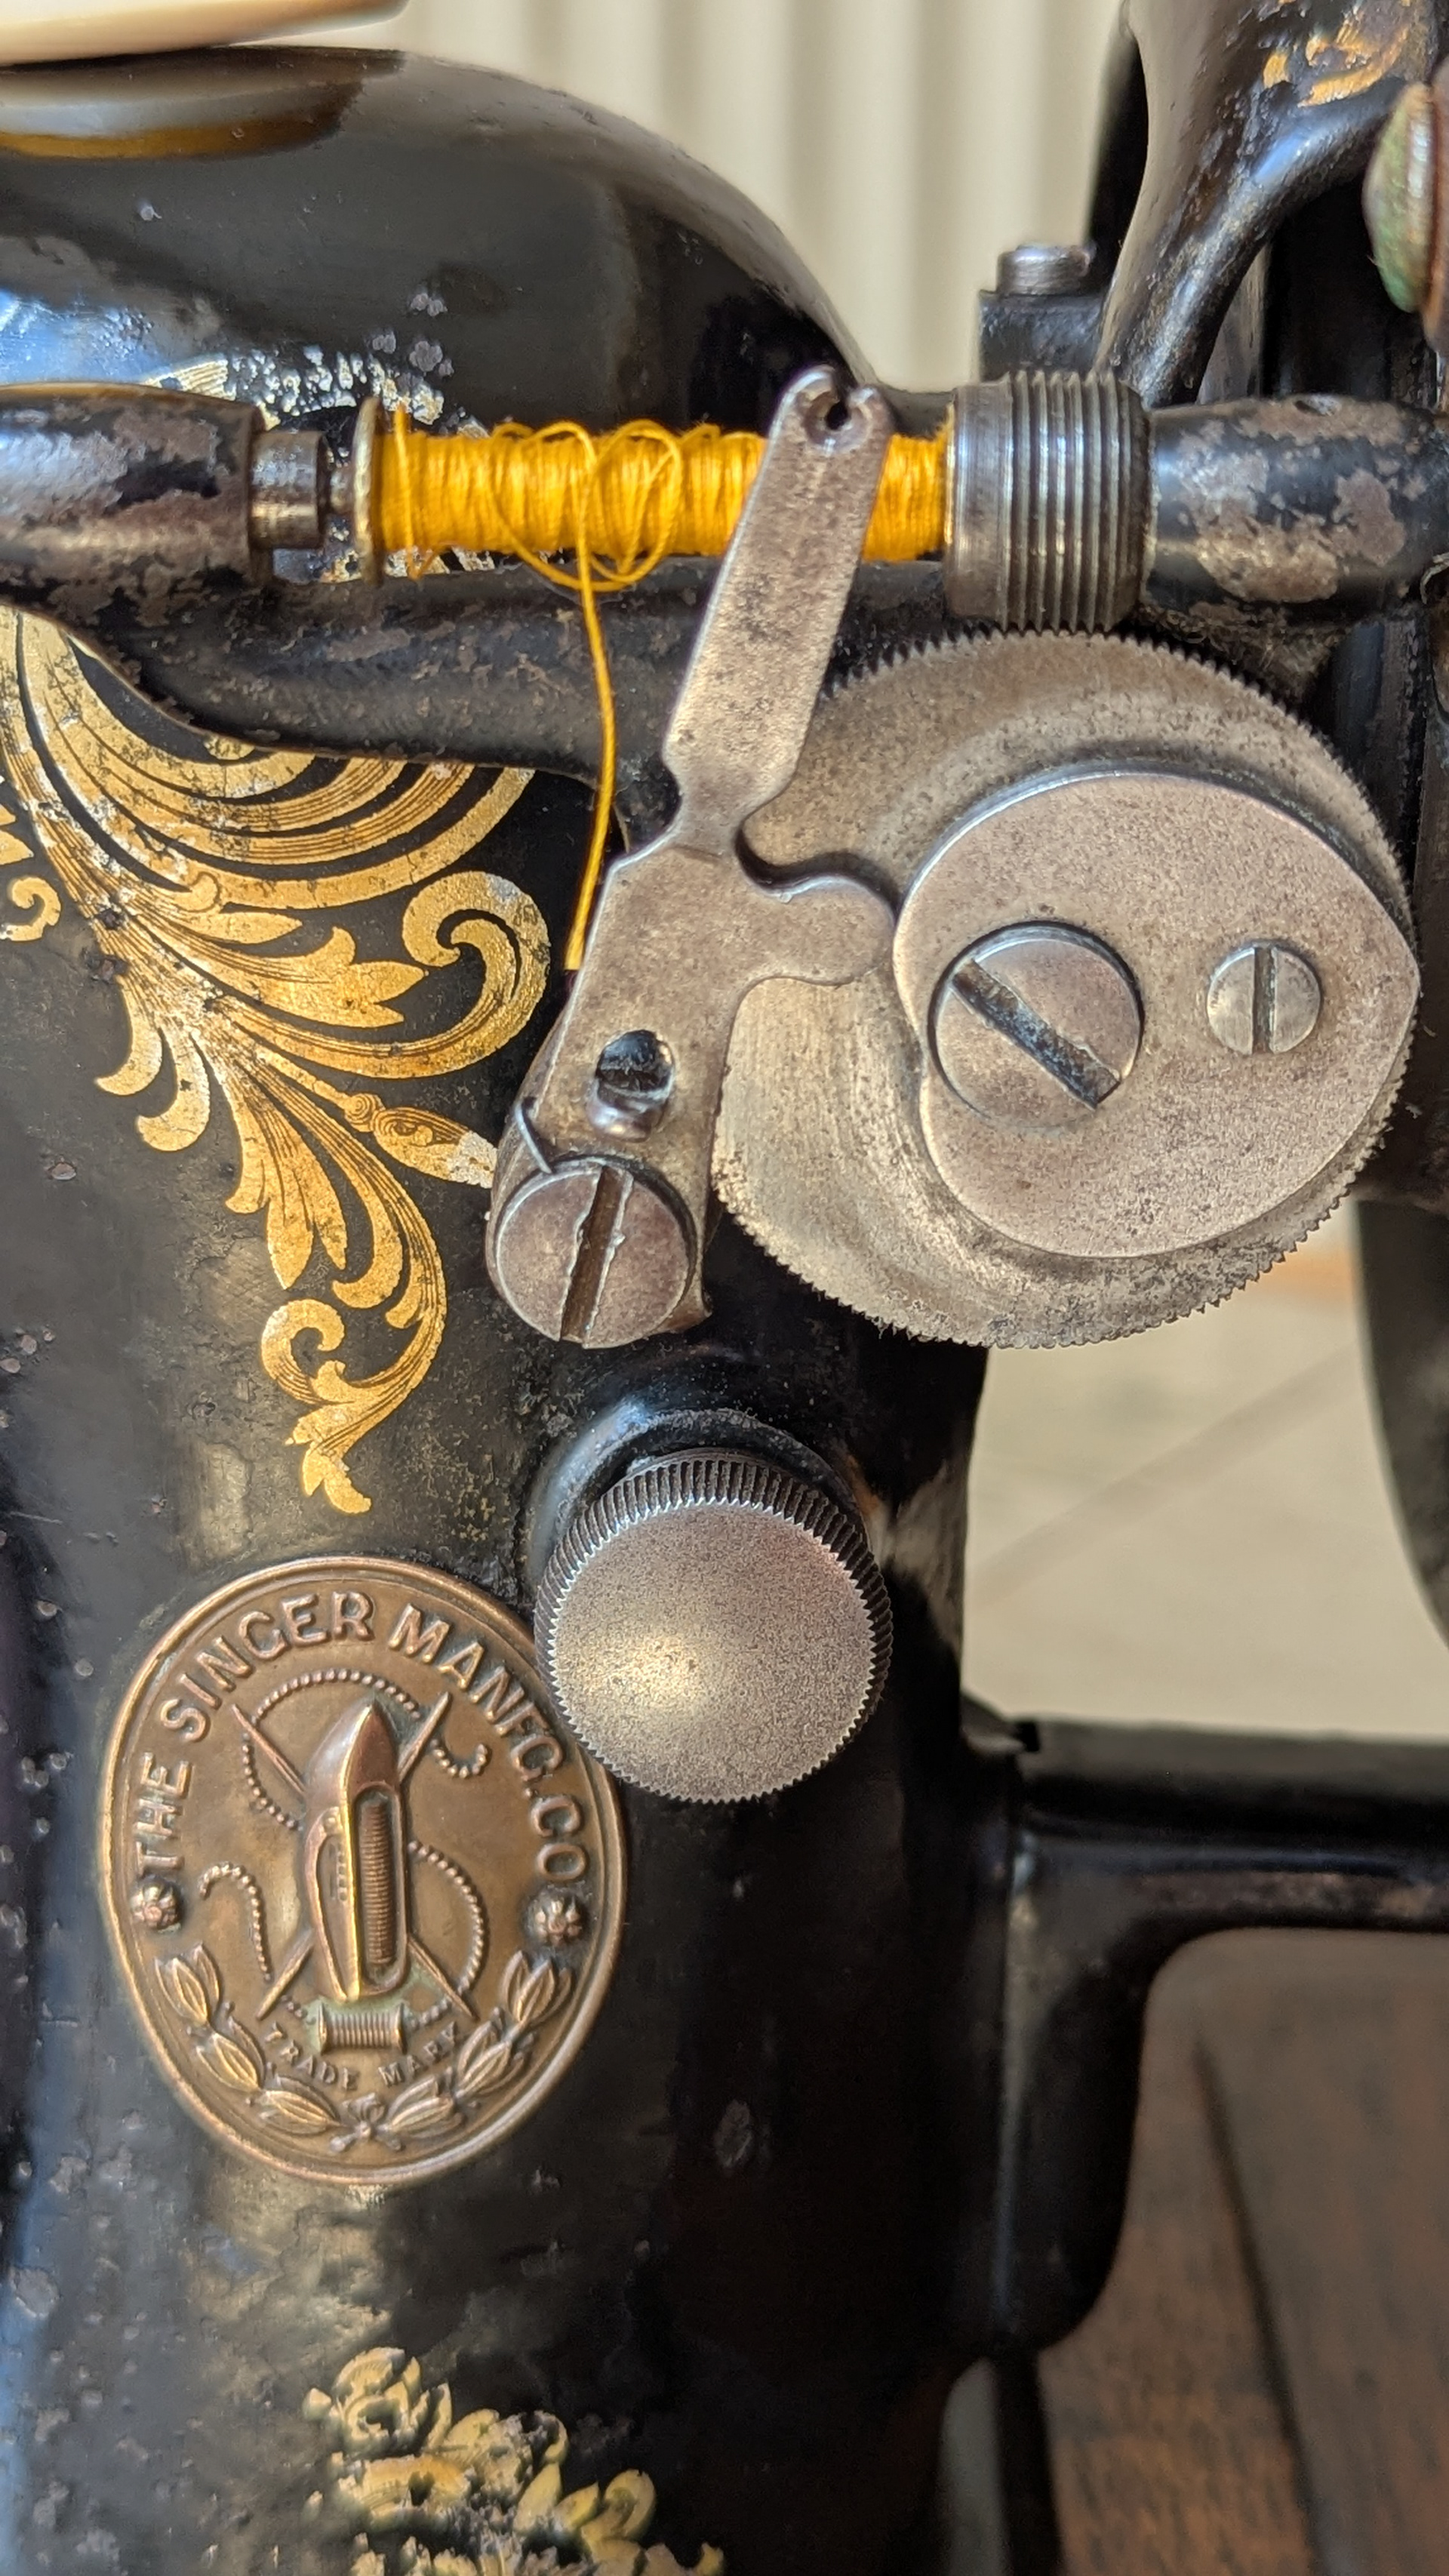
Tension mechanism after cleaning

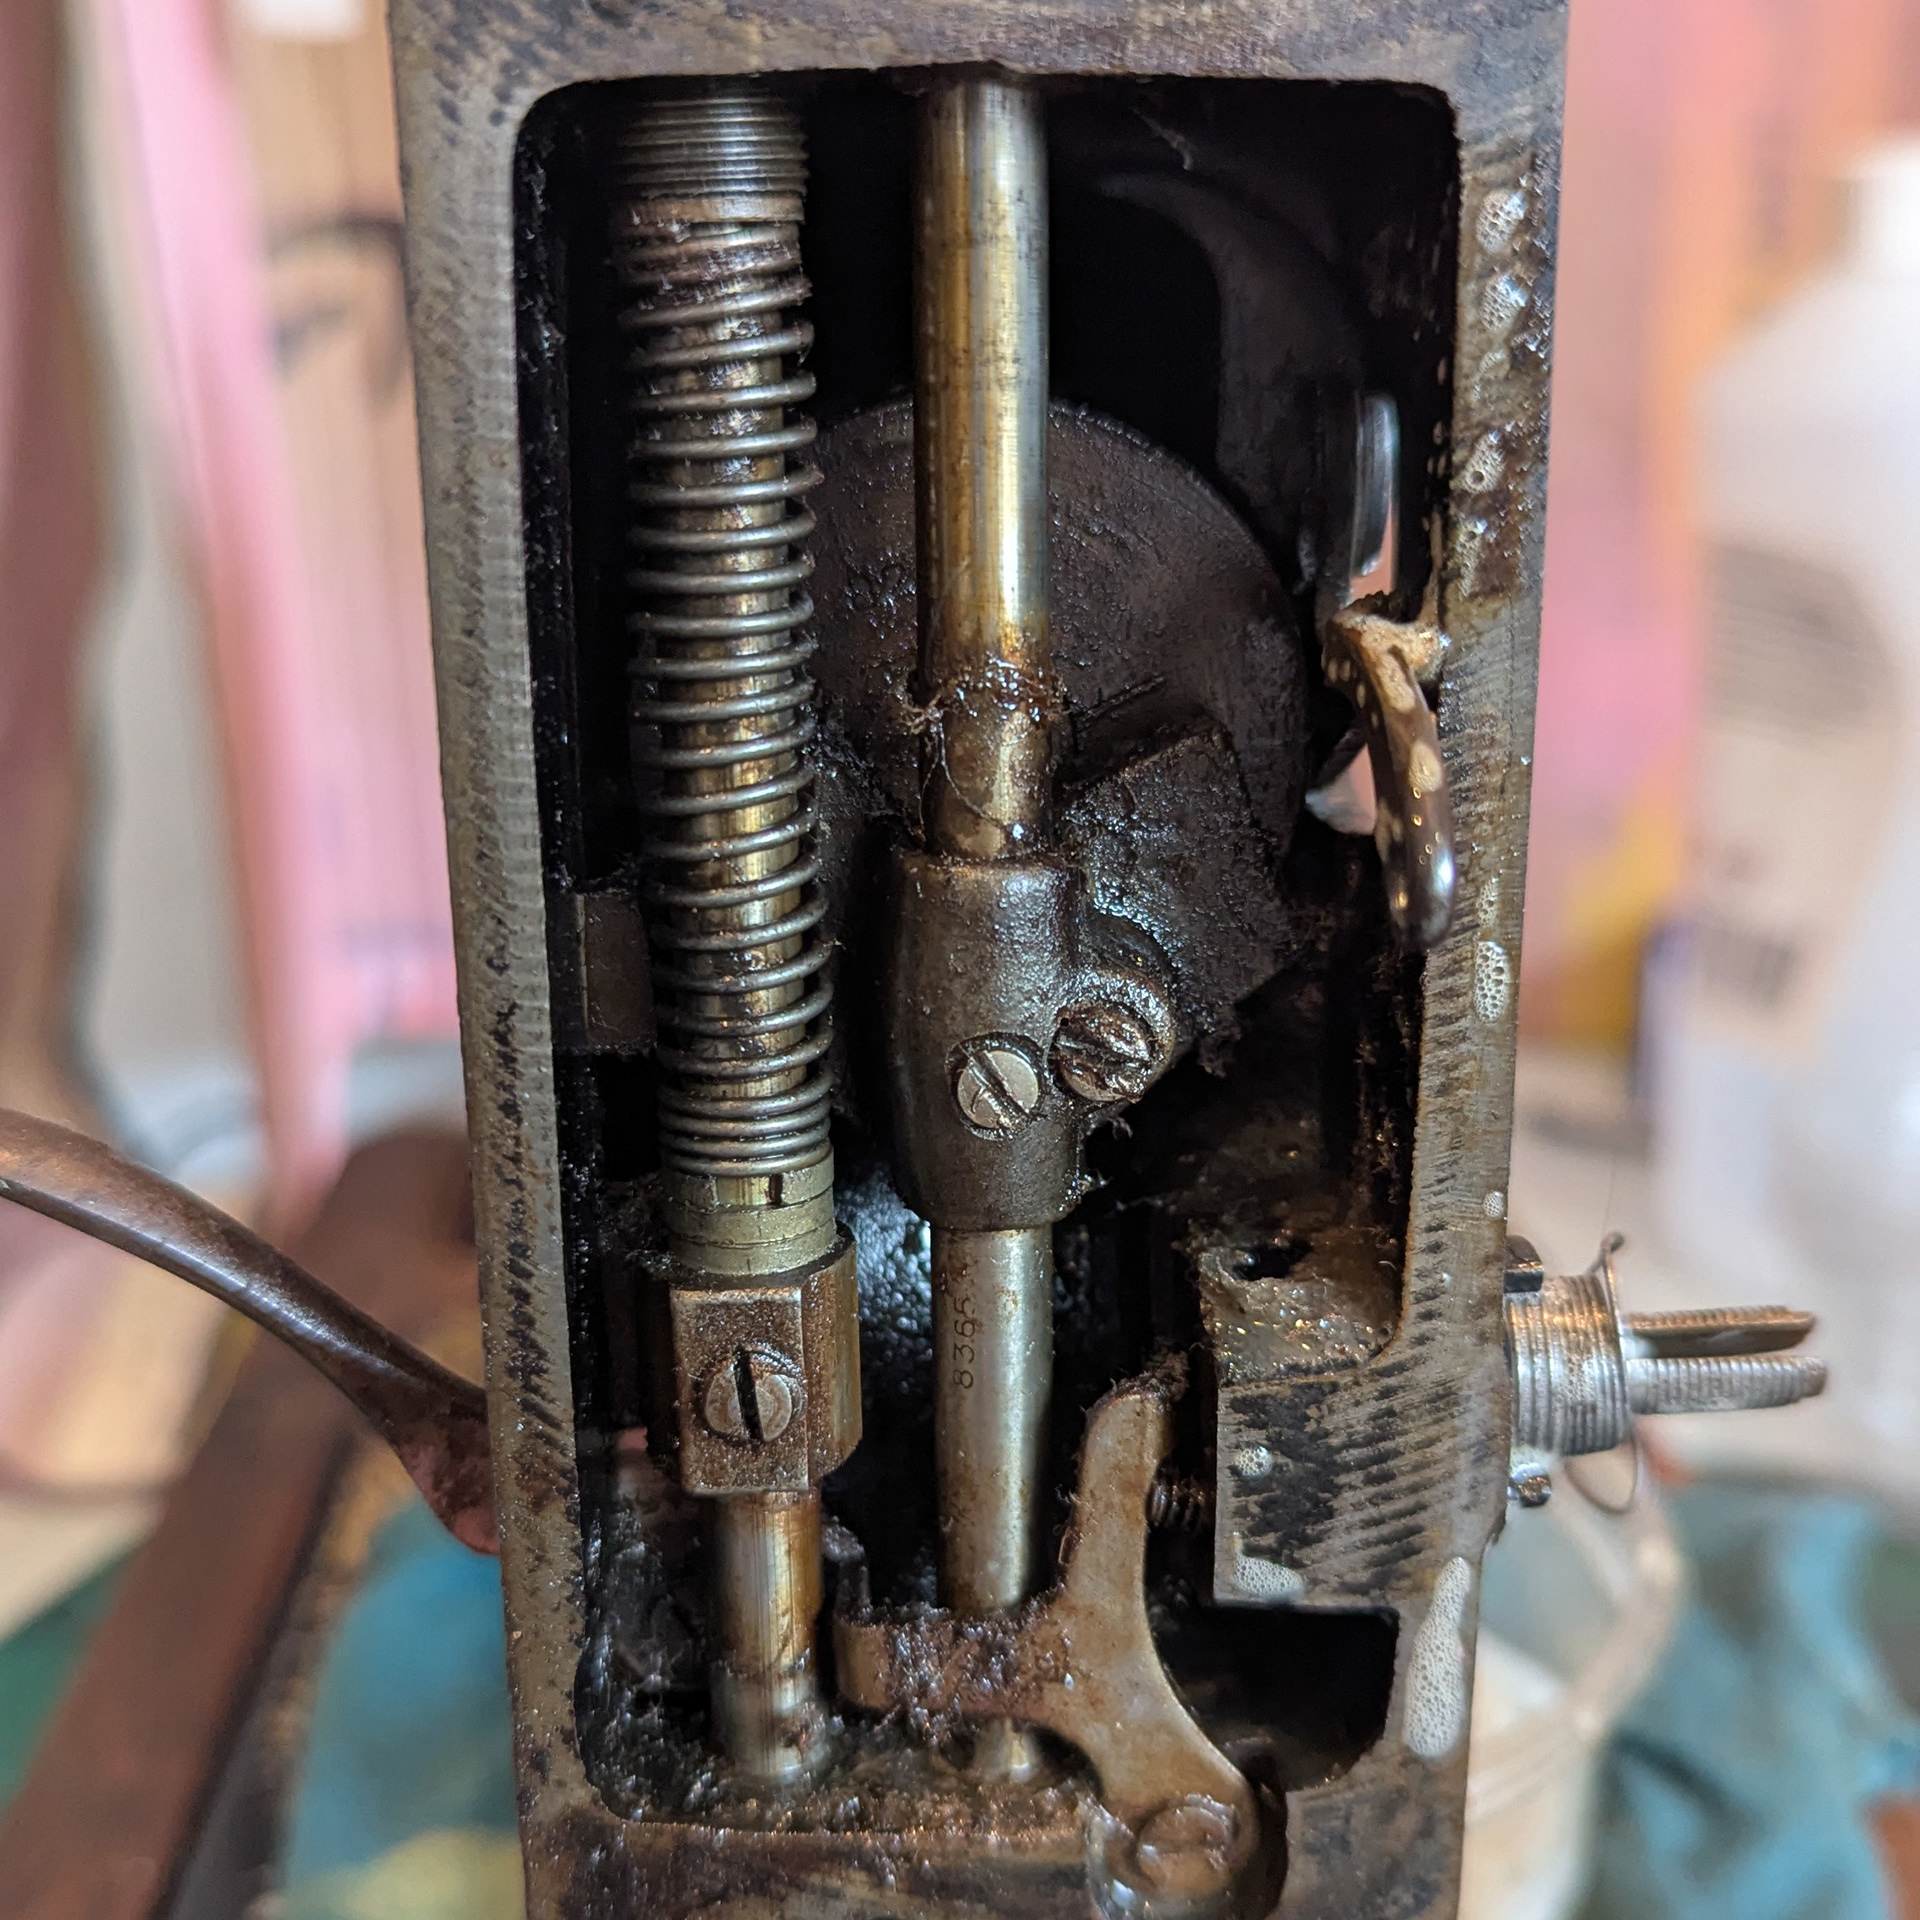
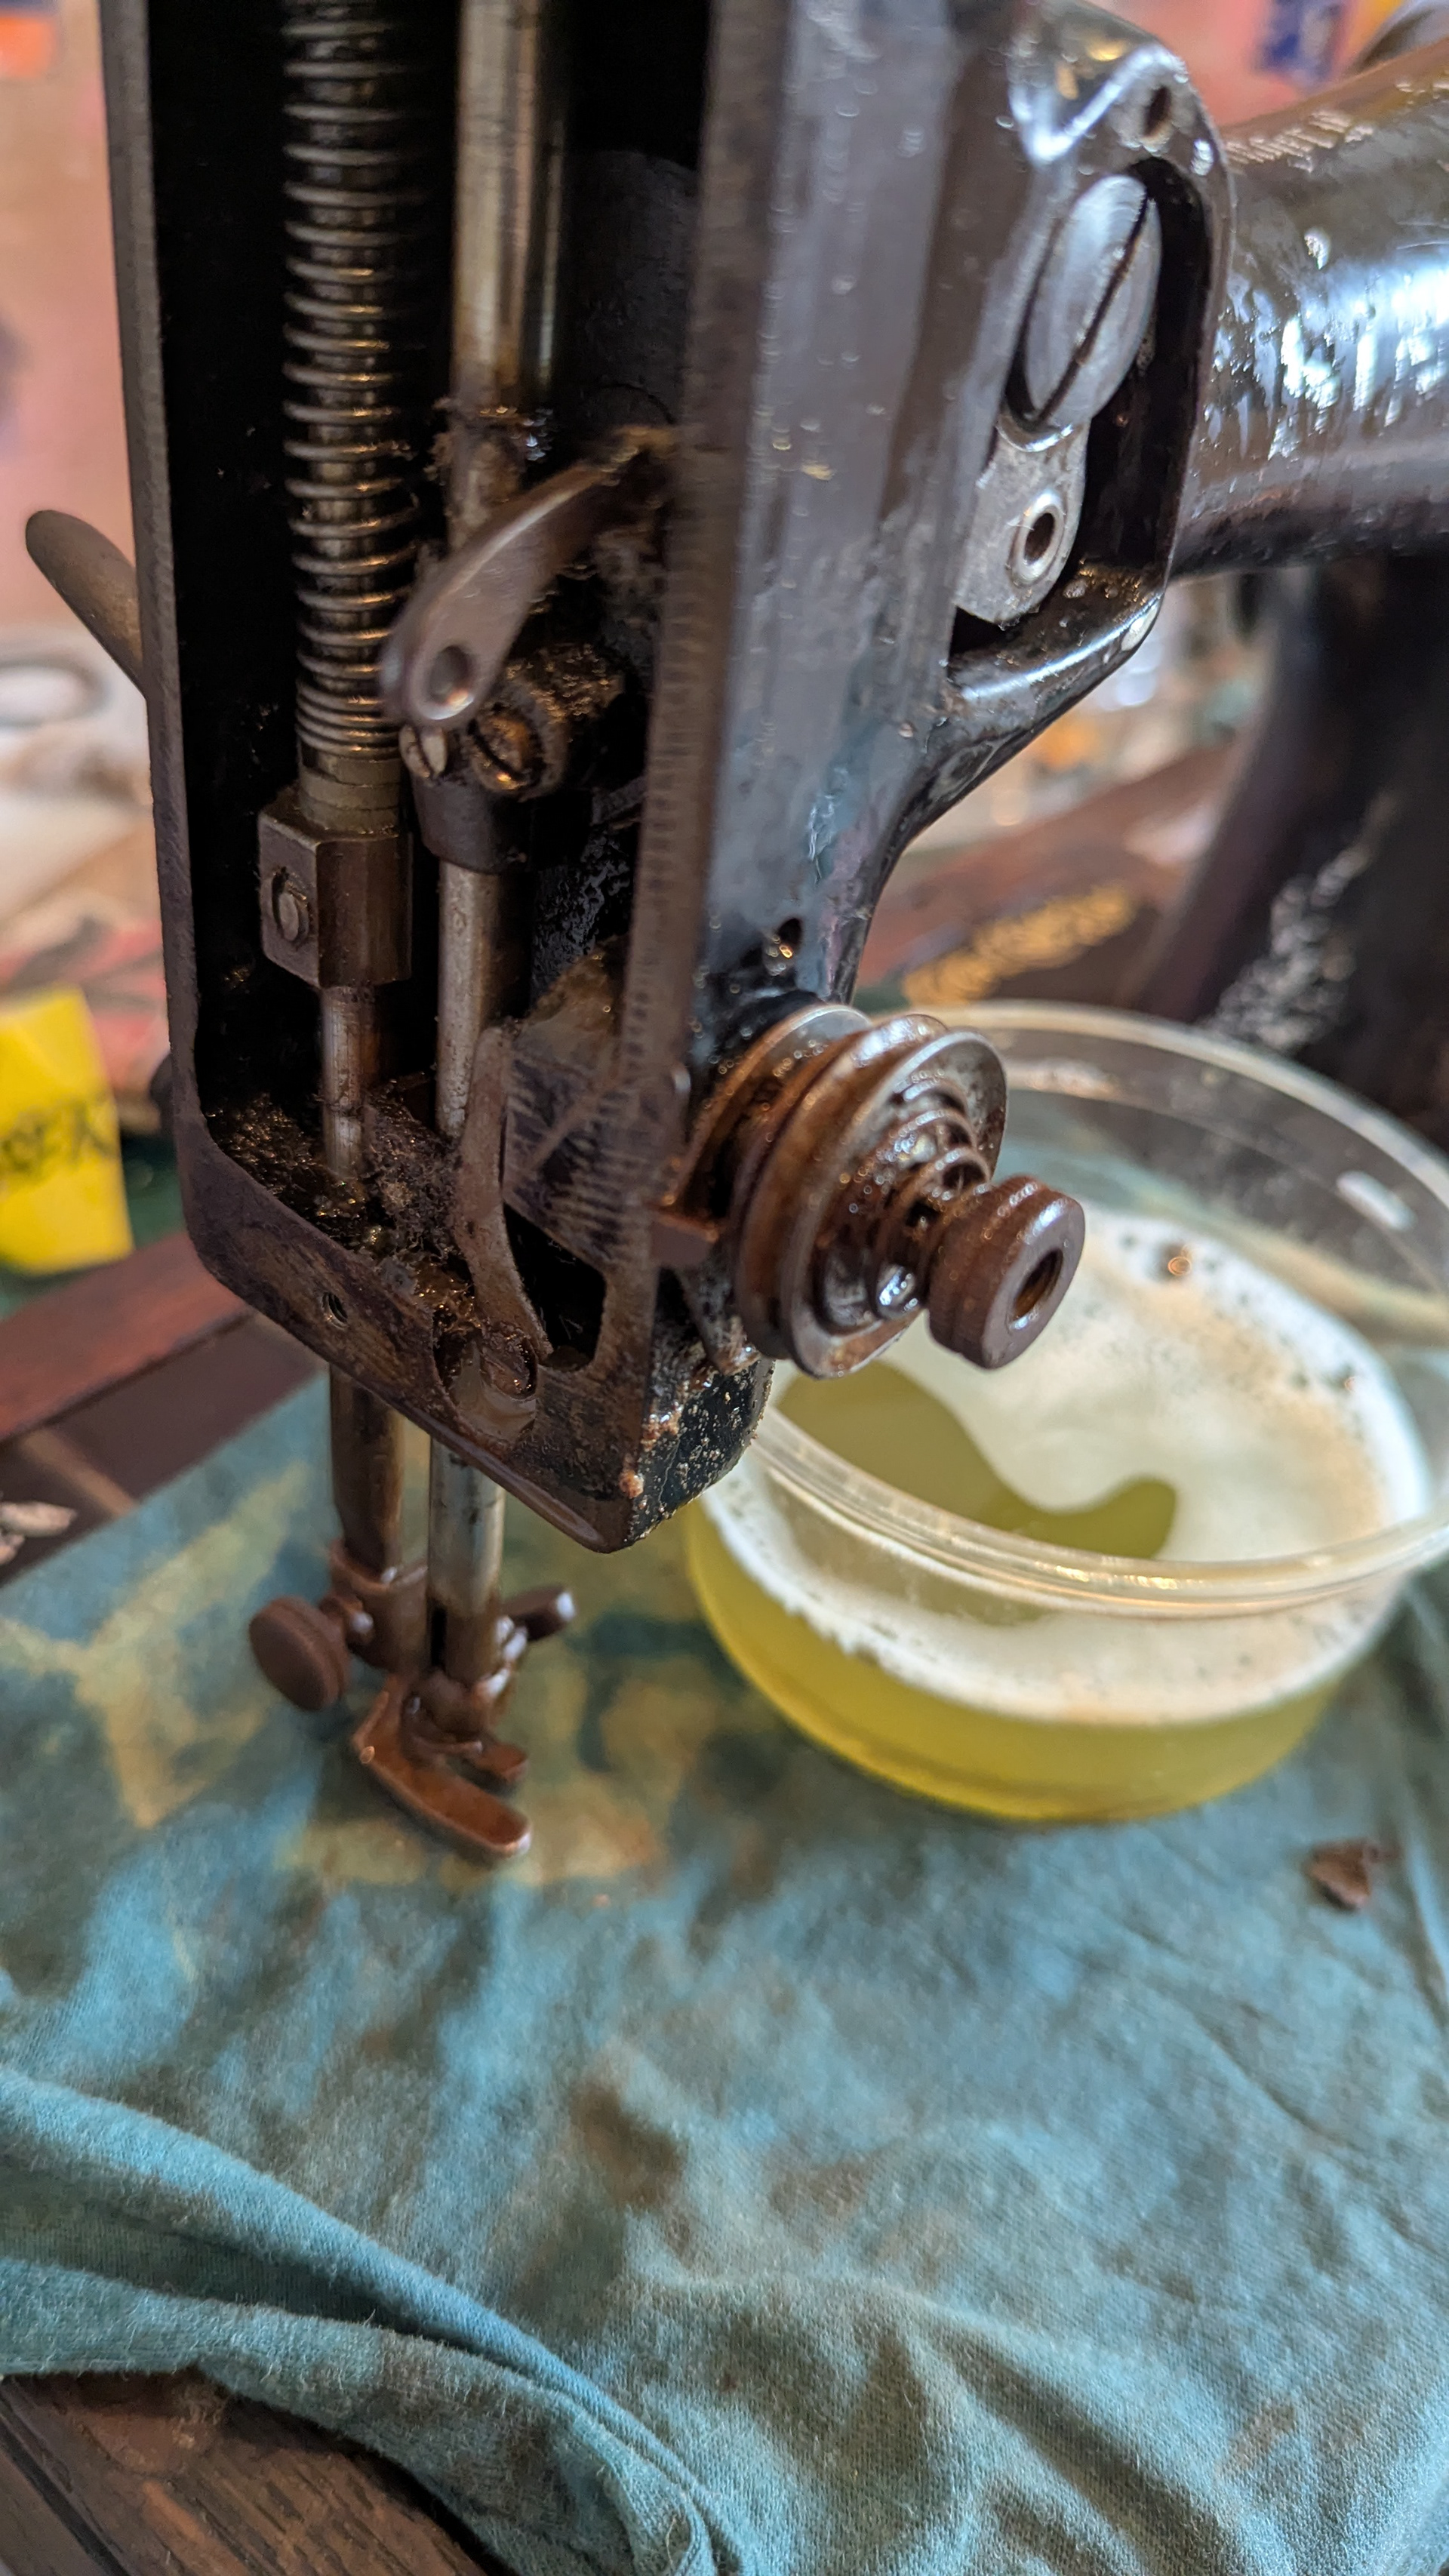
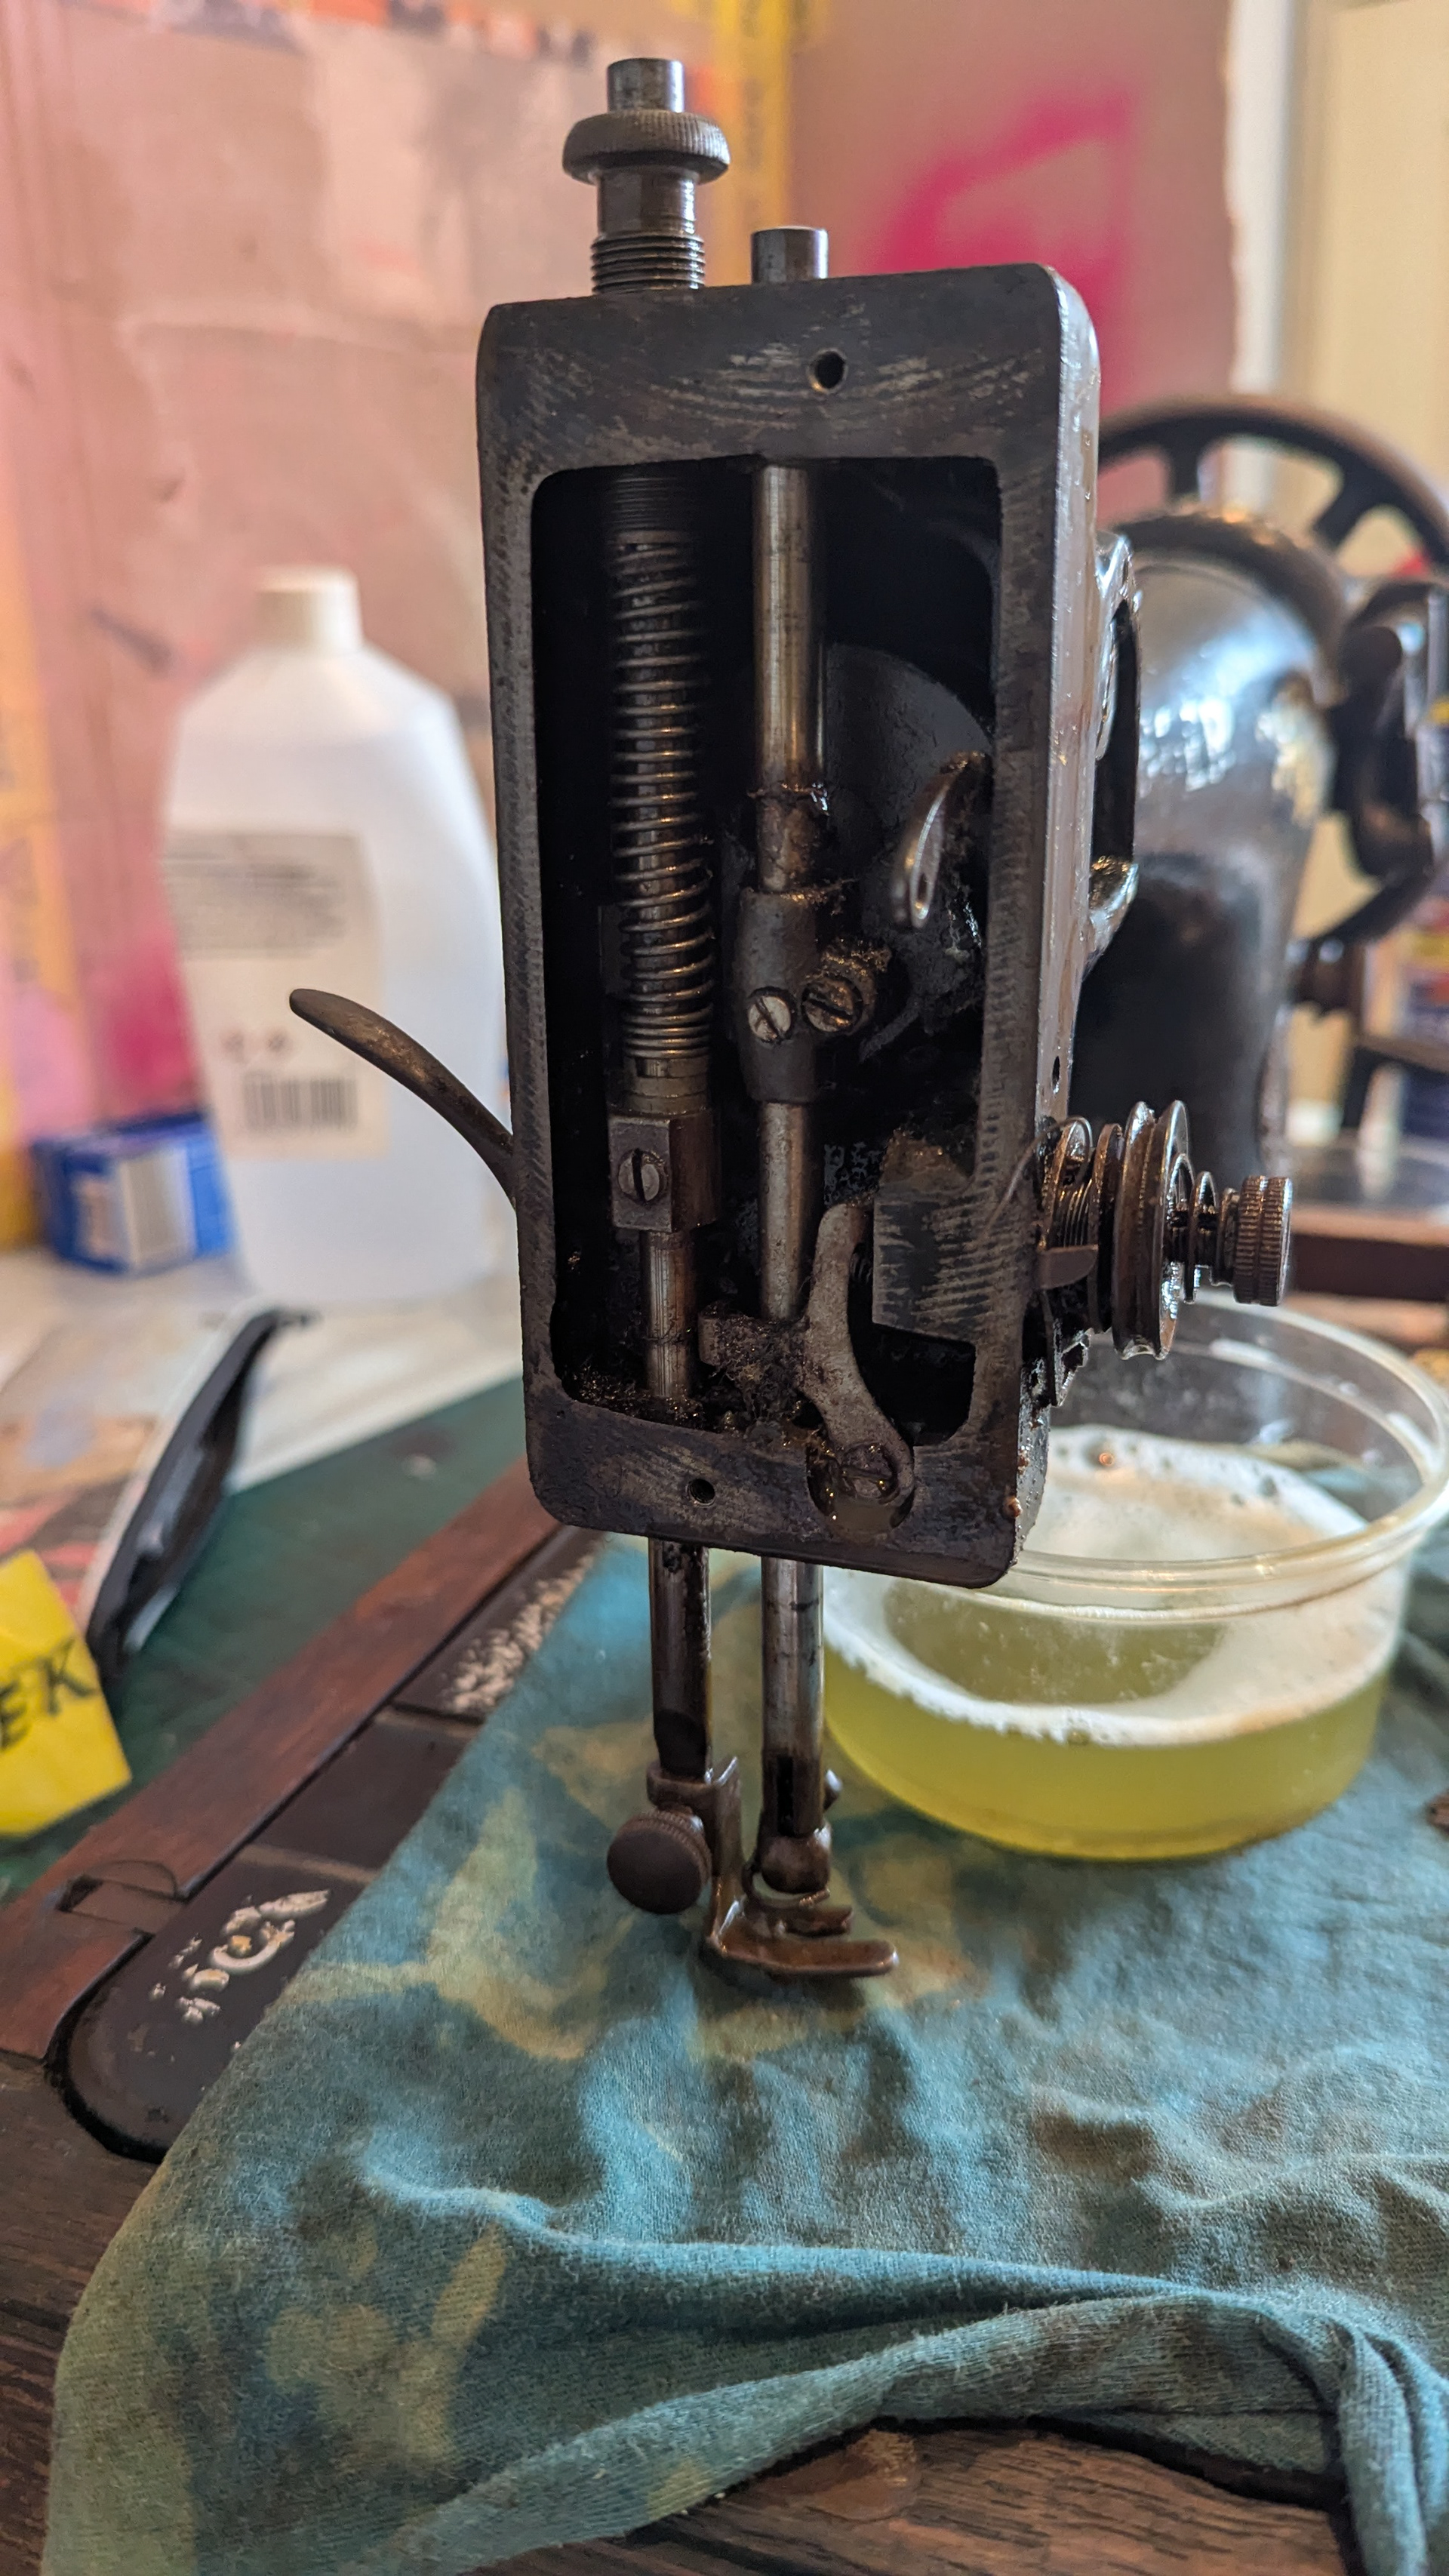
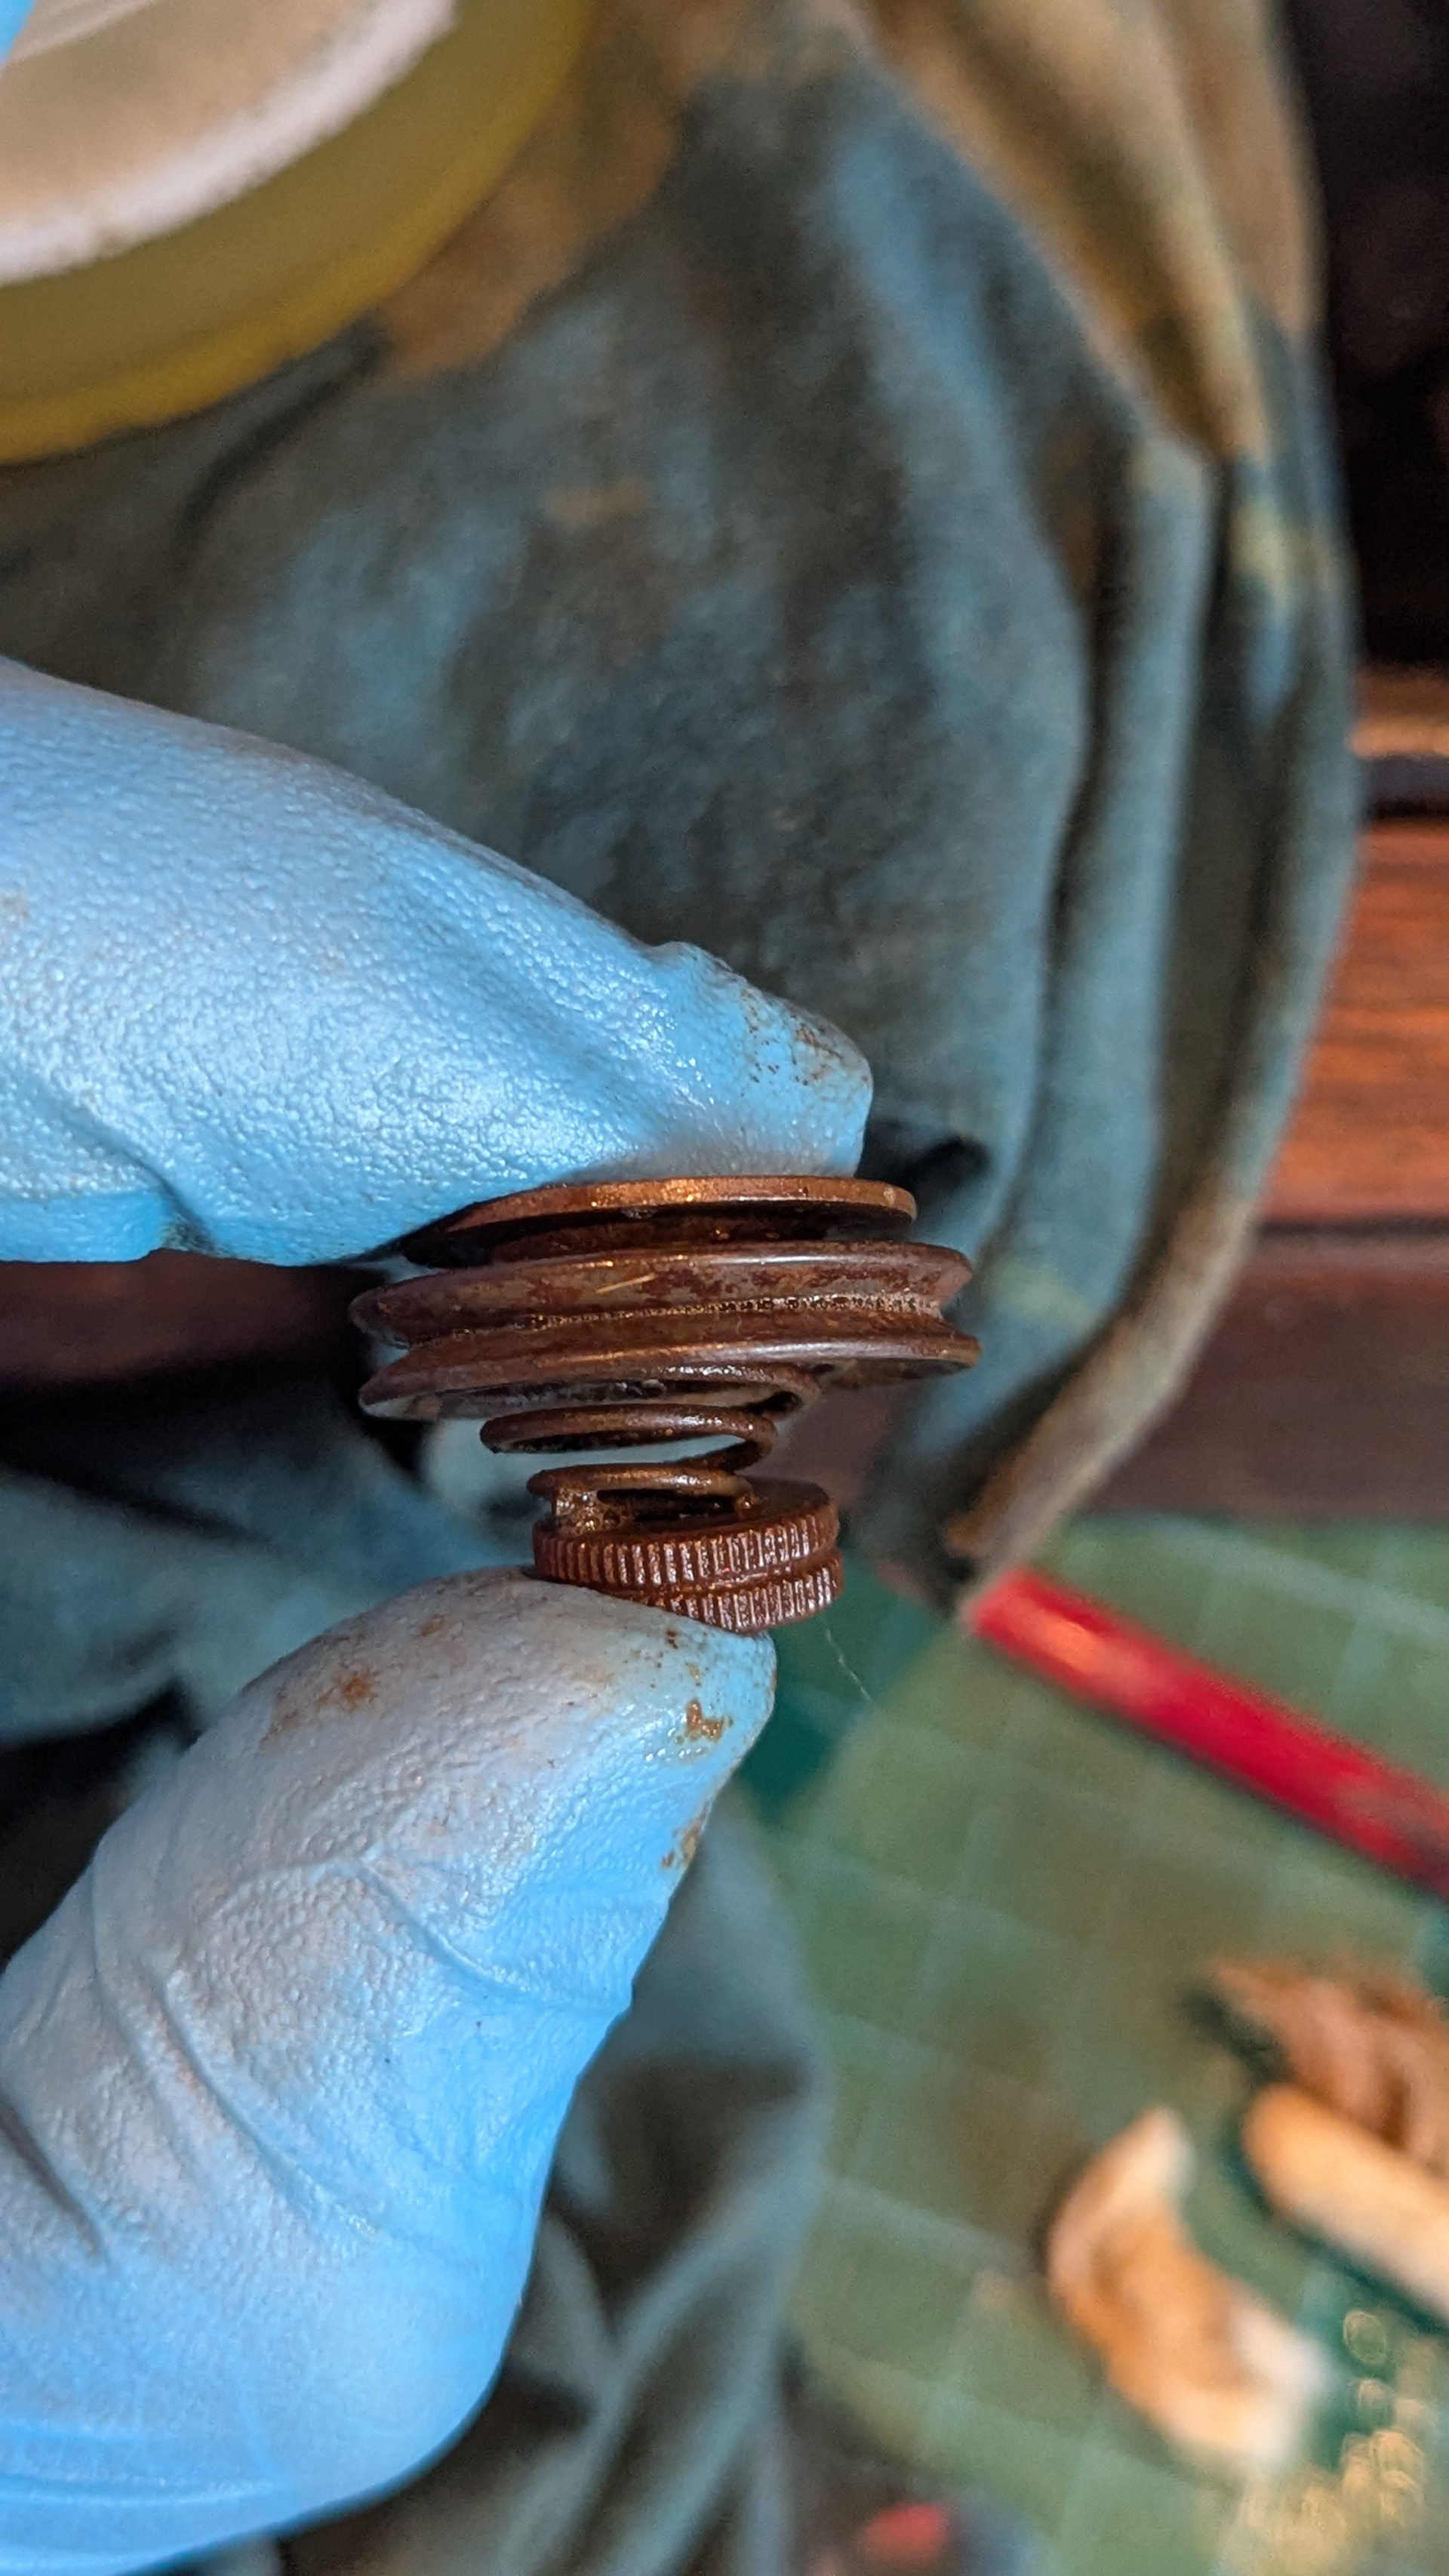
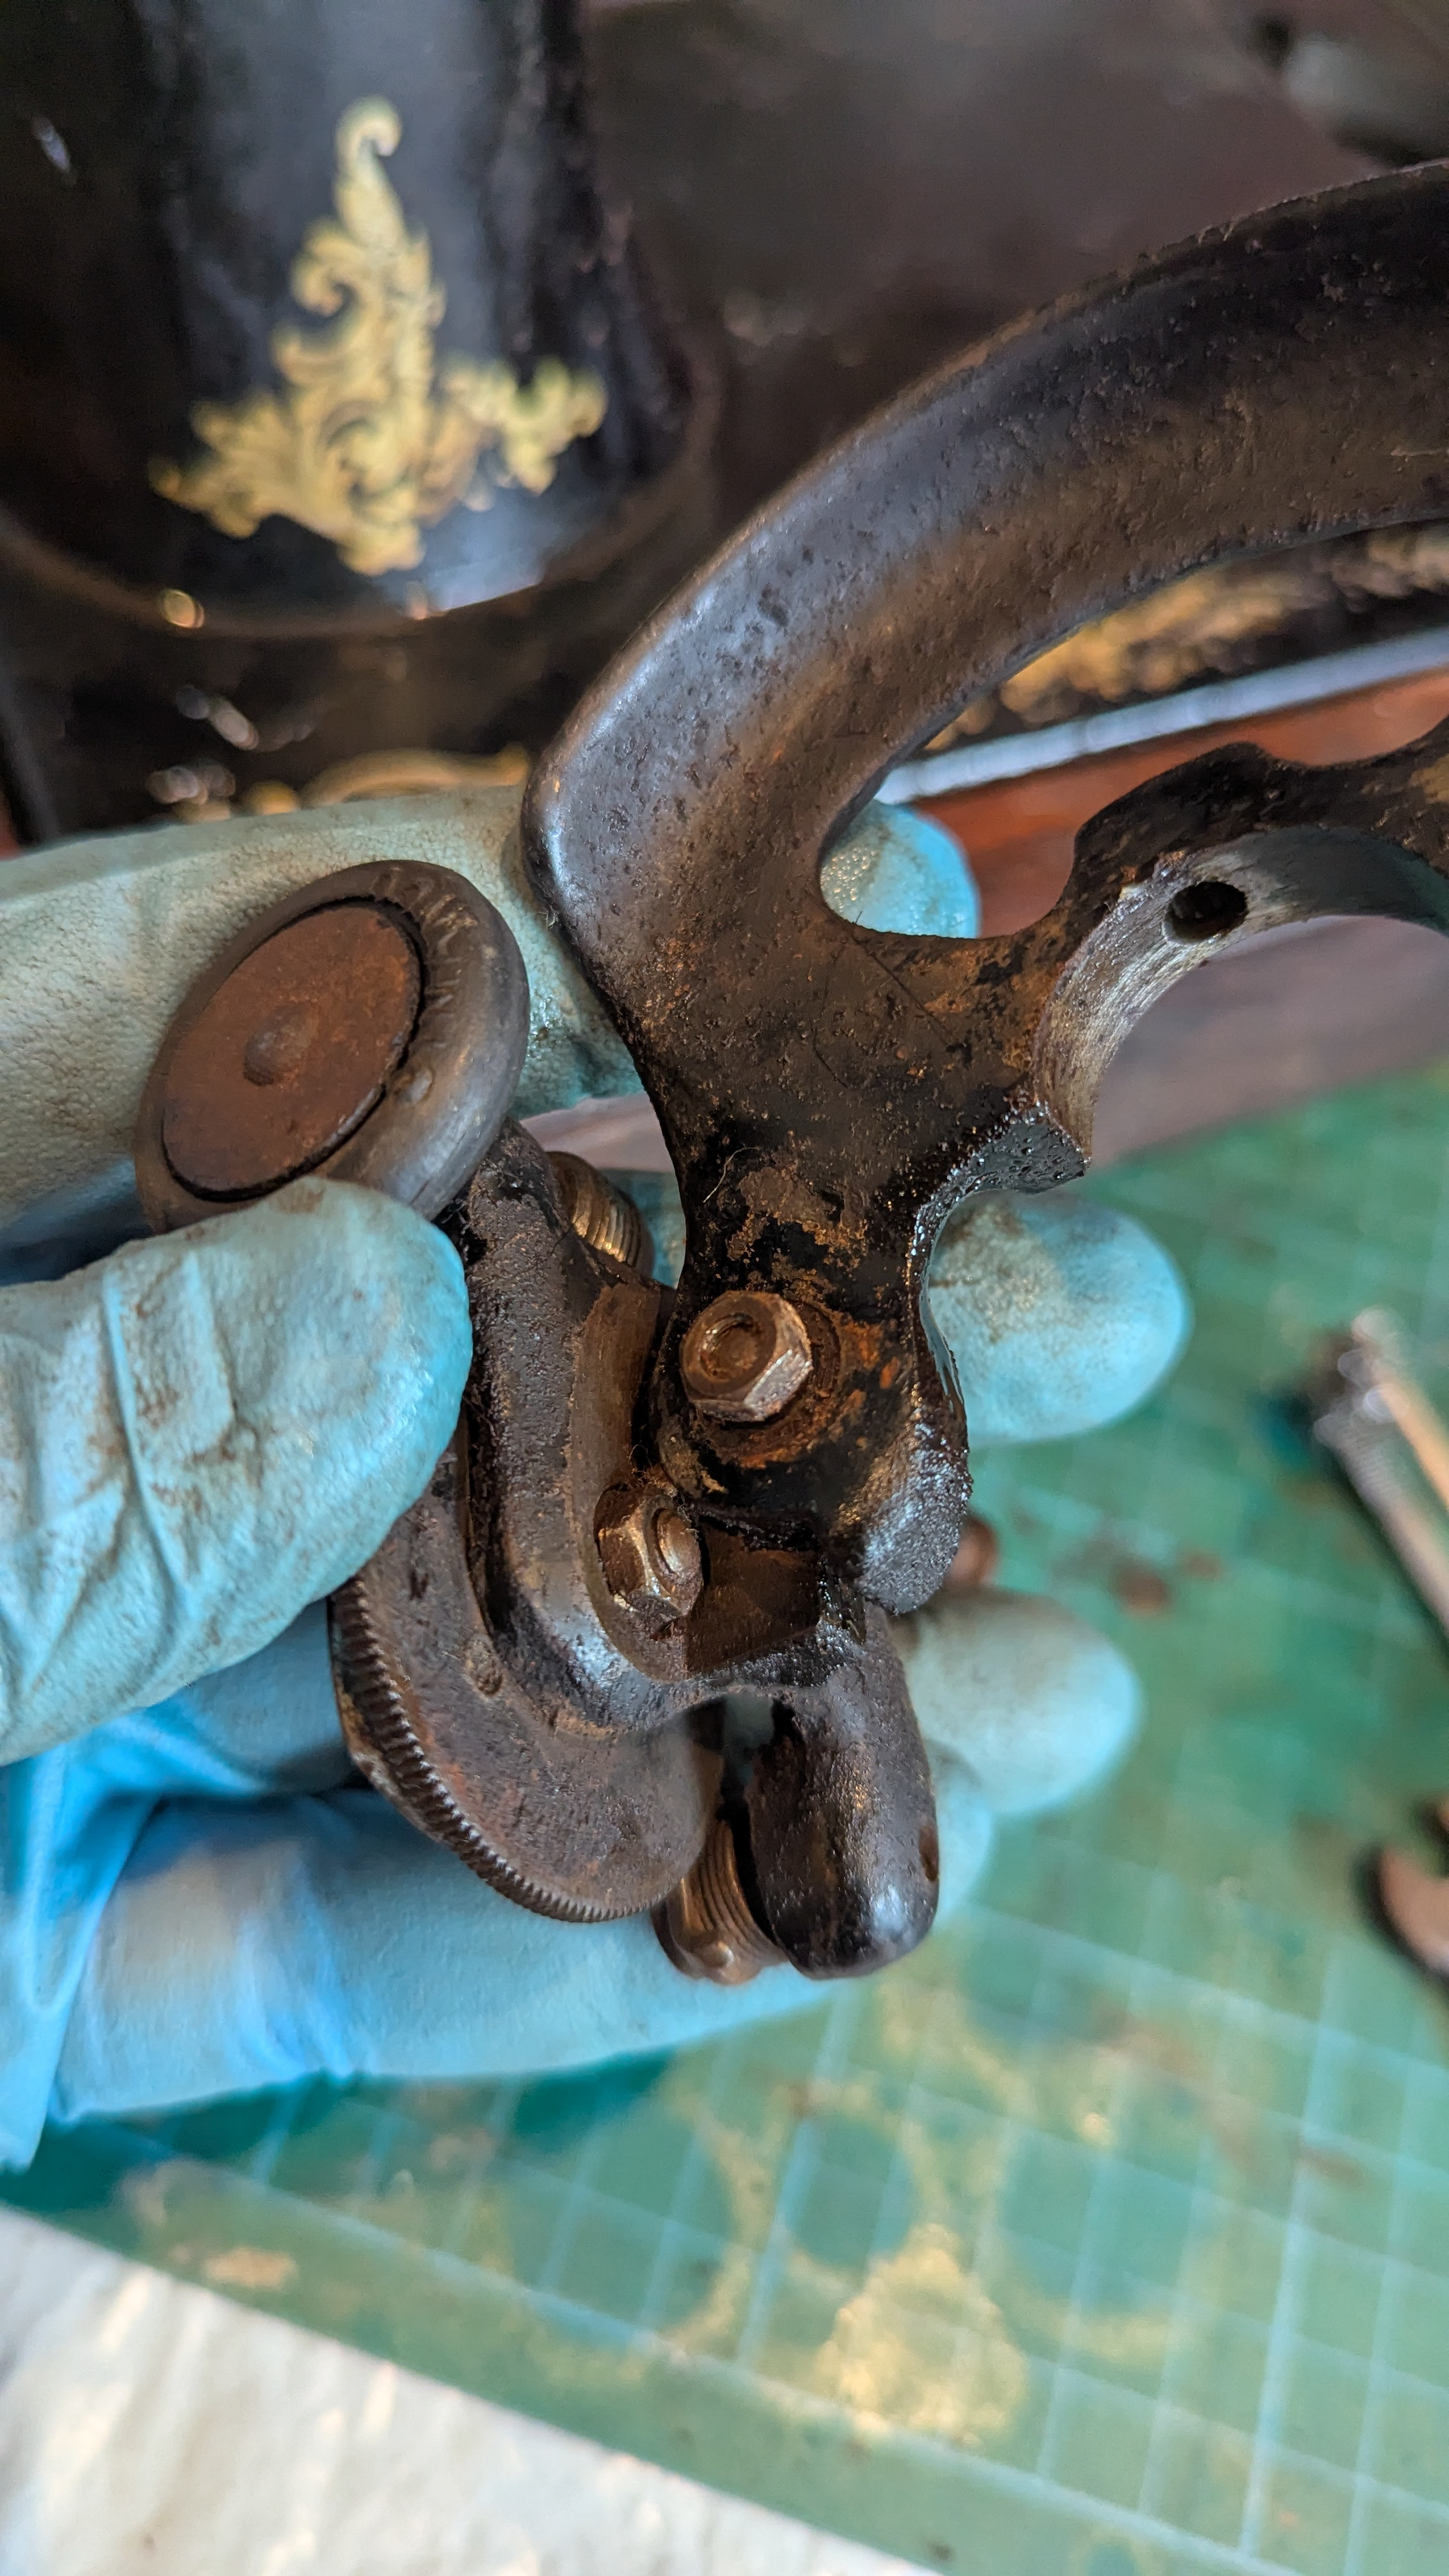
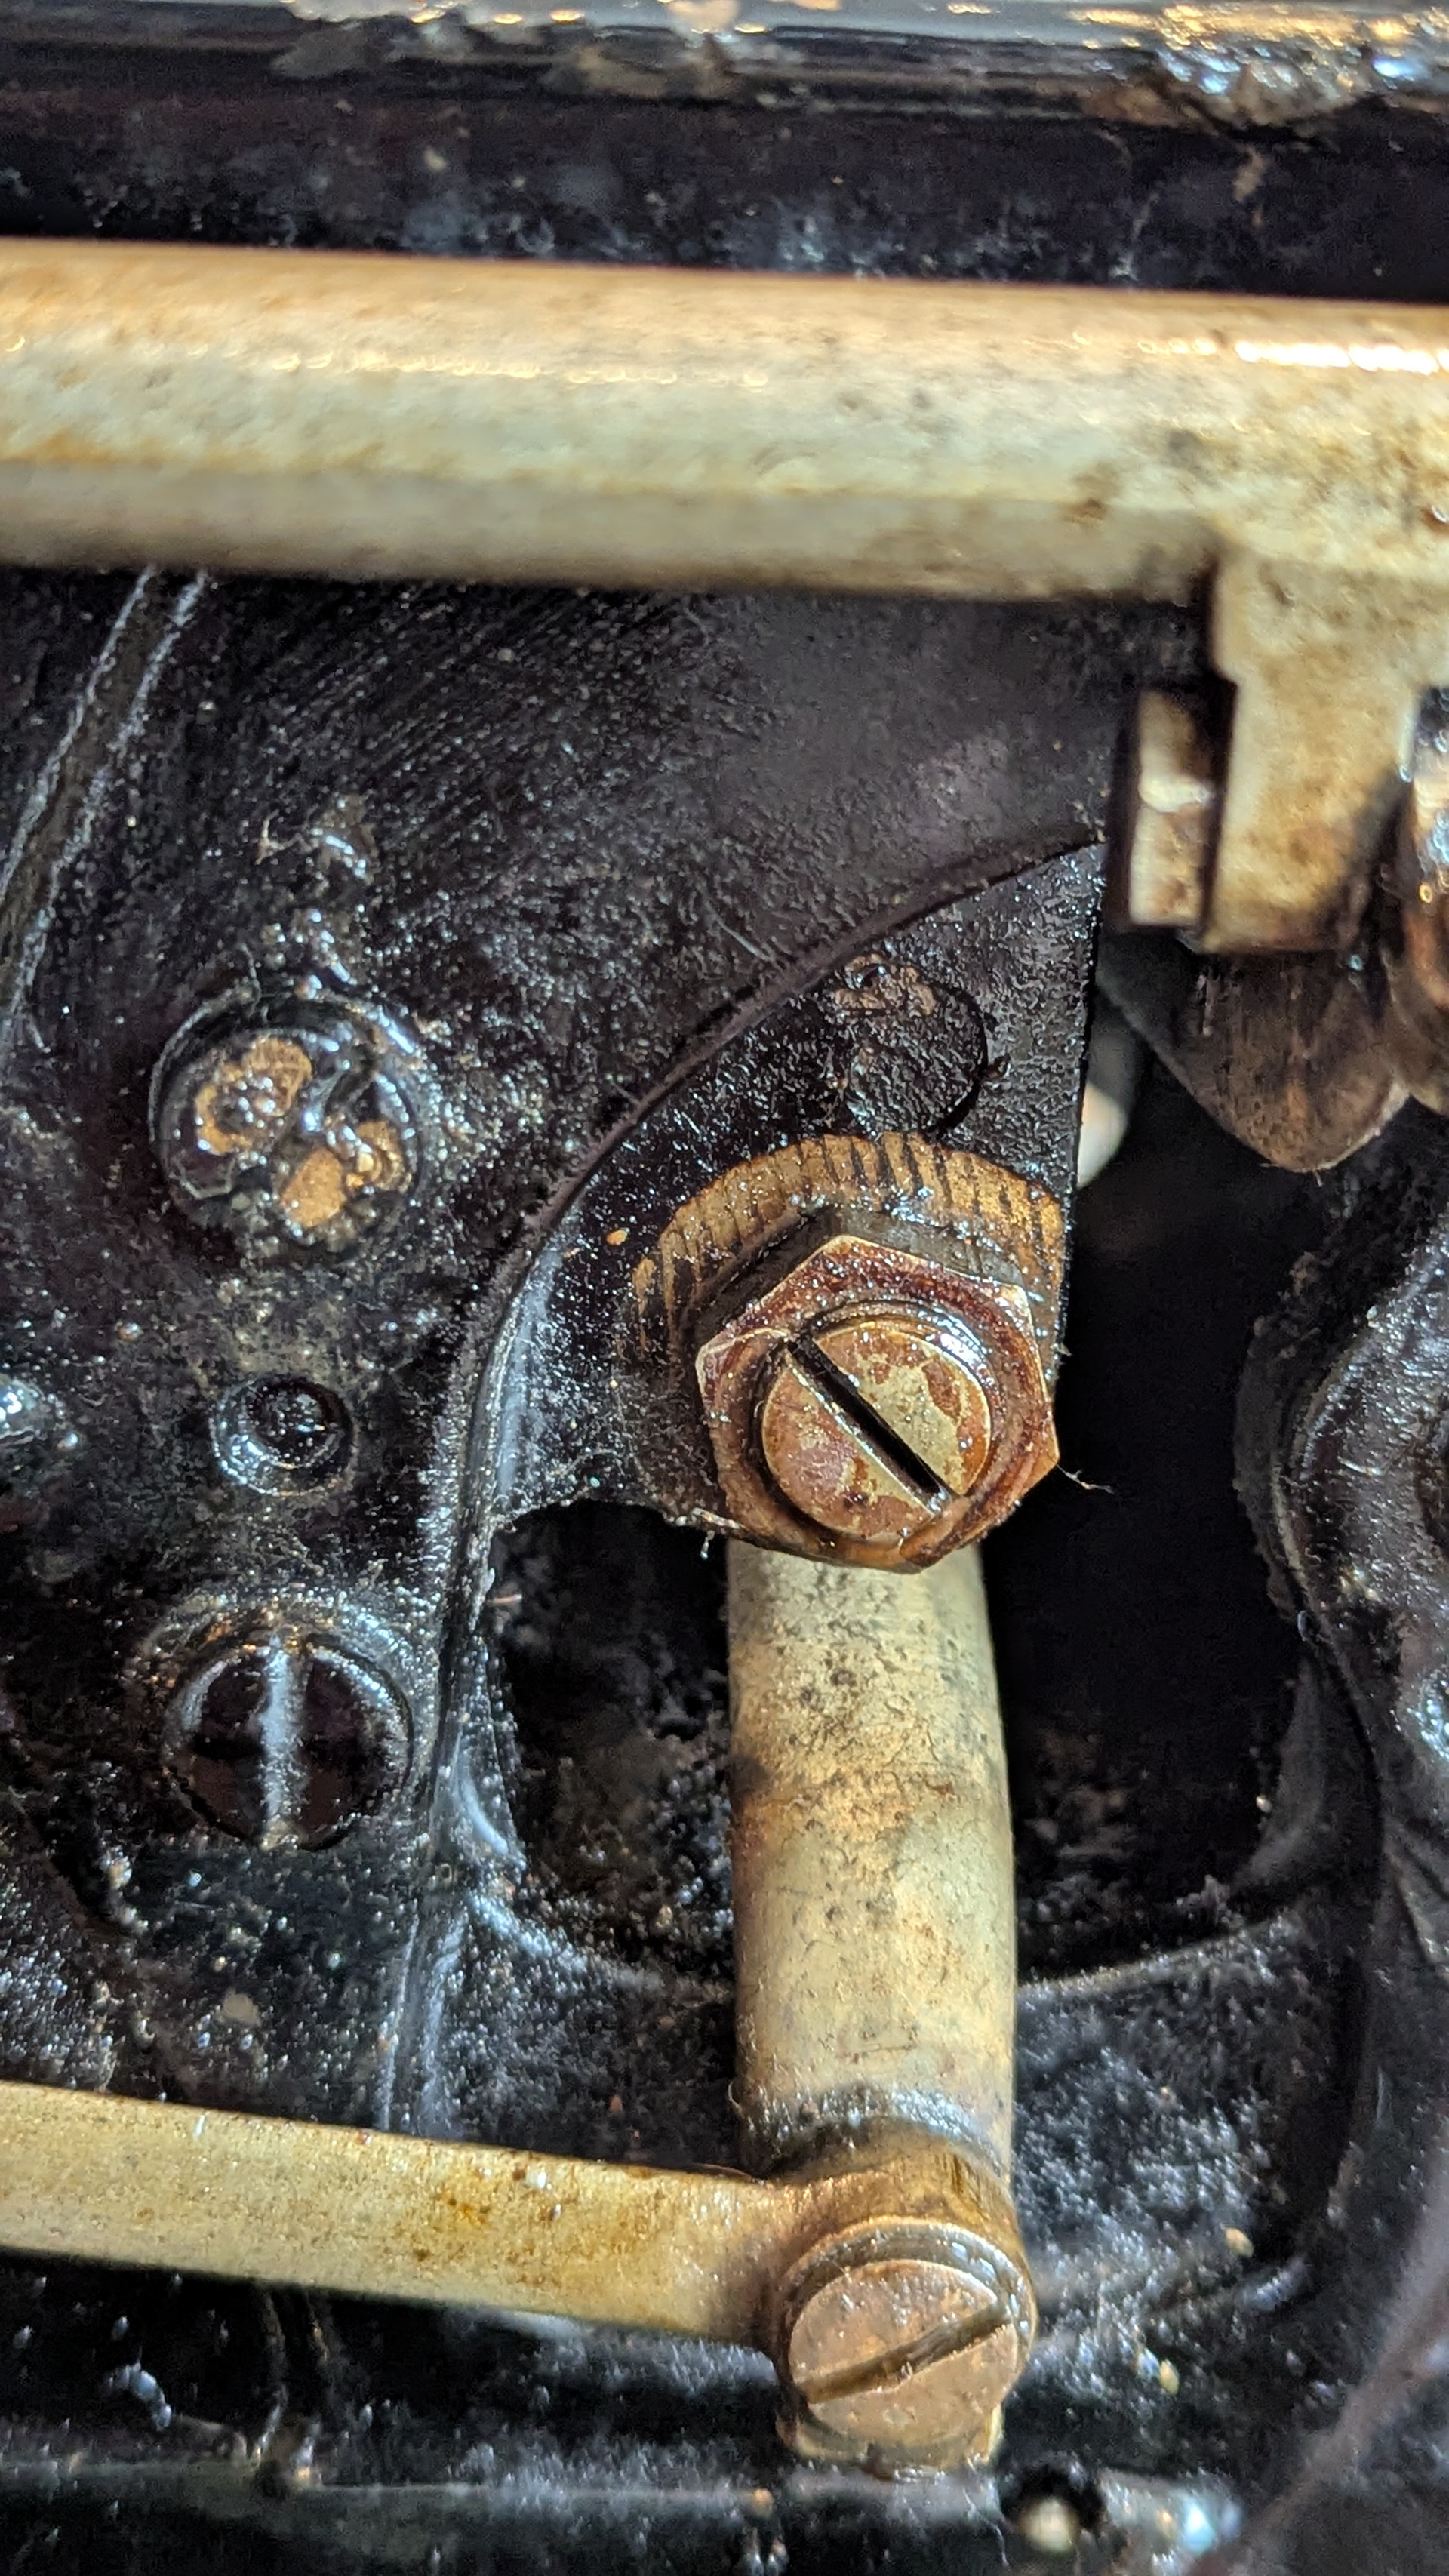
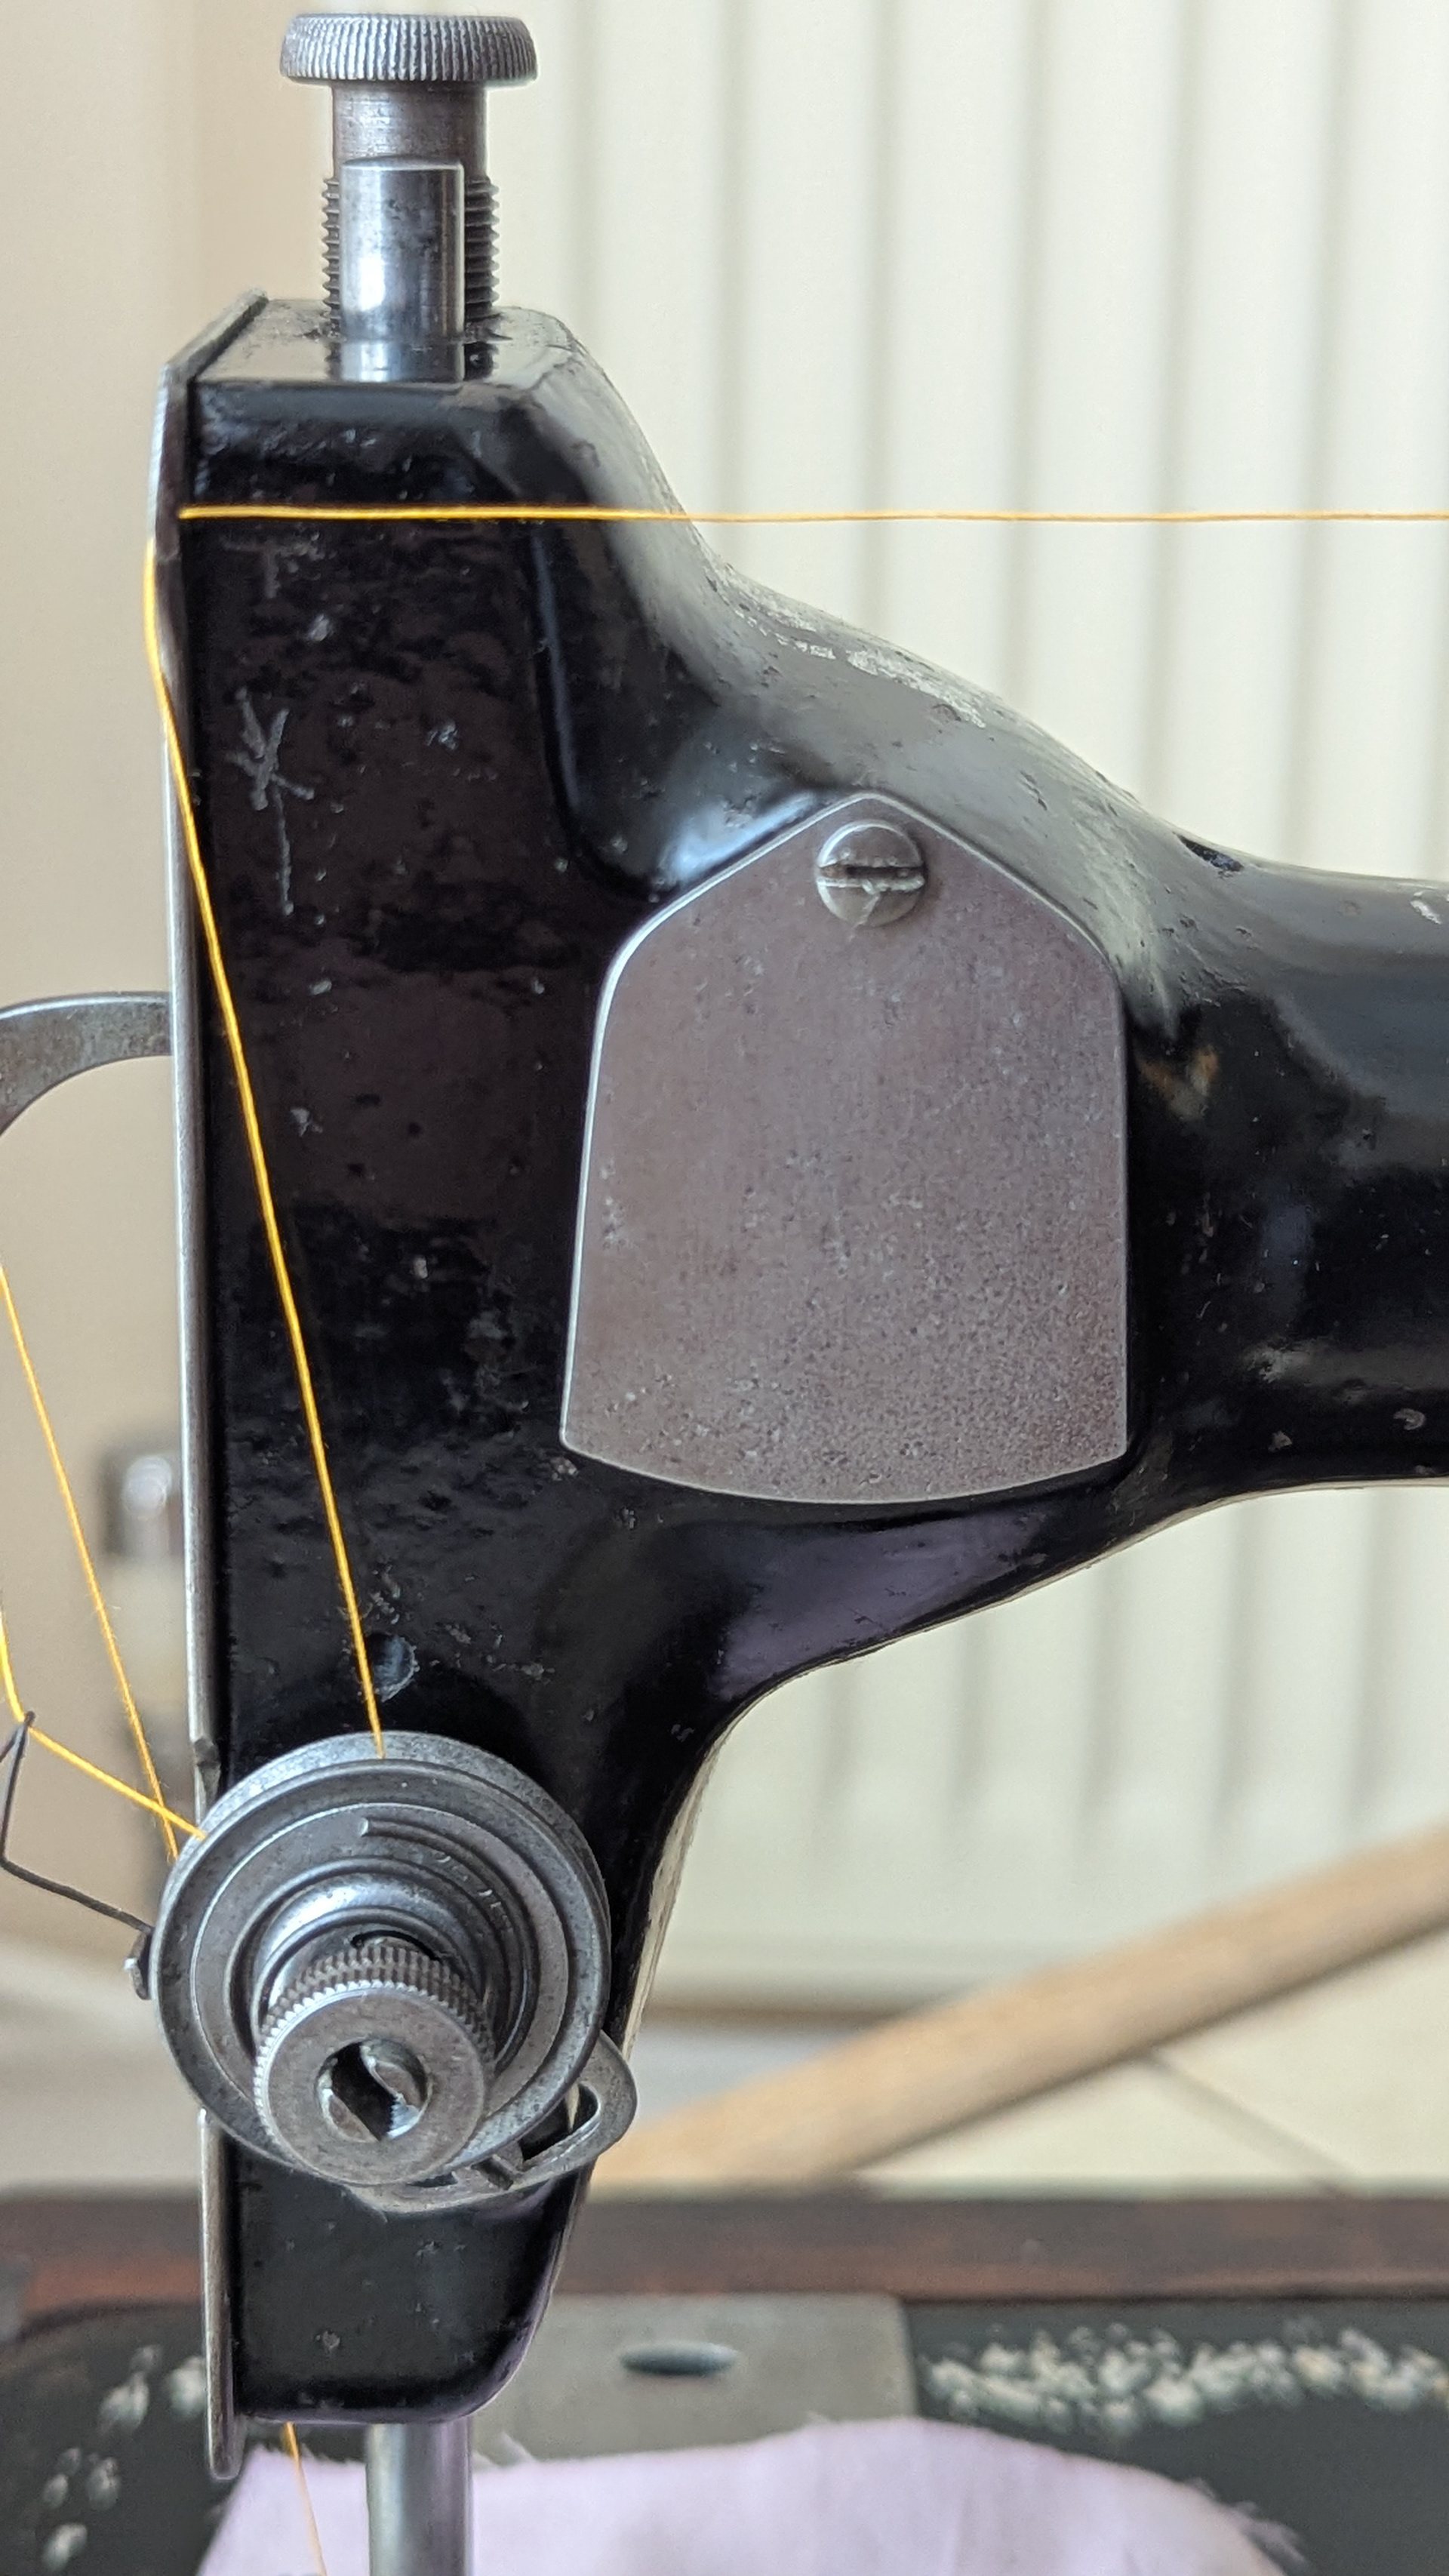
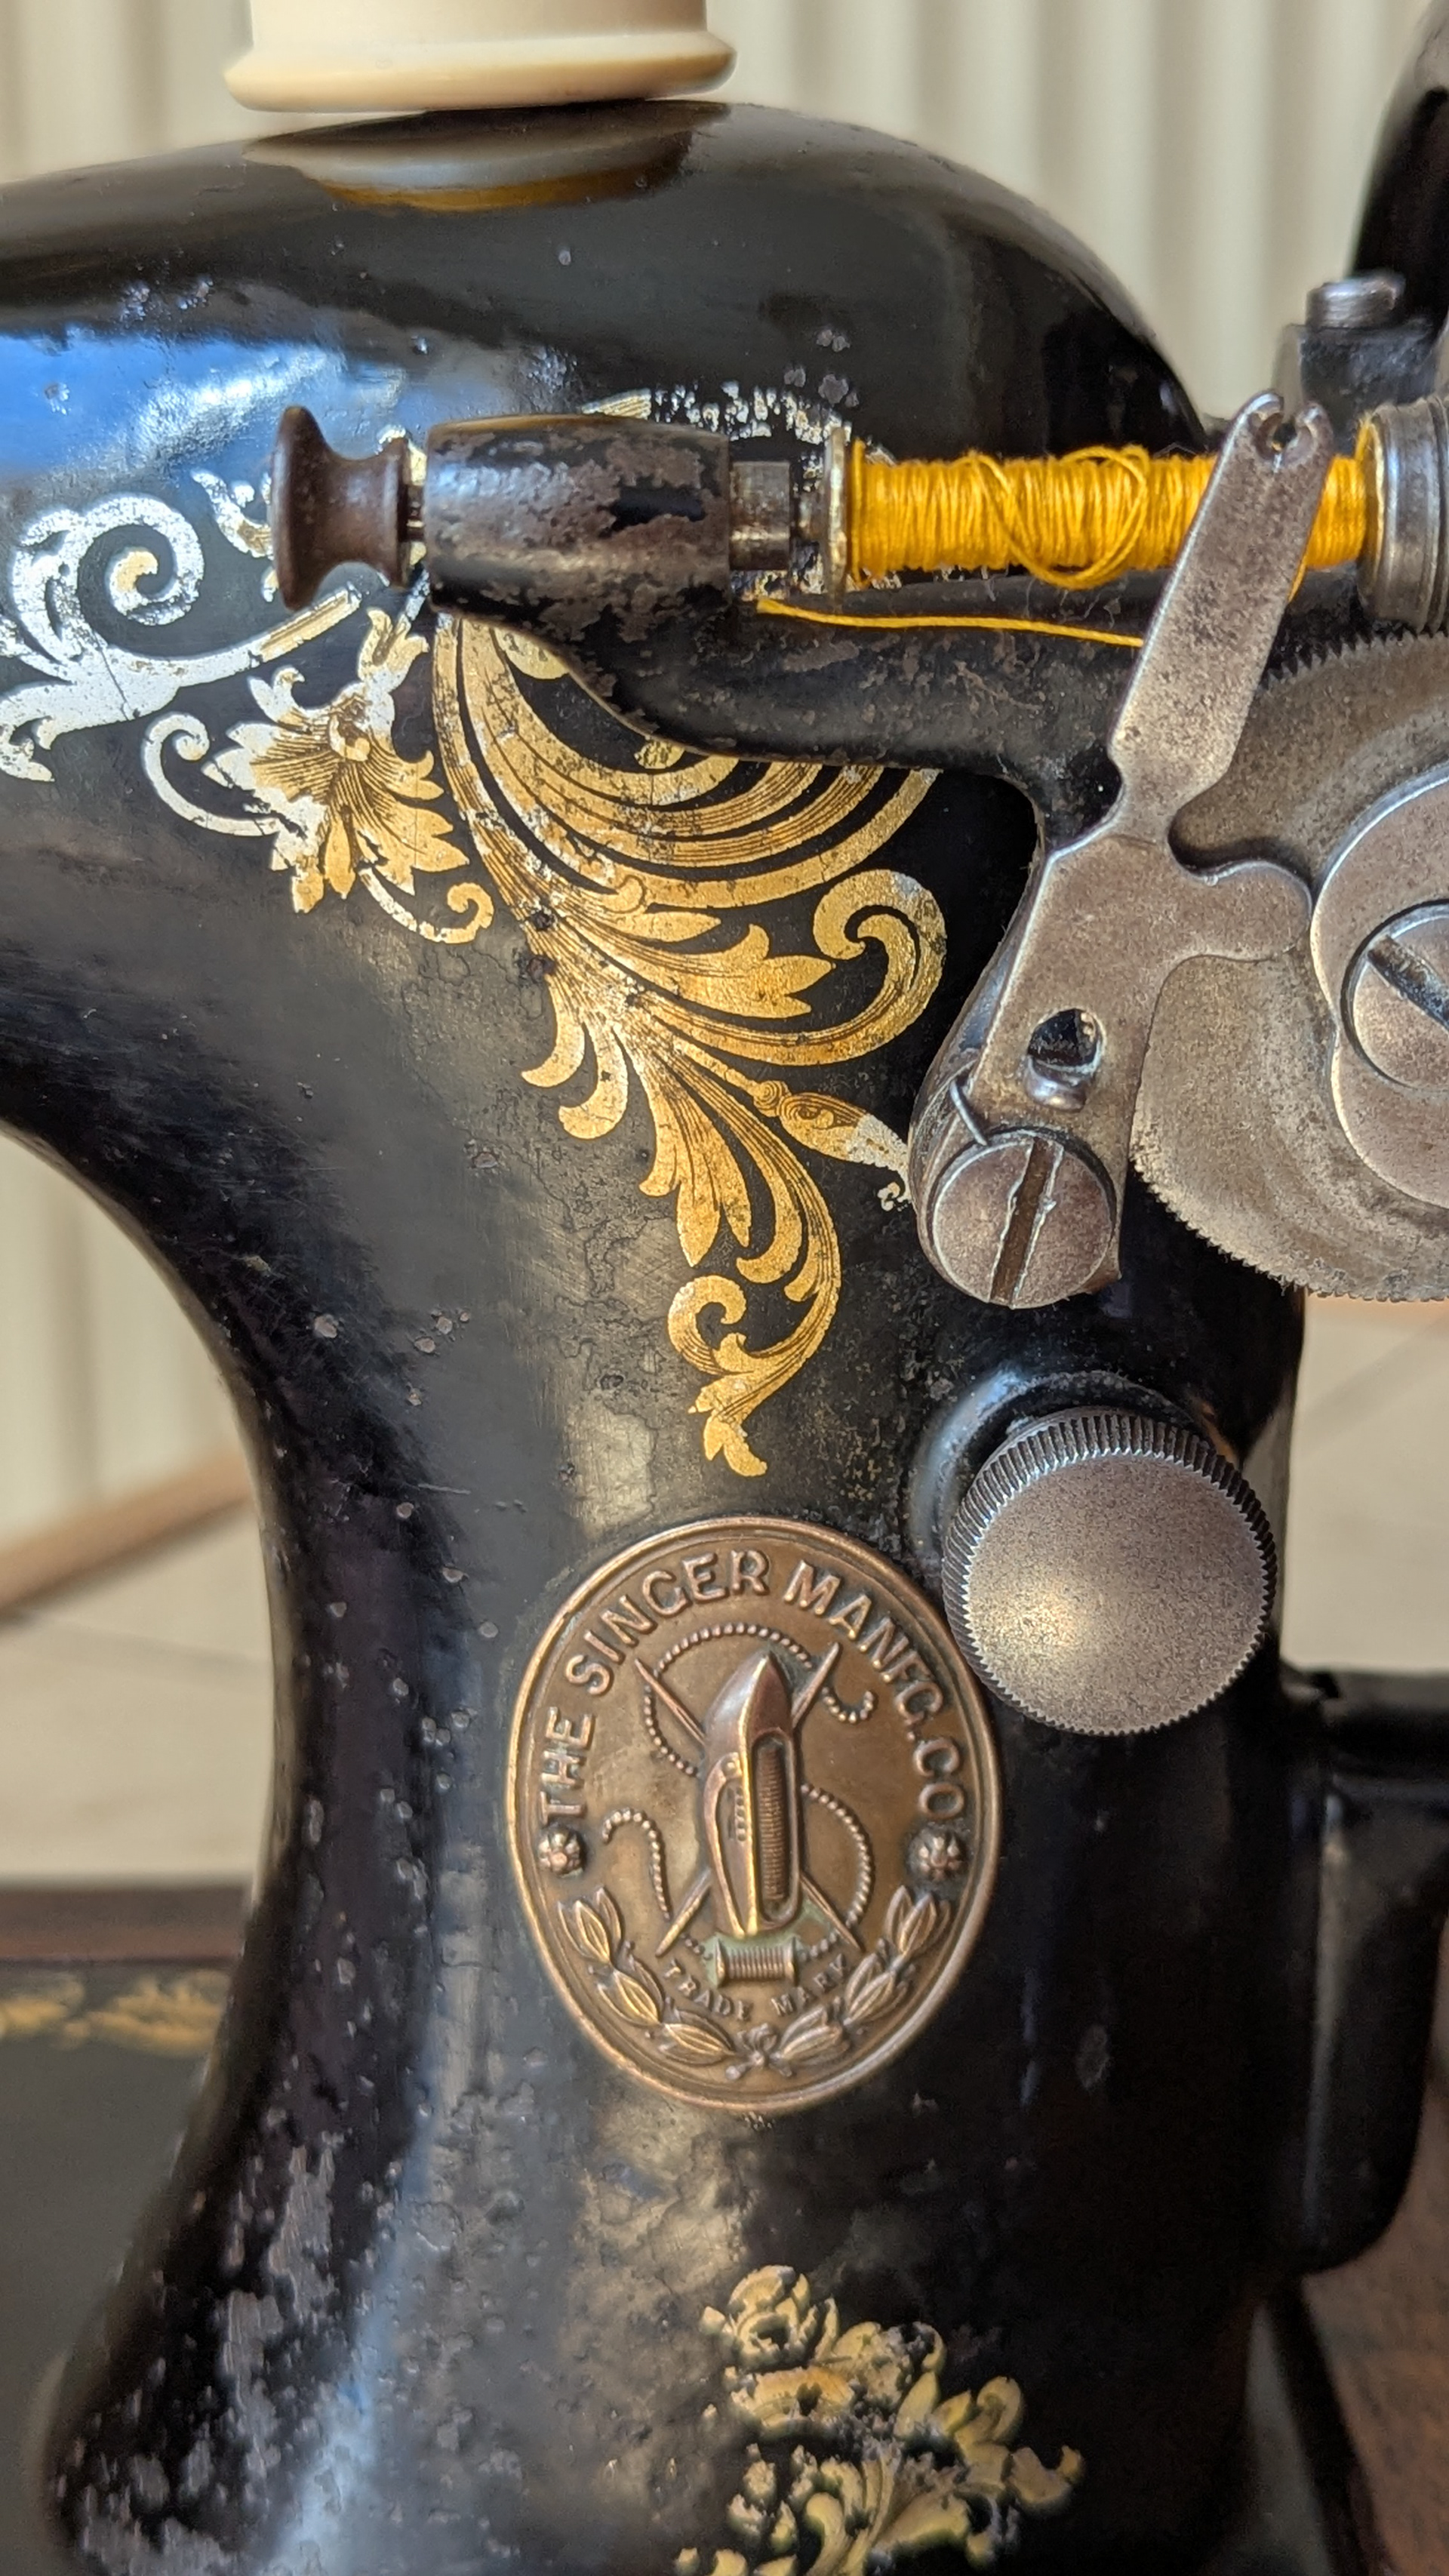
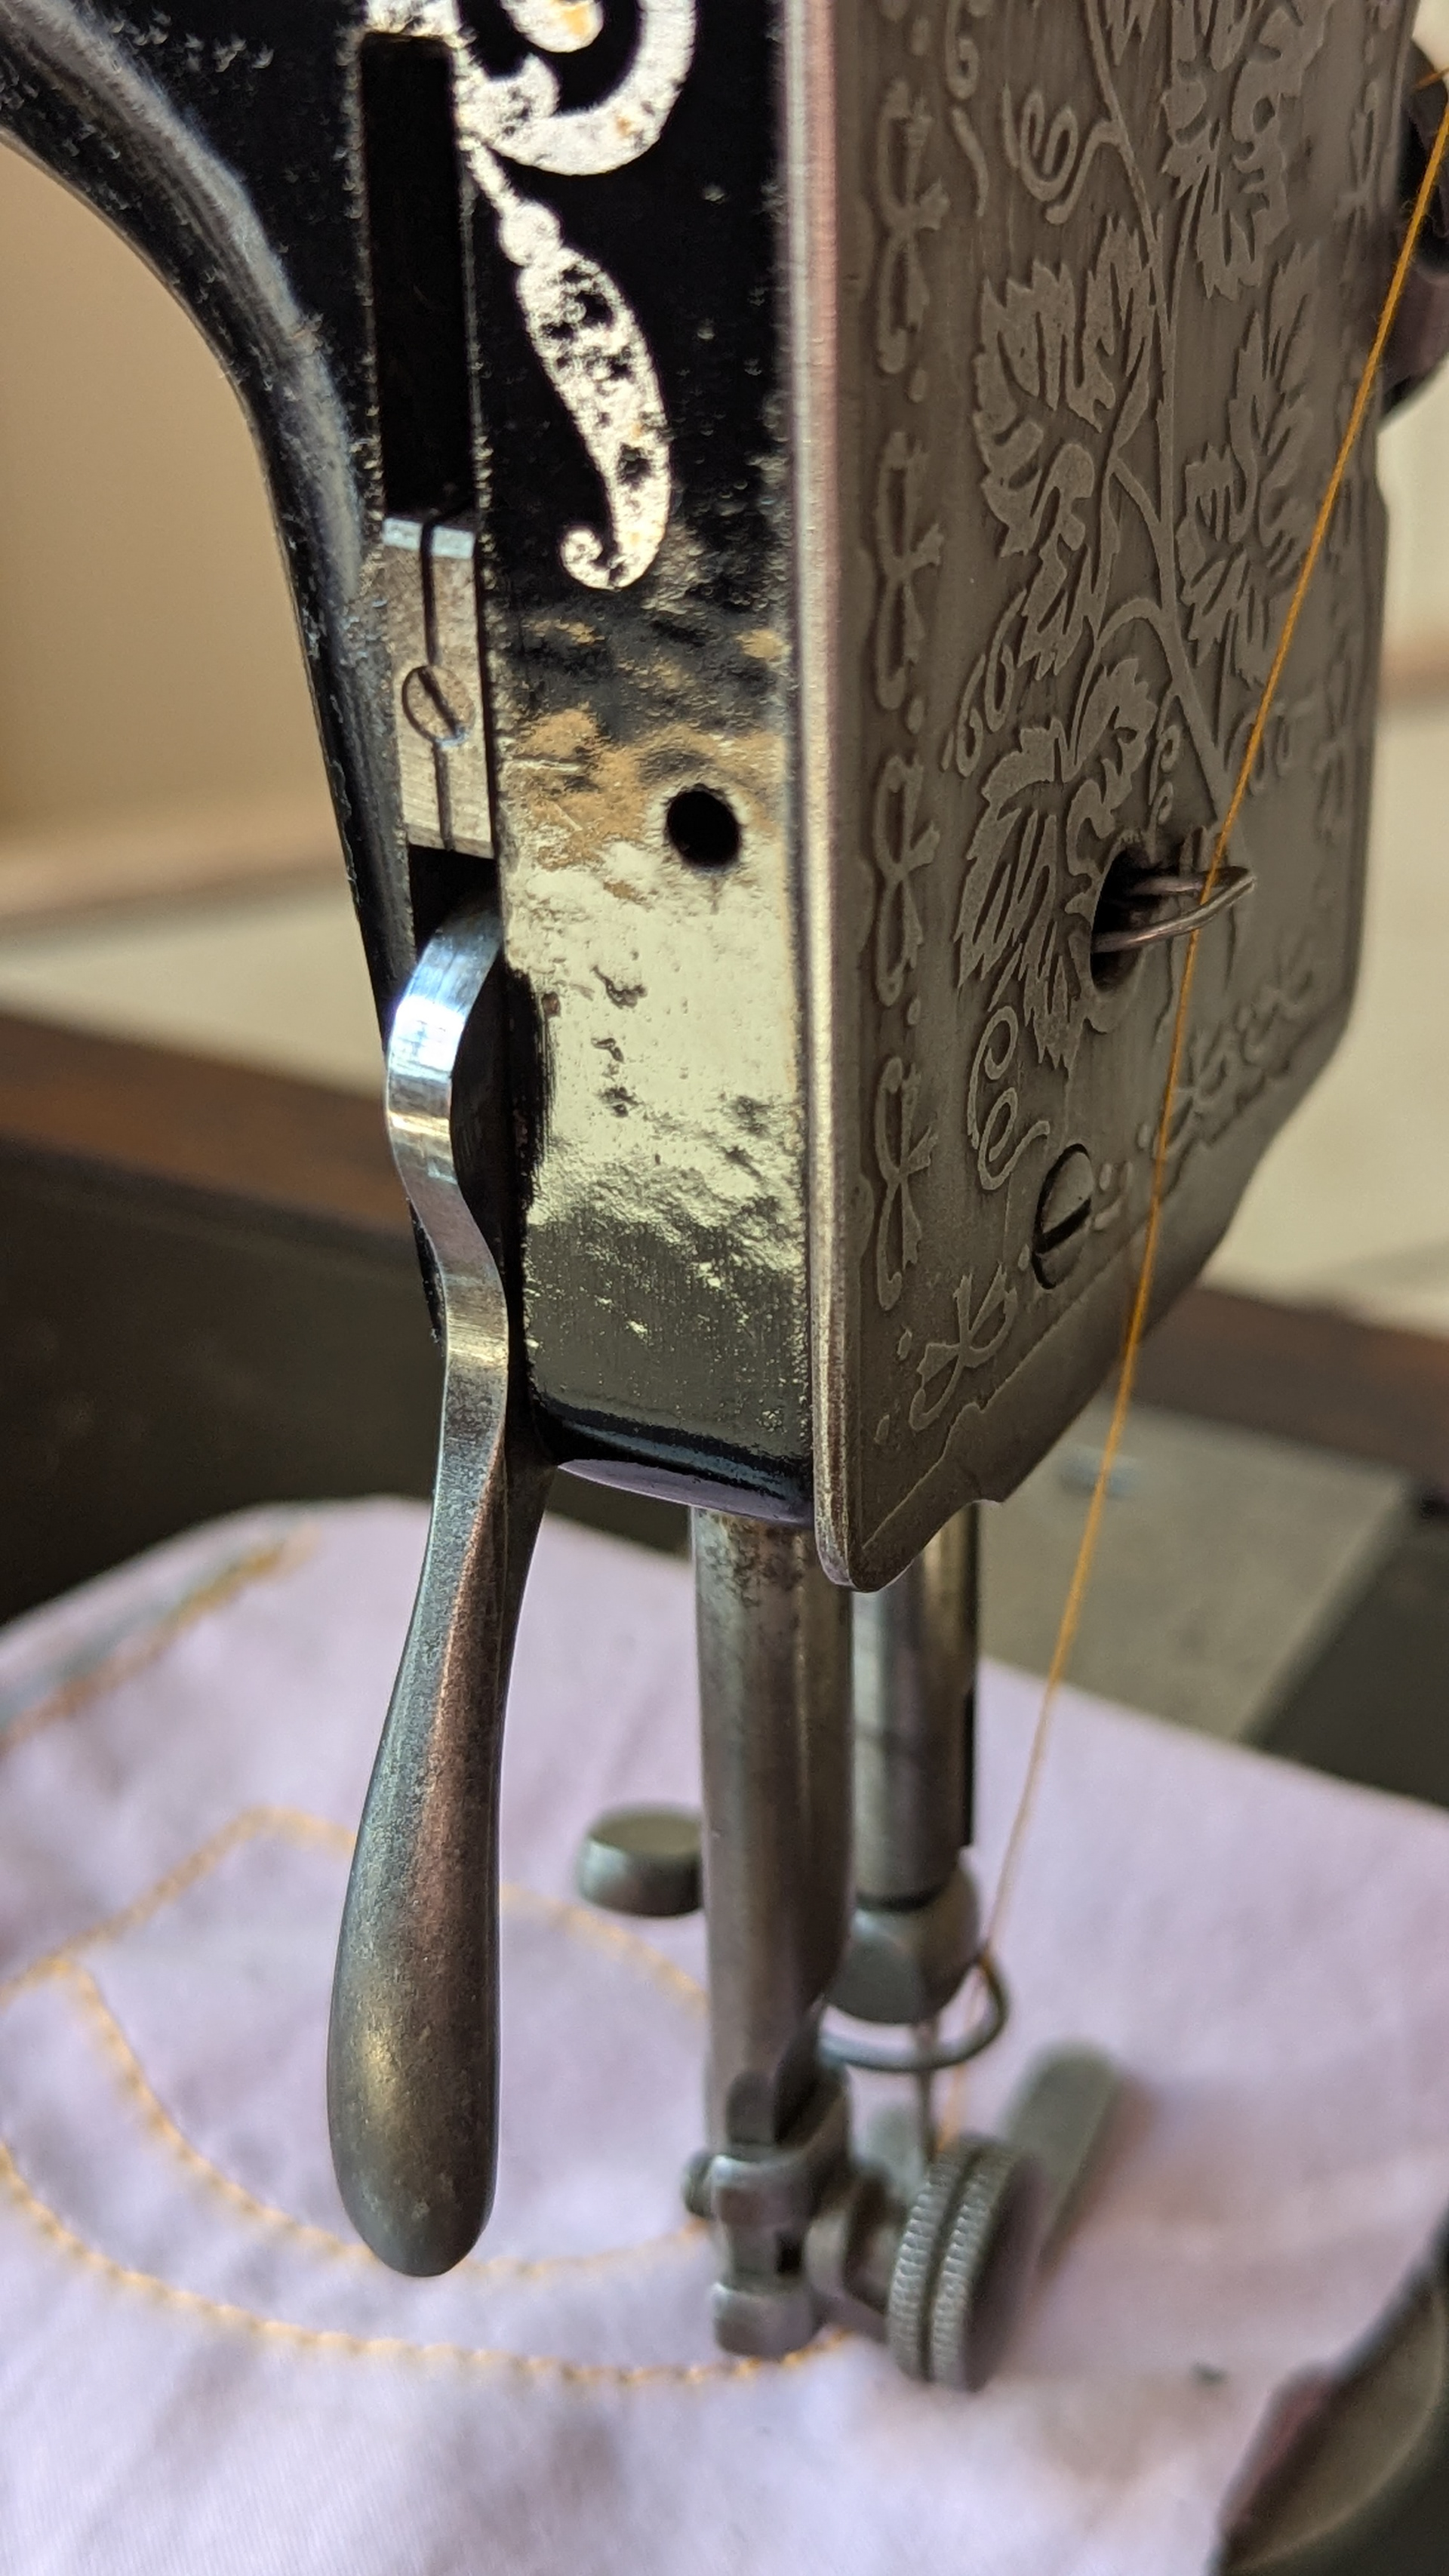
Tension mechanism before
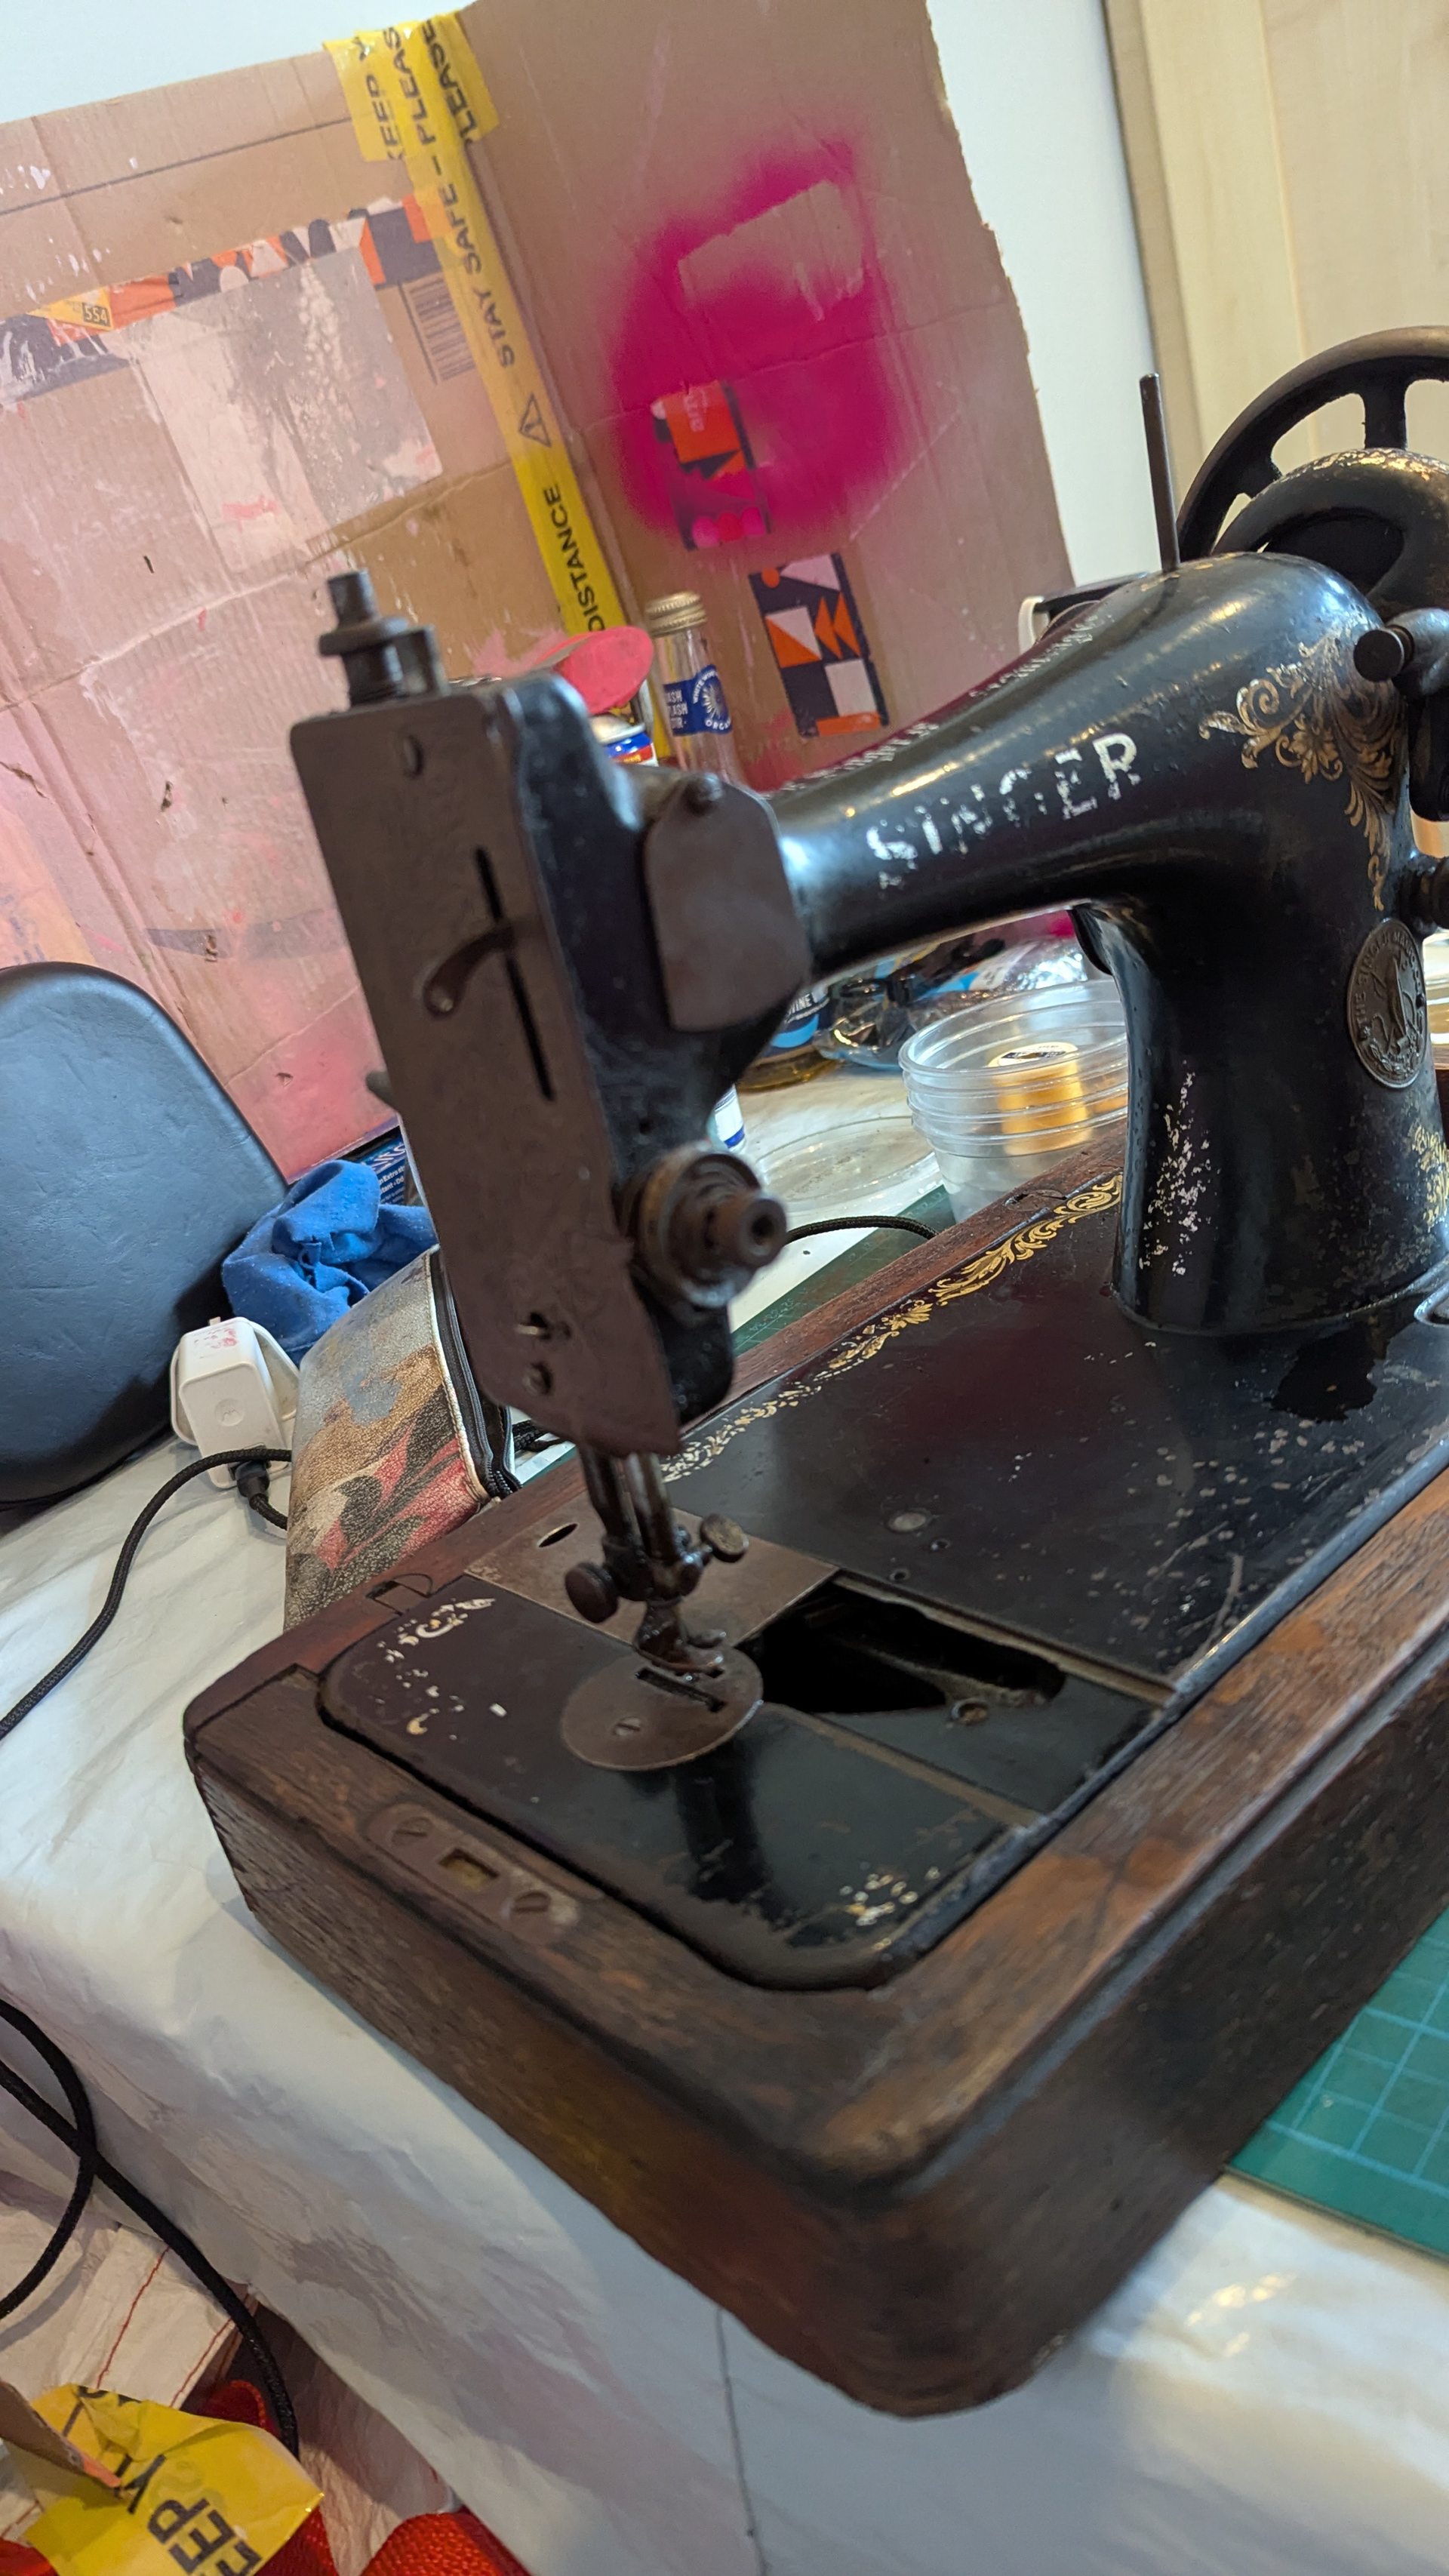
The condition
The machine presented a few issues. I was told the ‘shuttle’ wasn’t moving - which I didn’t know what it was. At a closer examination, the tension mechanism looked strange. The machine was covered in rust and dirt and would likely give lots of problems even if the mechanisms worked fine. It needed a deep clean and a closer look to all its parts.
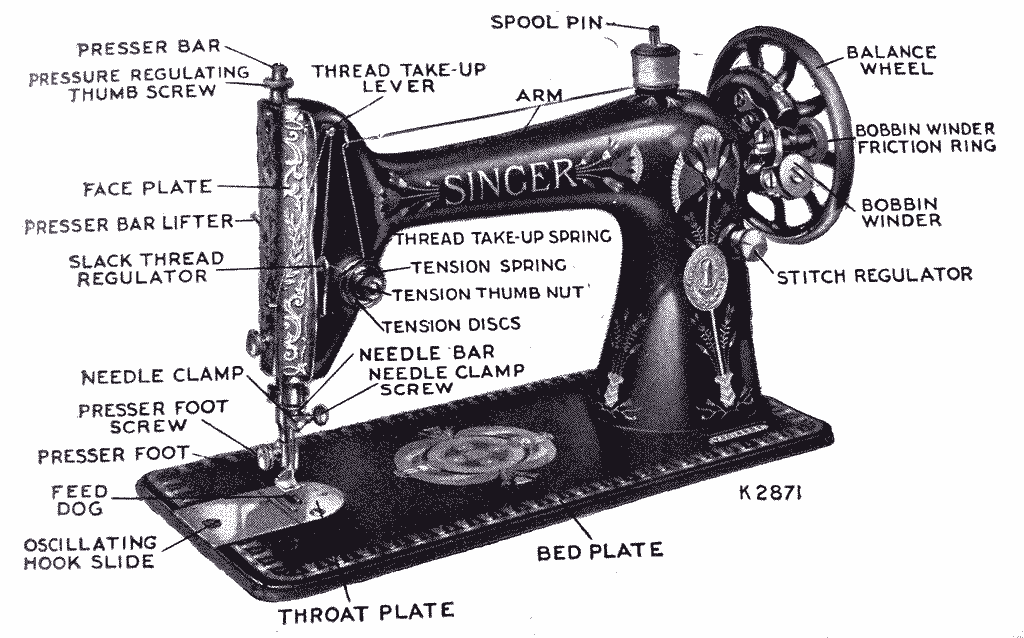
Getting lost already with the terminology? Refer to this graphic of a similar machine. Image credit Coal Miner's Daughter
Research
First I searched for information about this machine, using the Singer Serial DB app. I found out the following:
Year: 1913
Model: 128K
Quantity: 175,000 units
Dates: January/June
Notes: Clydebank, Scotland
The machine is 112 years old, has been well used and it appeared to have been out of service for some time. To put it in context, 1913 was the peak of the Suffragette movement among other historic events.
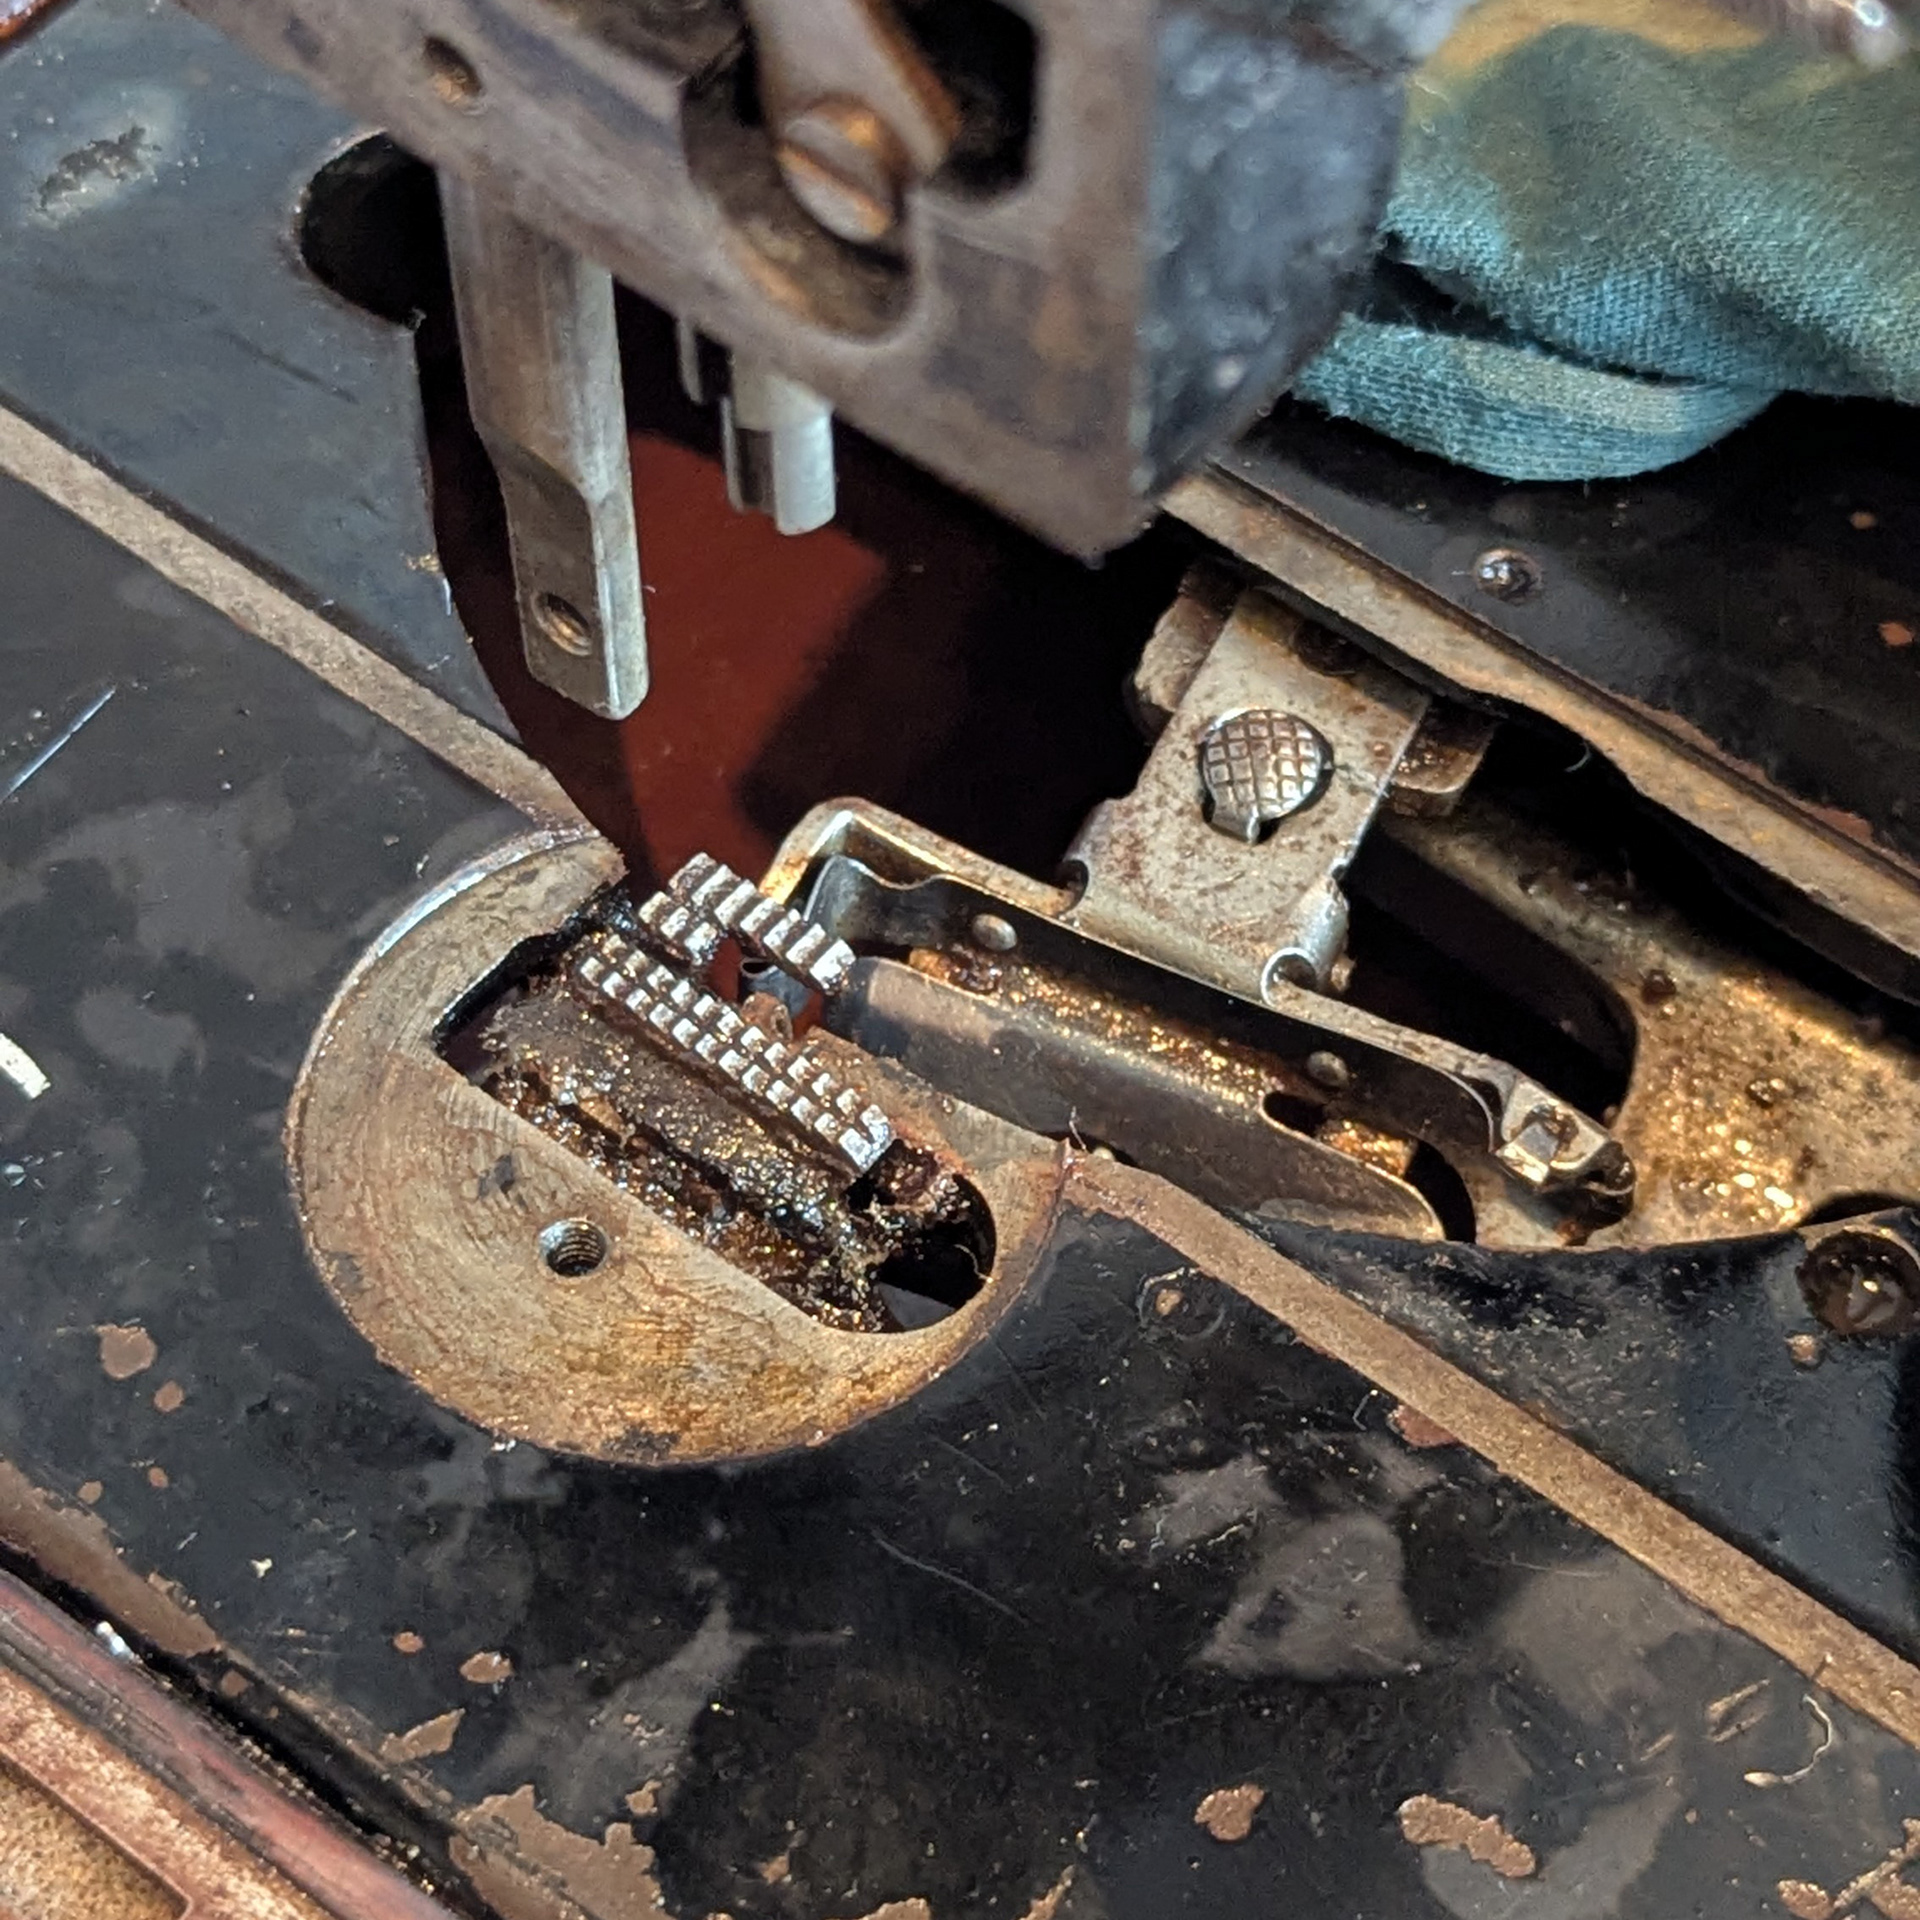
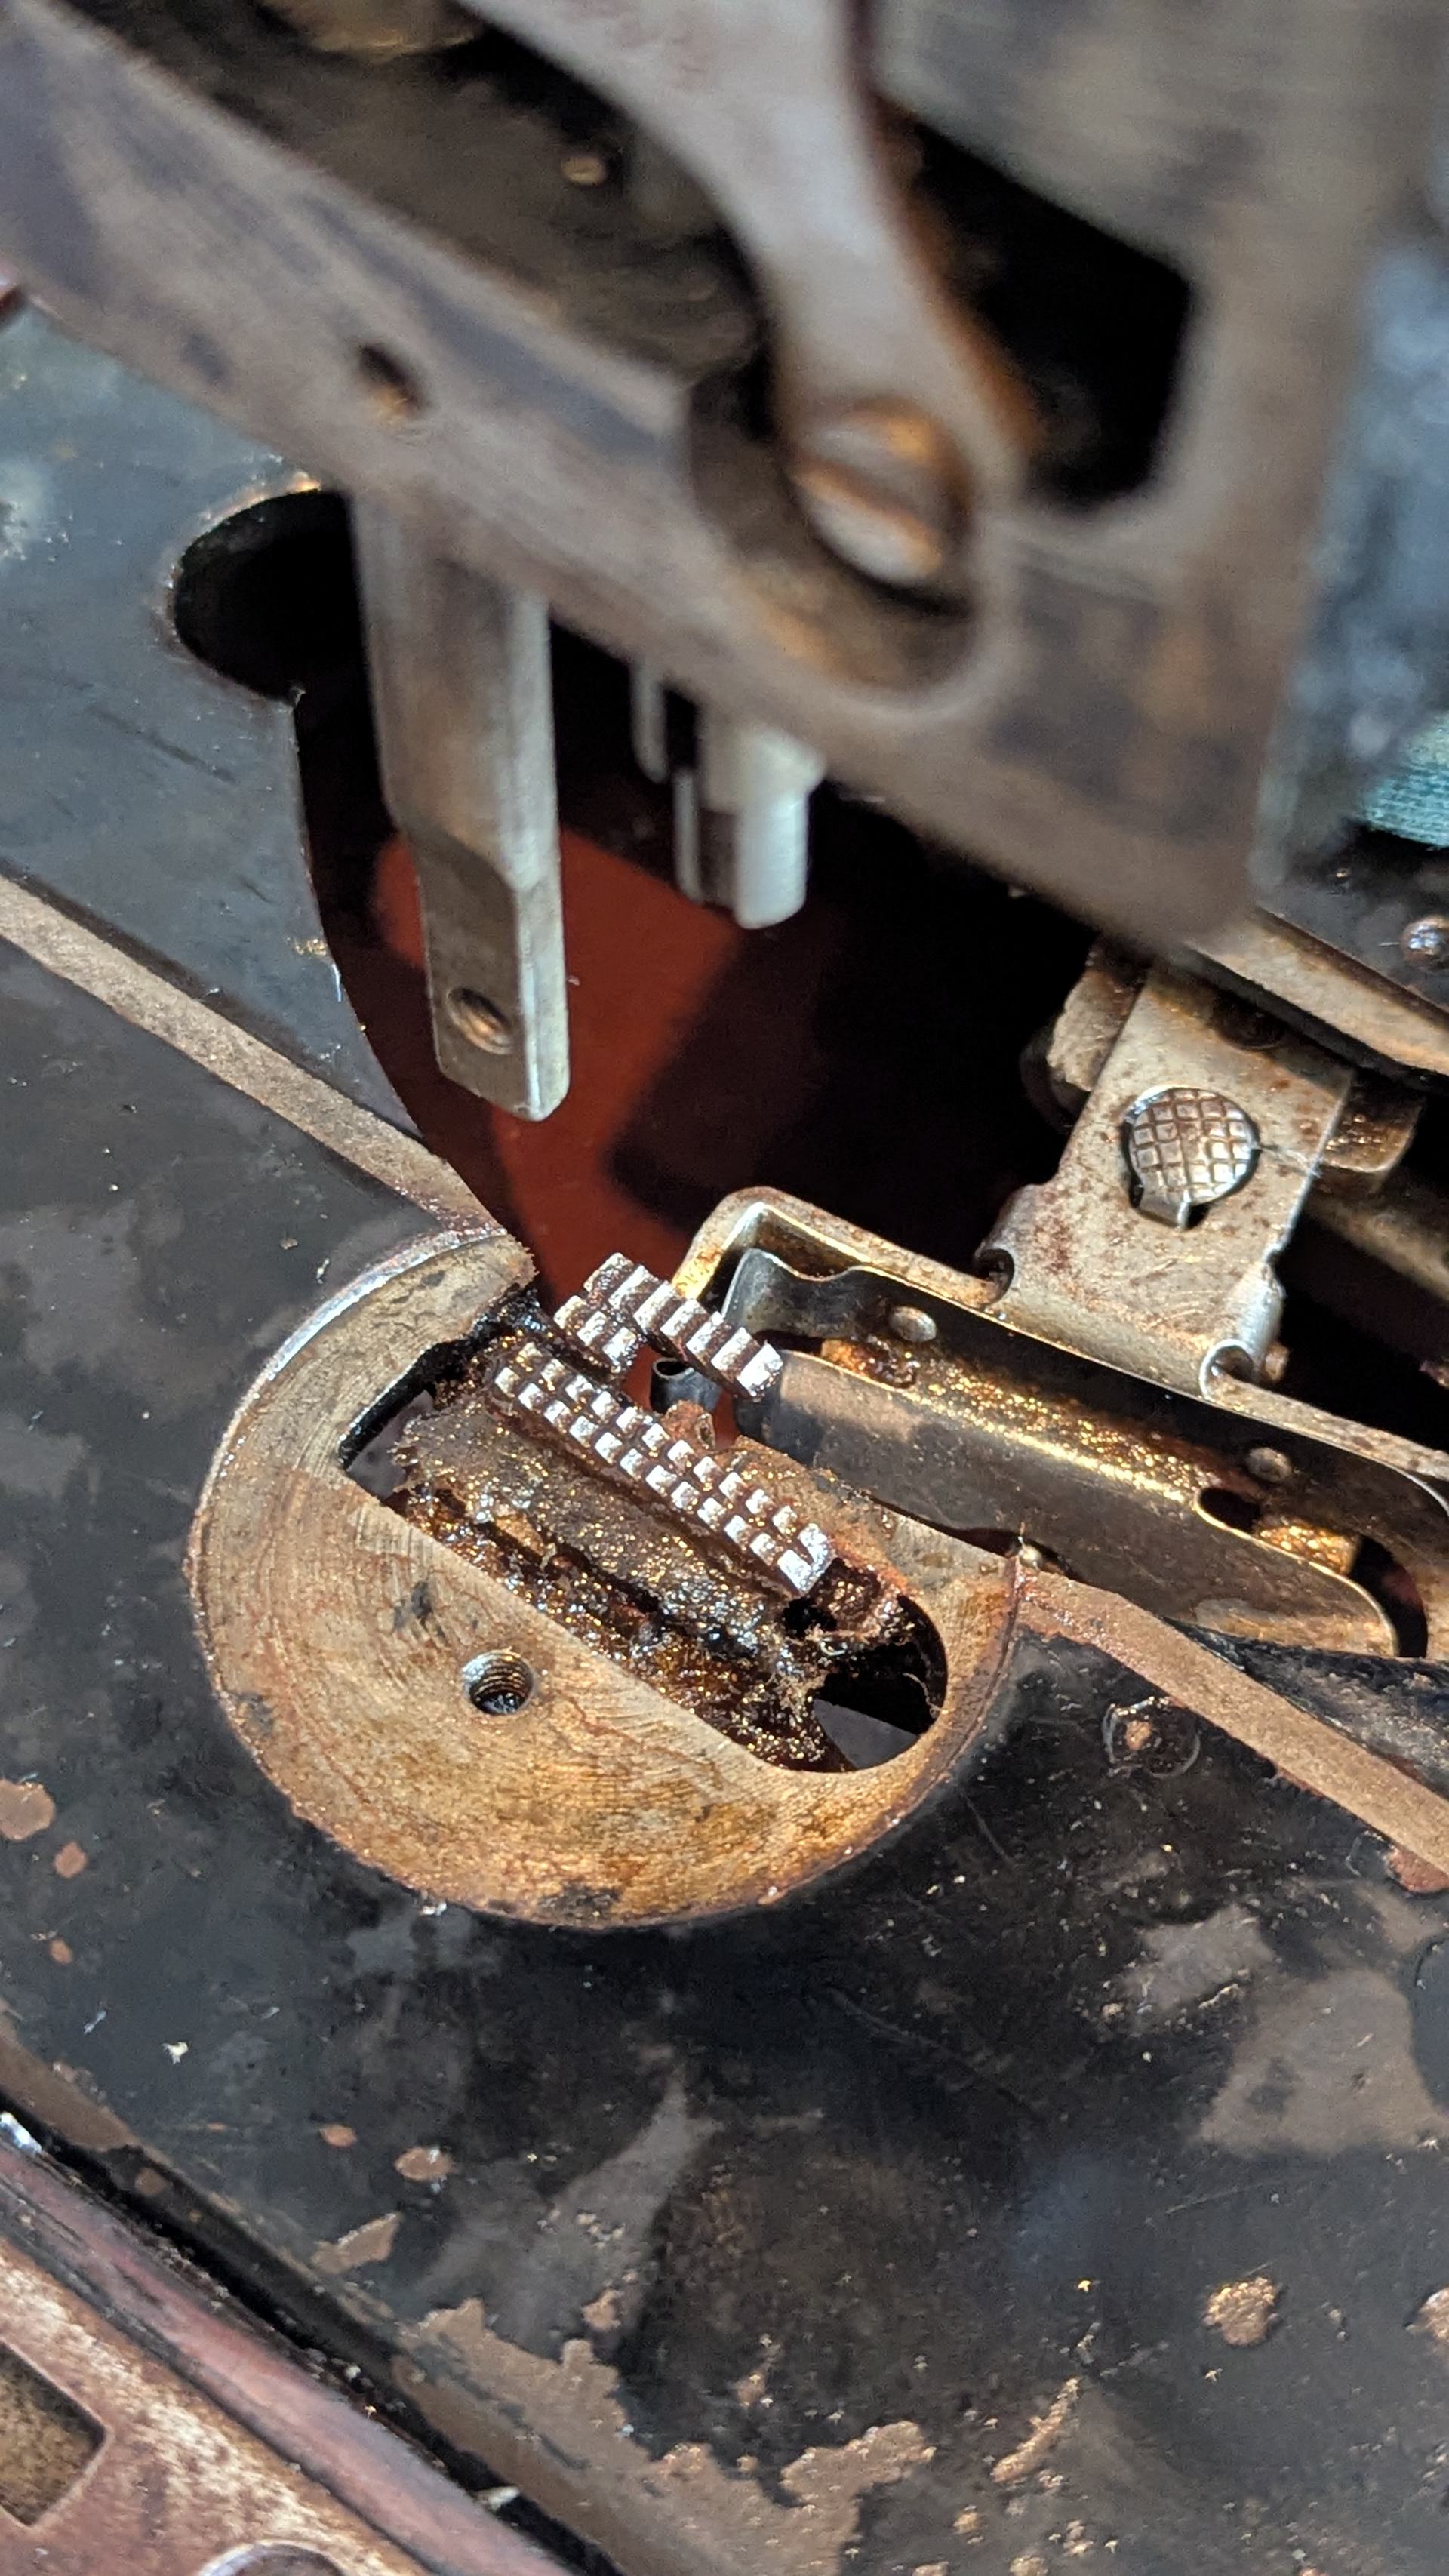
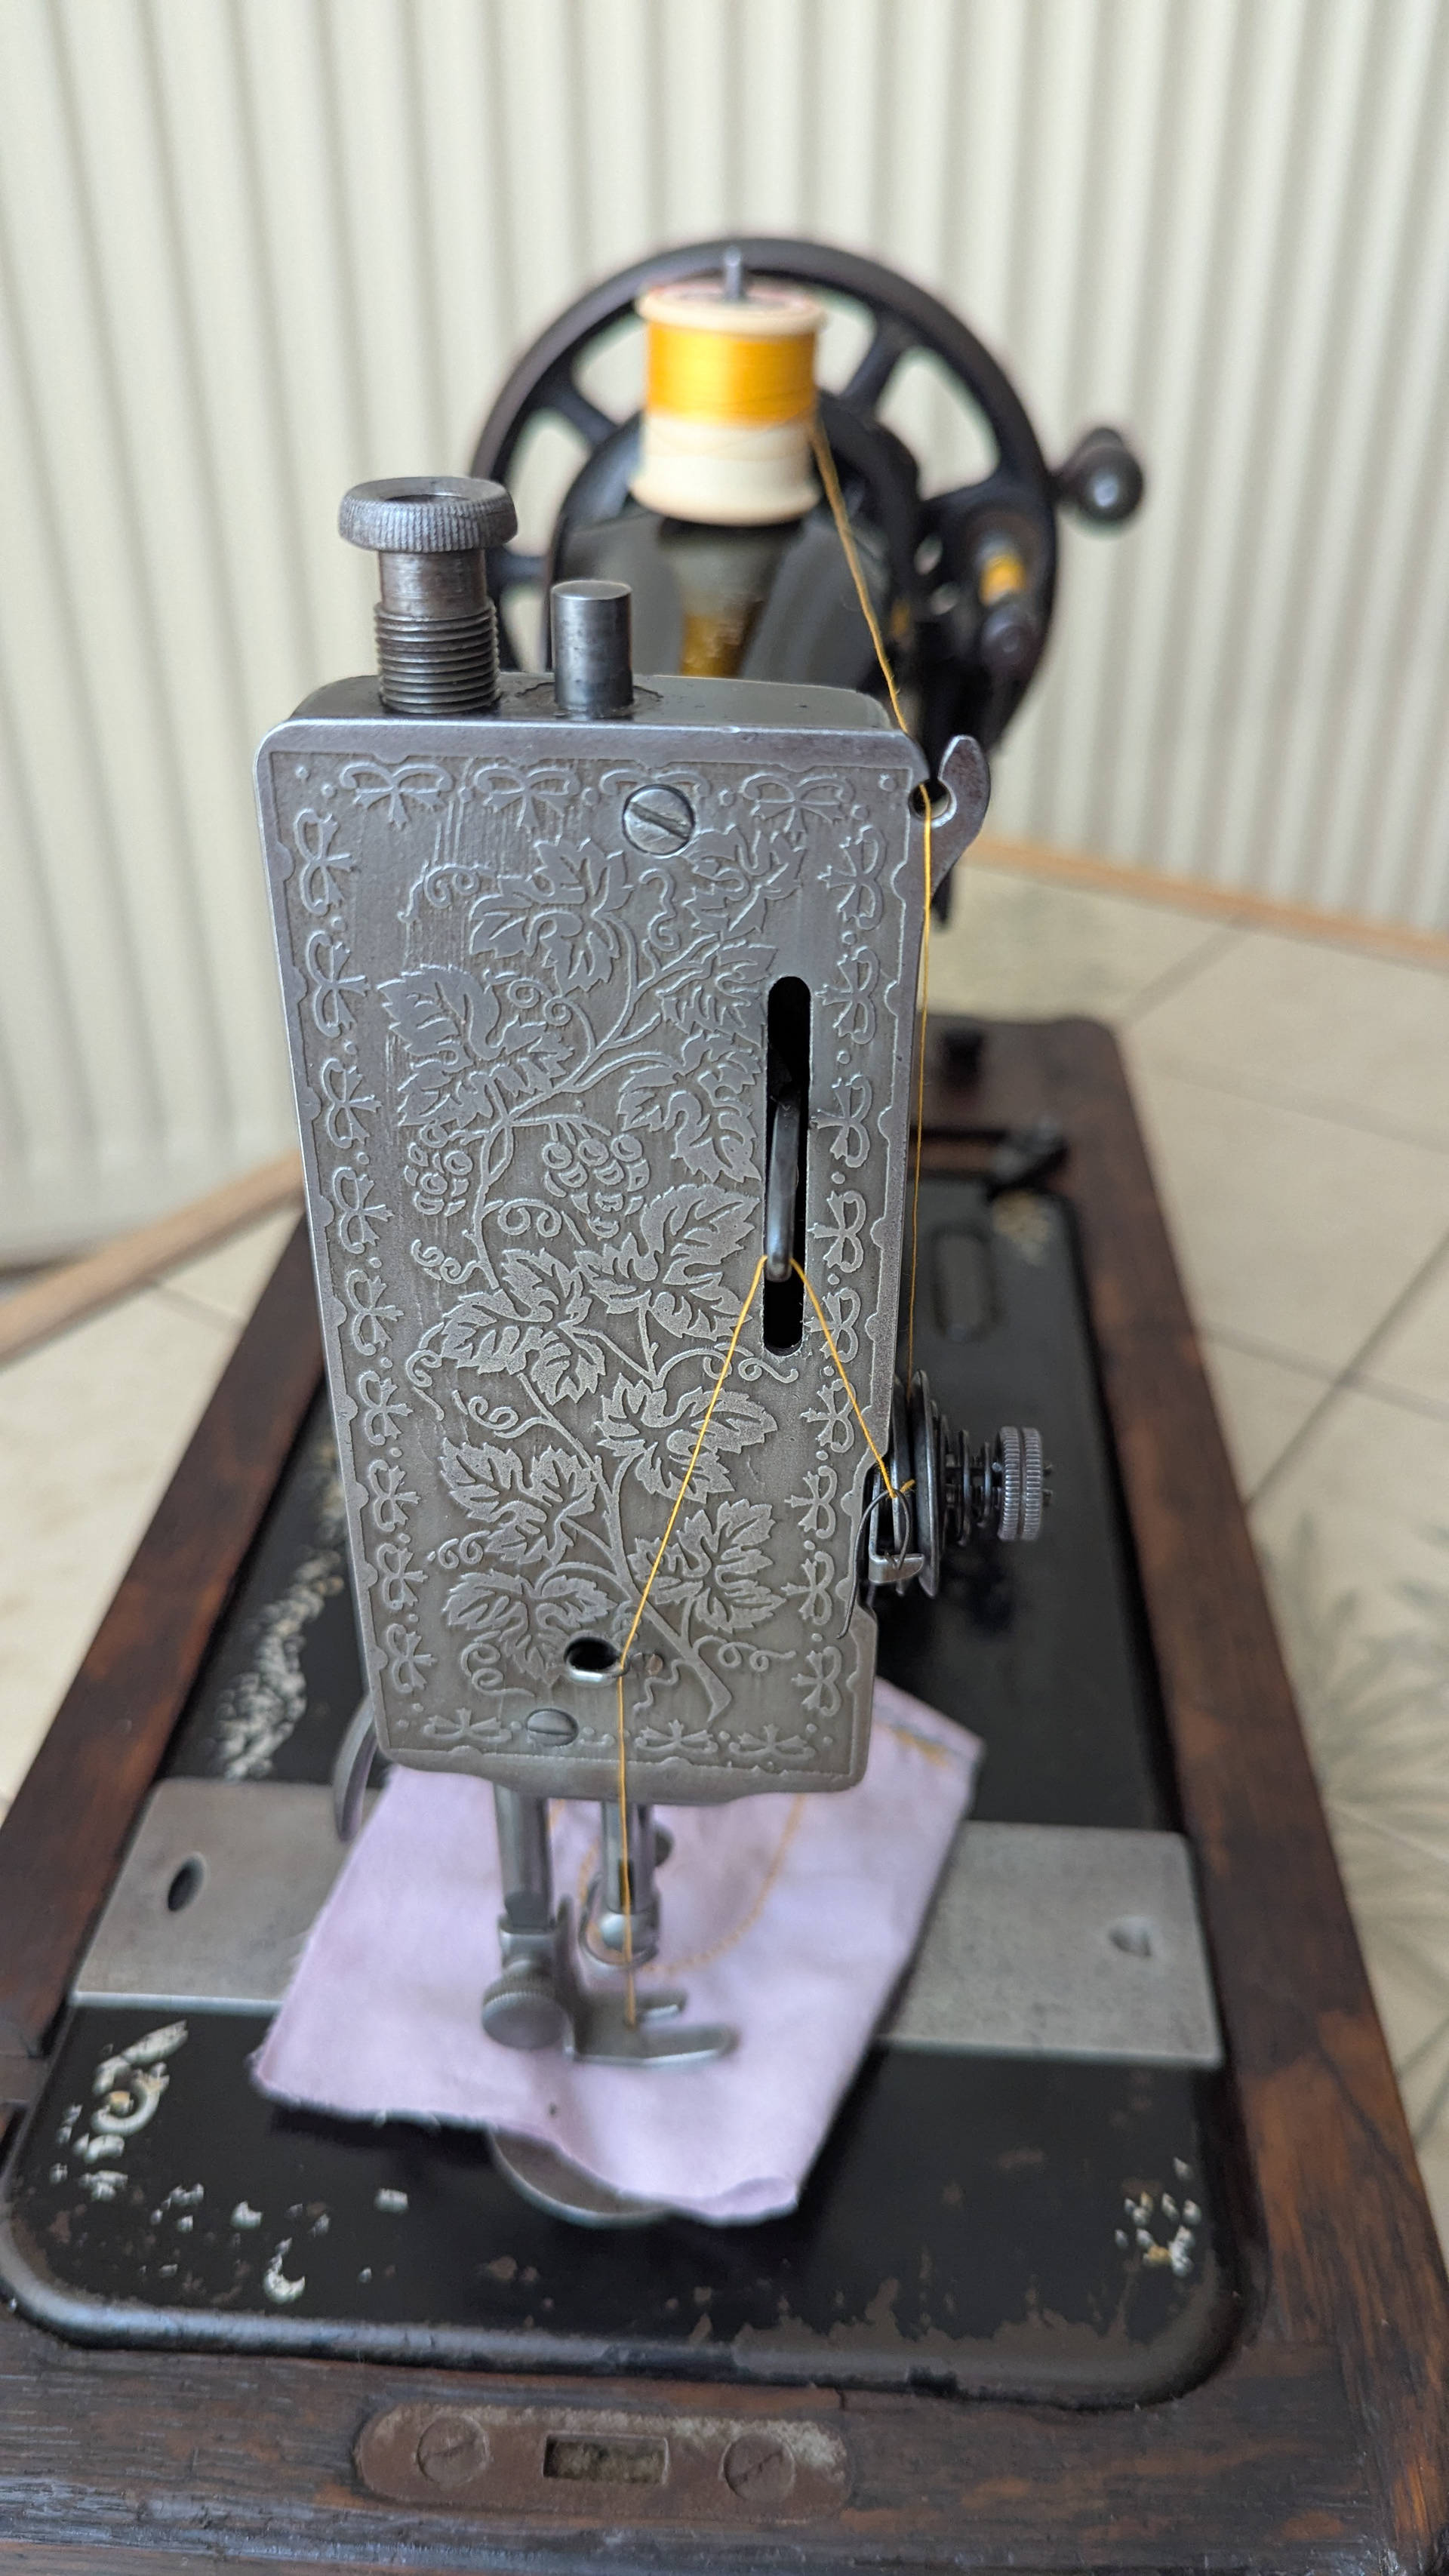
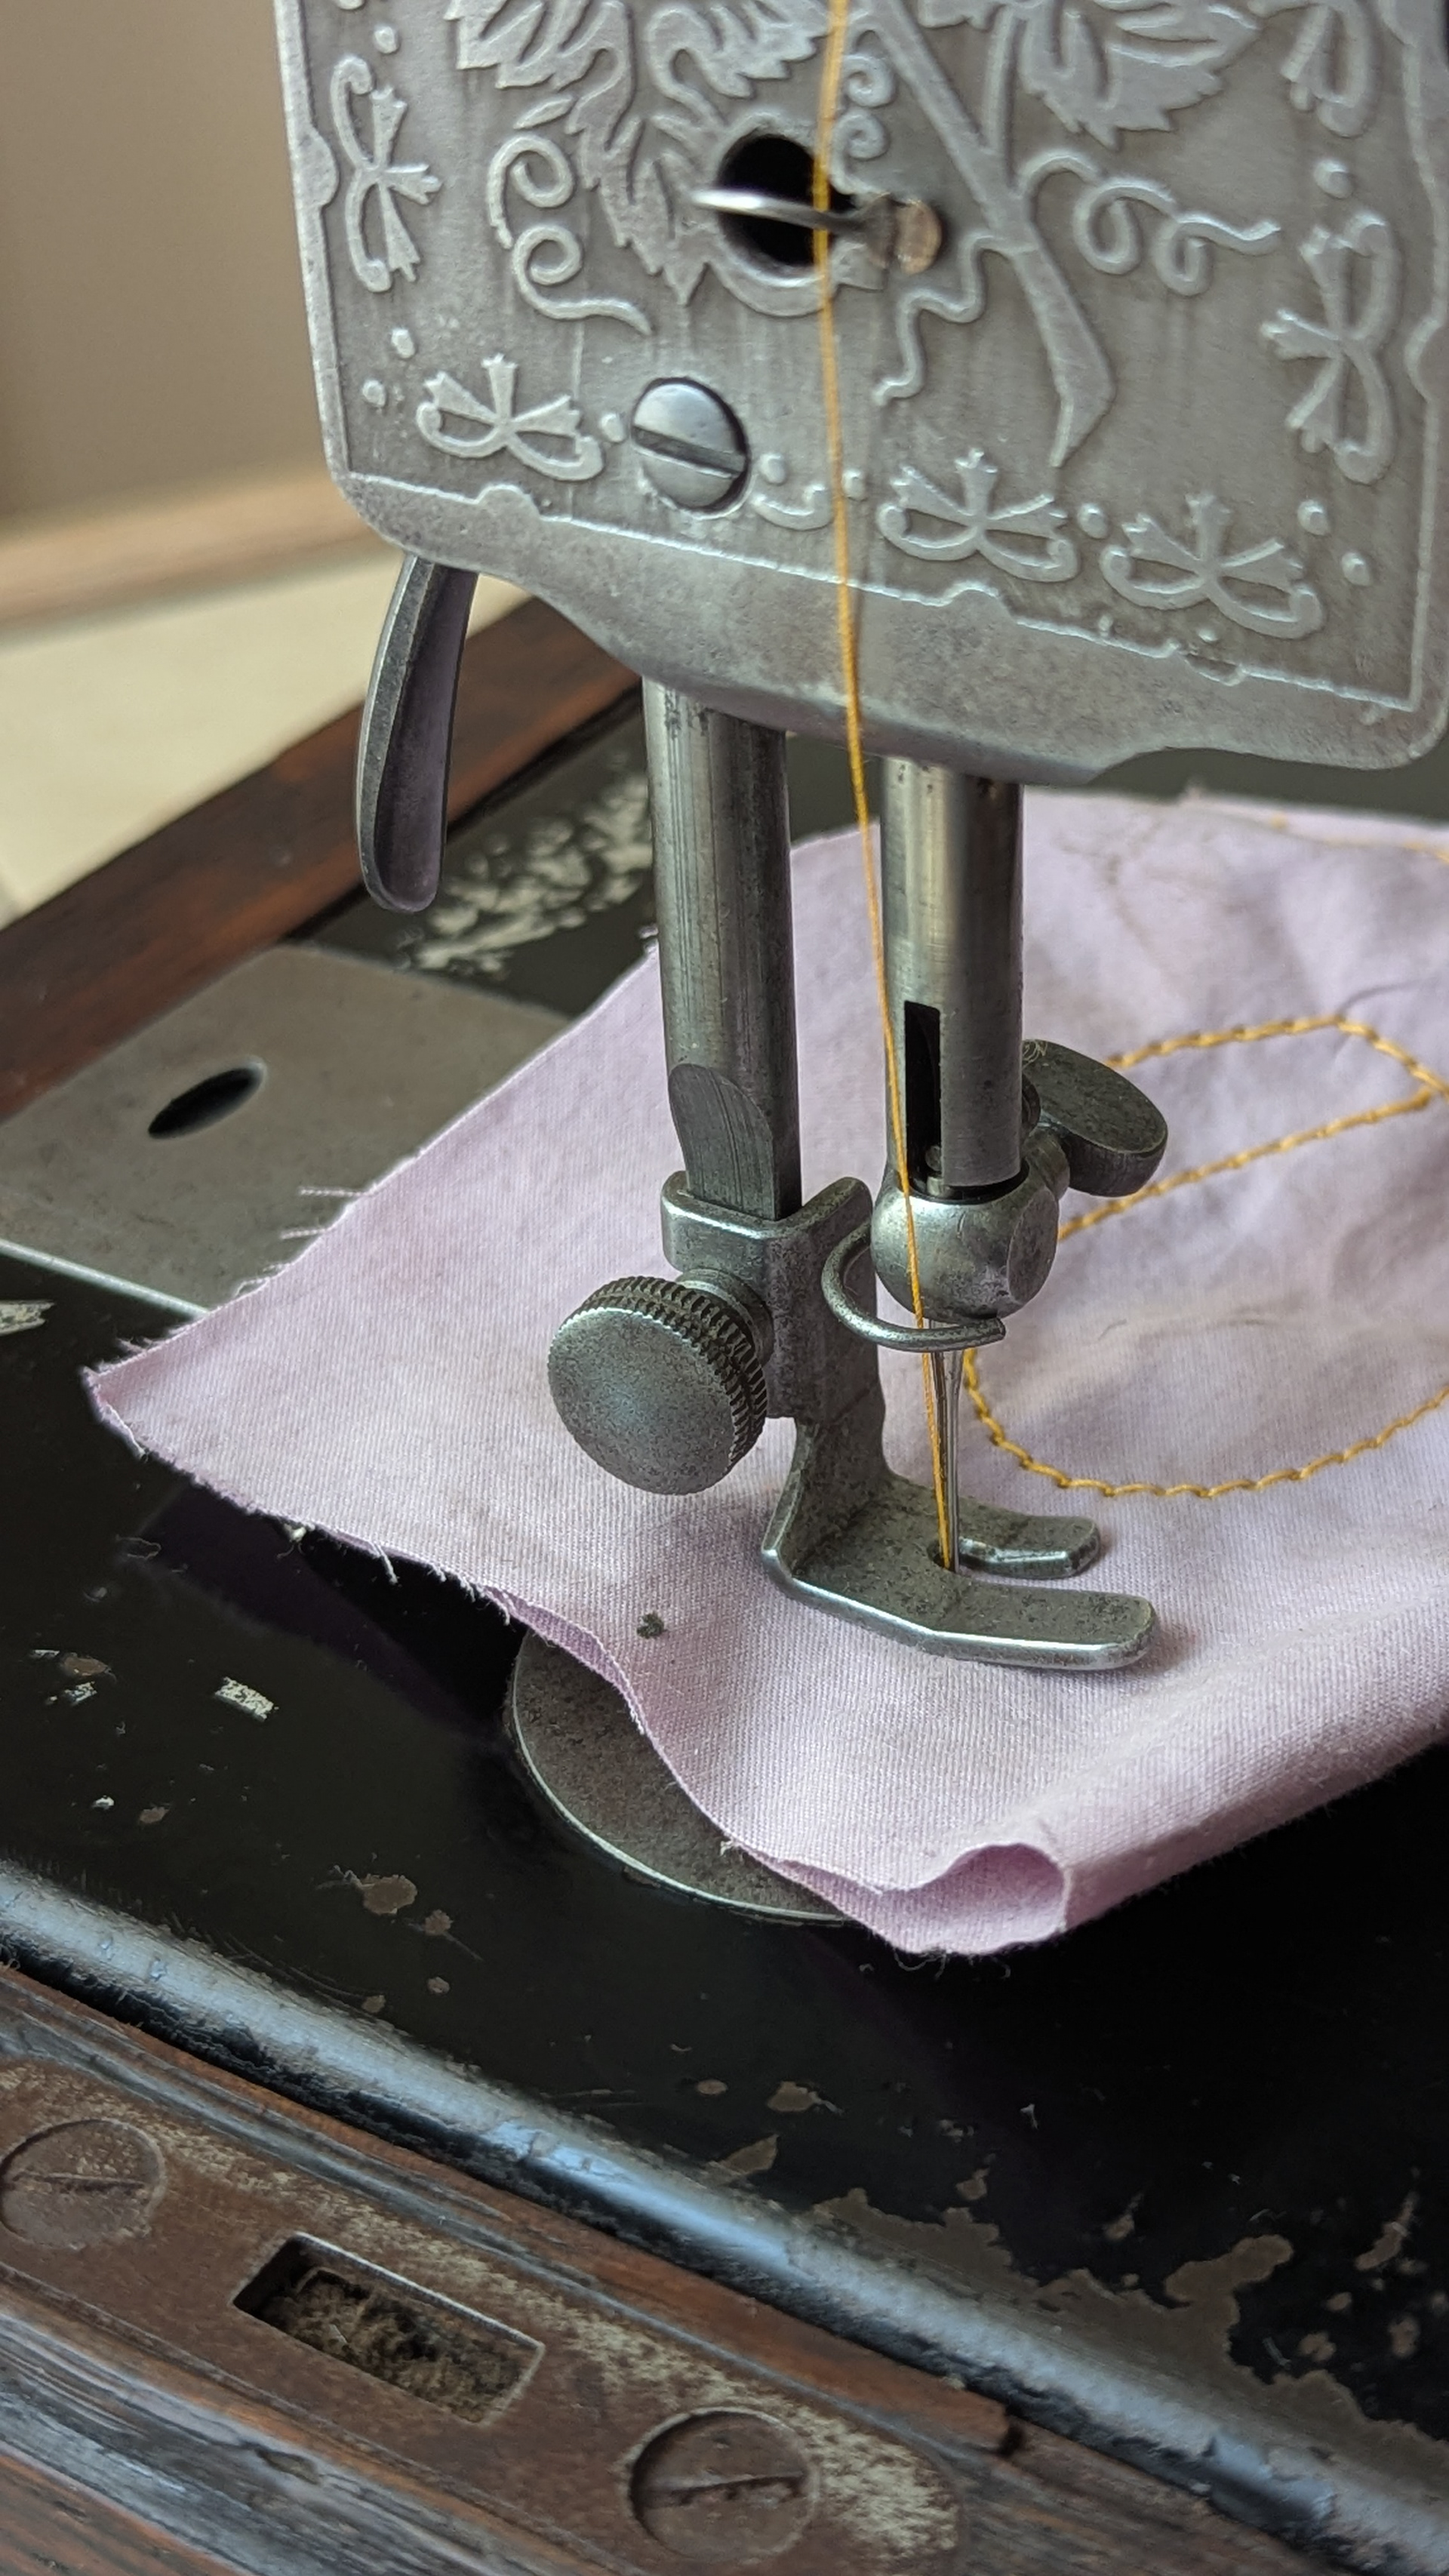
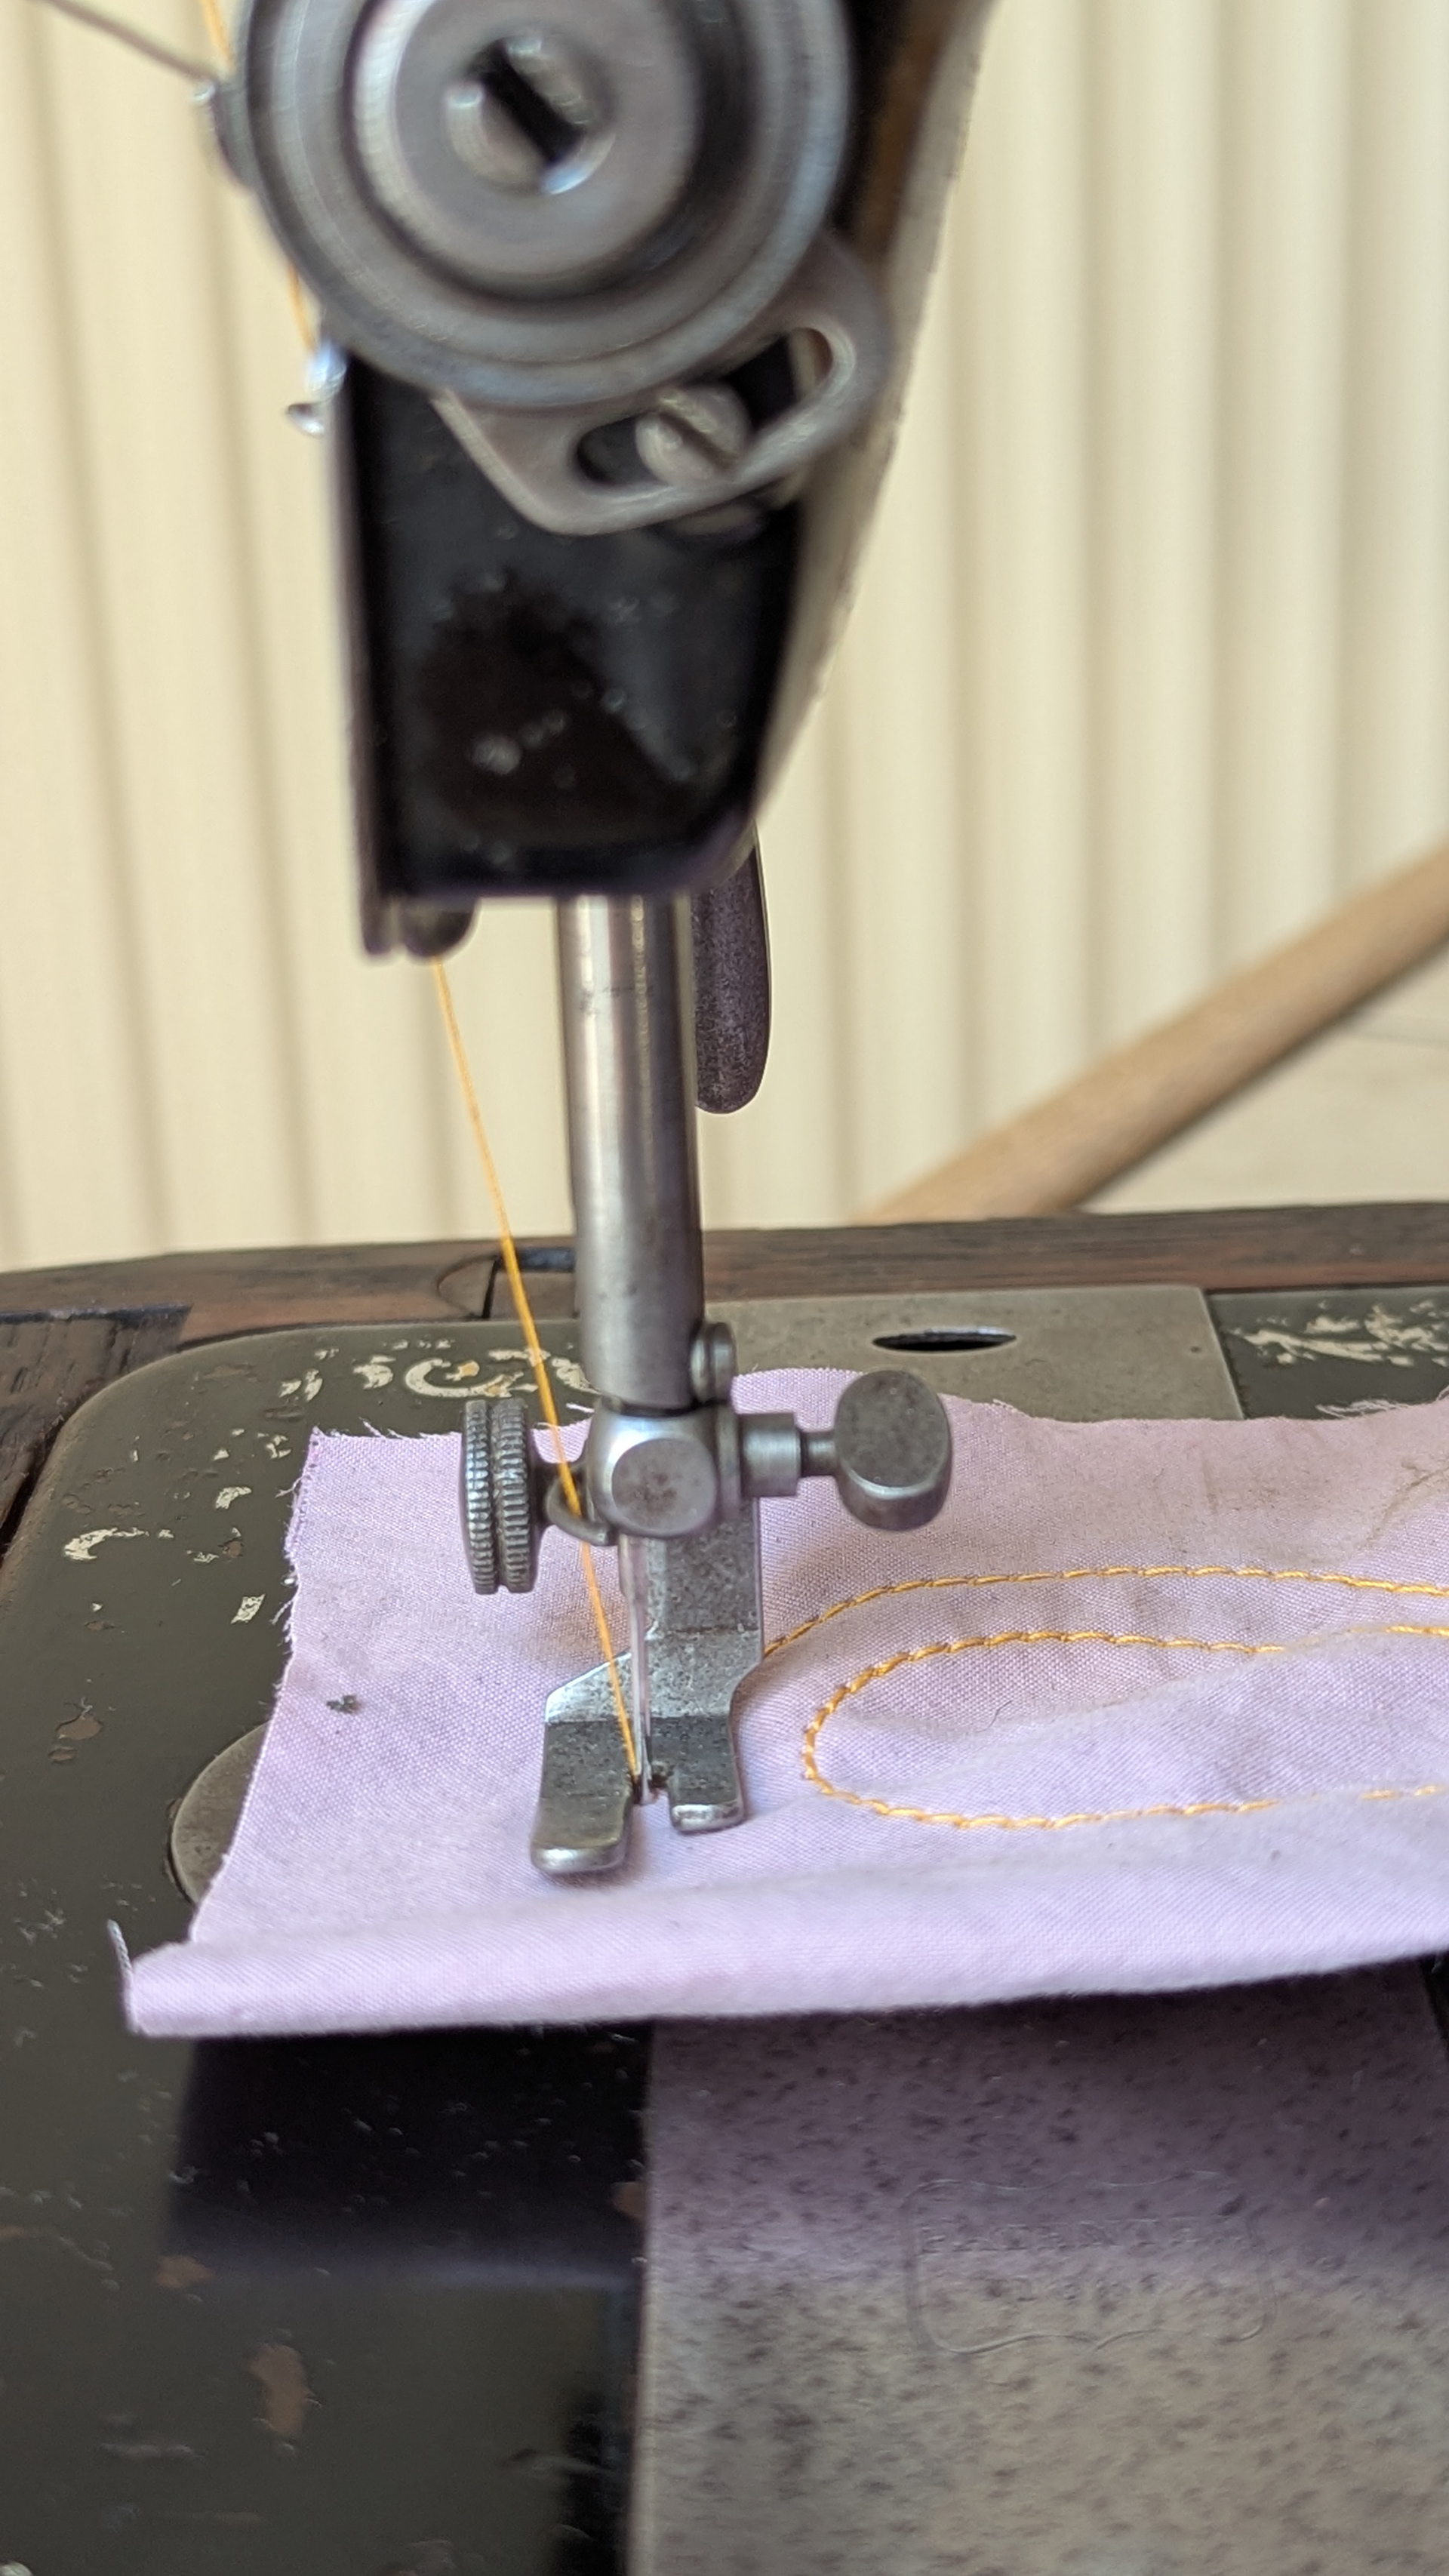
The feed was covered in dust and old threads.
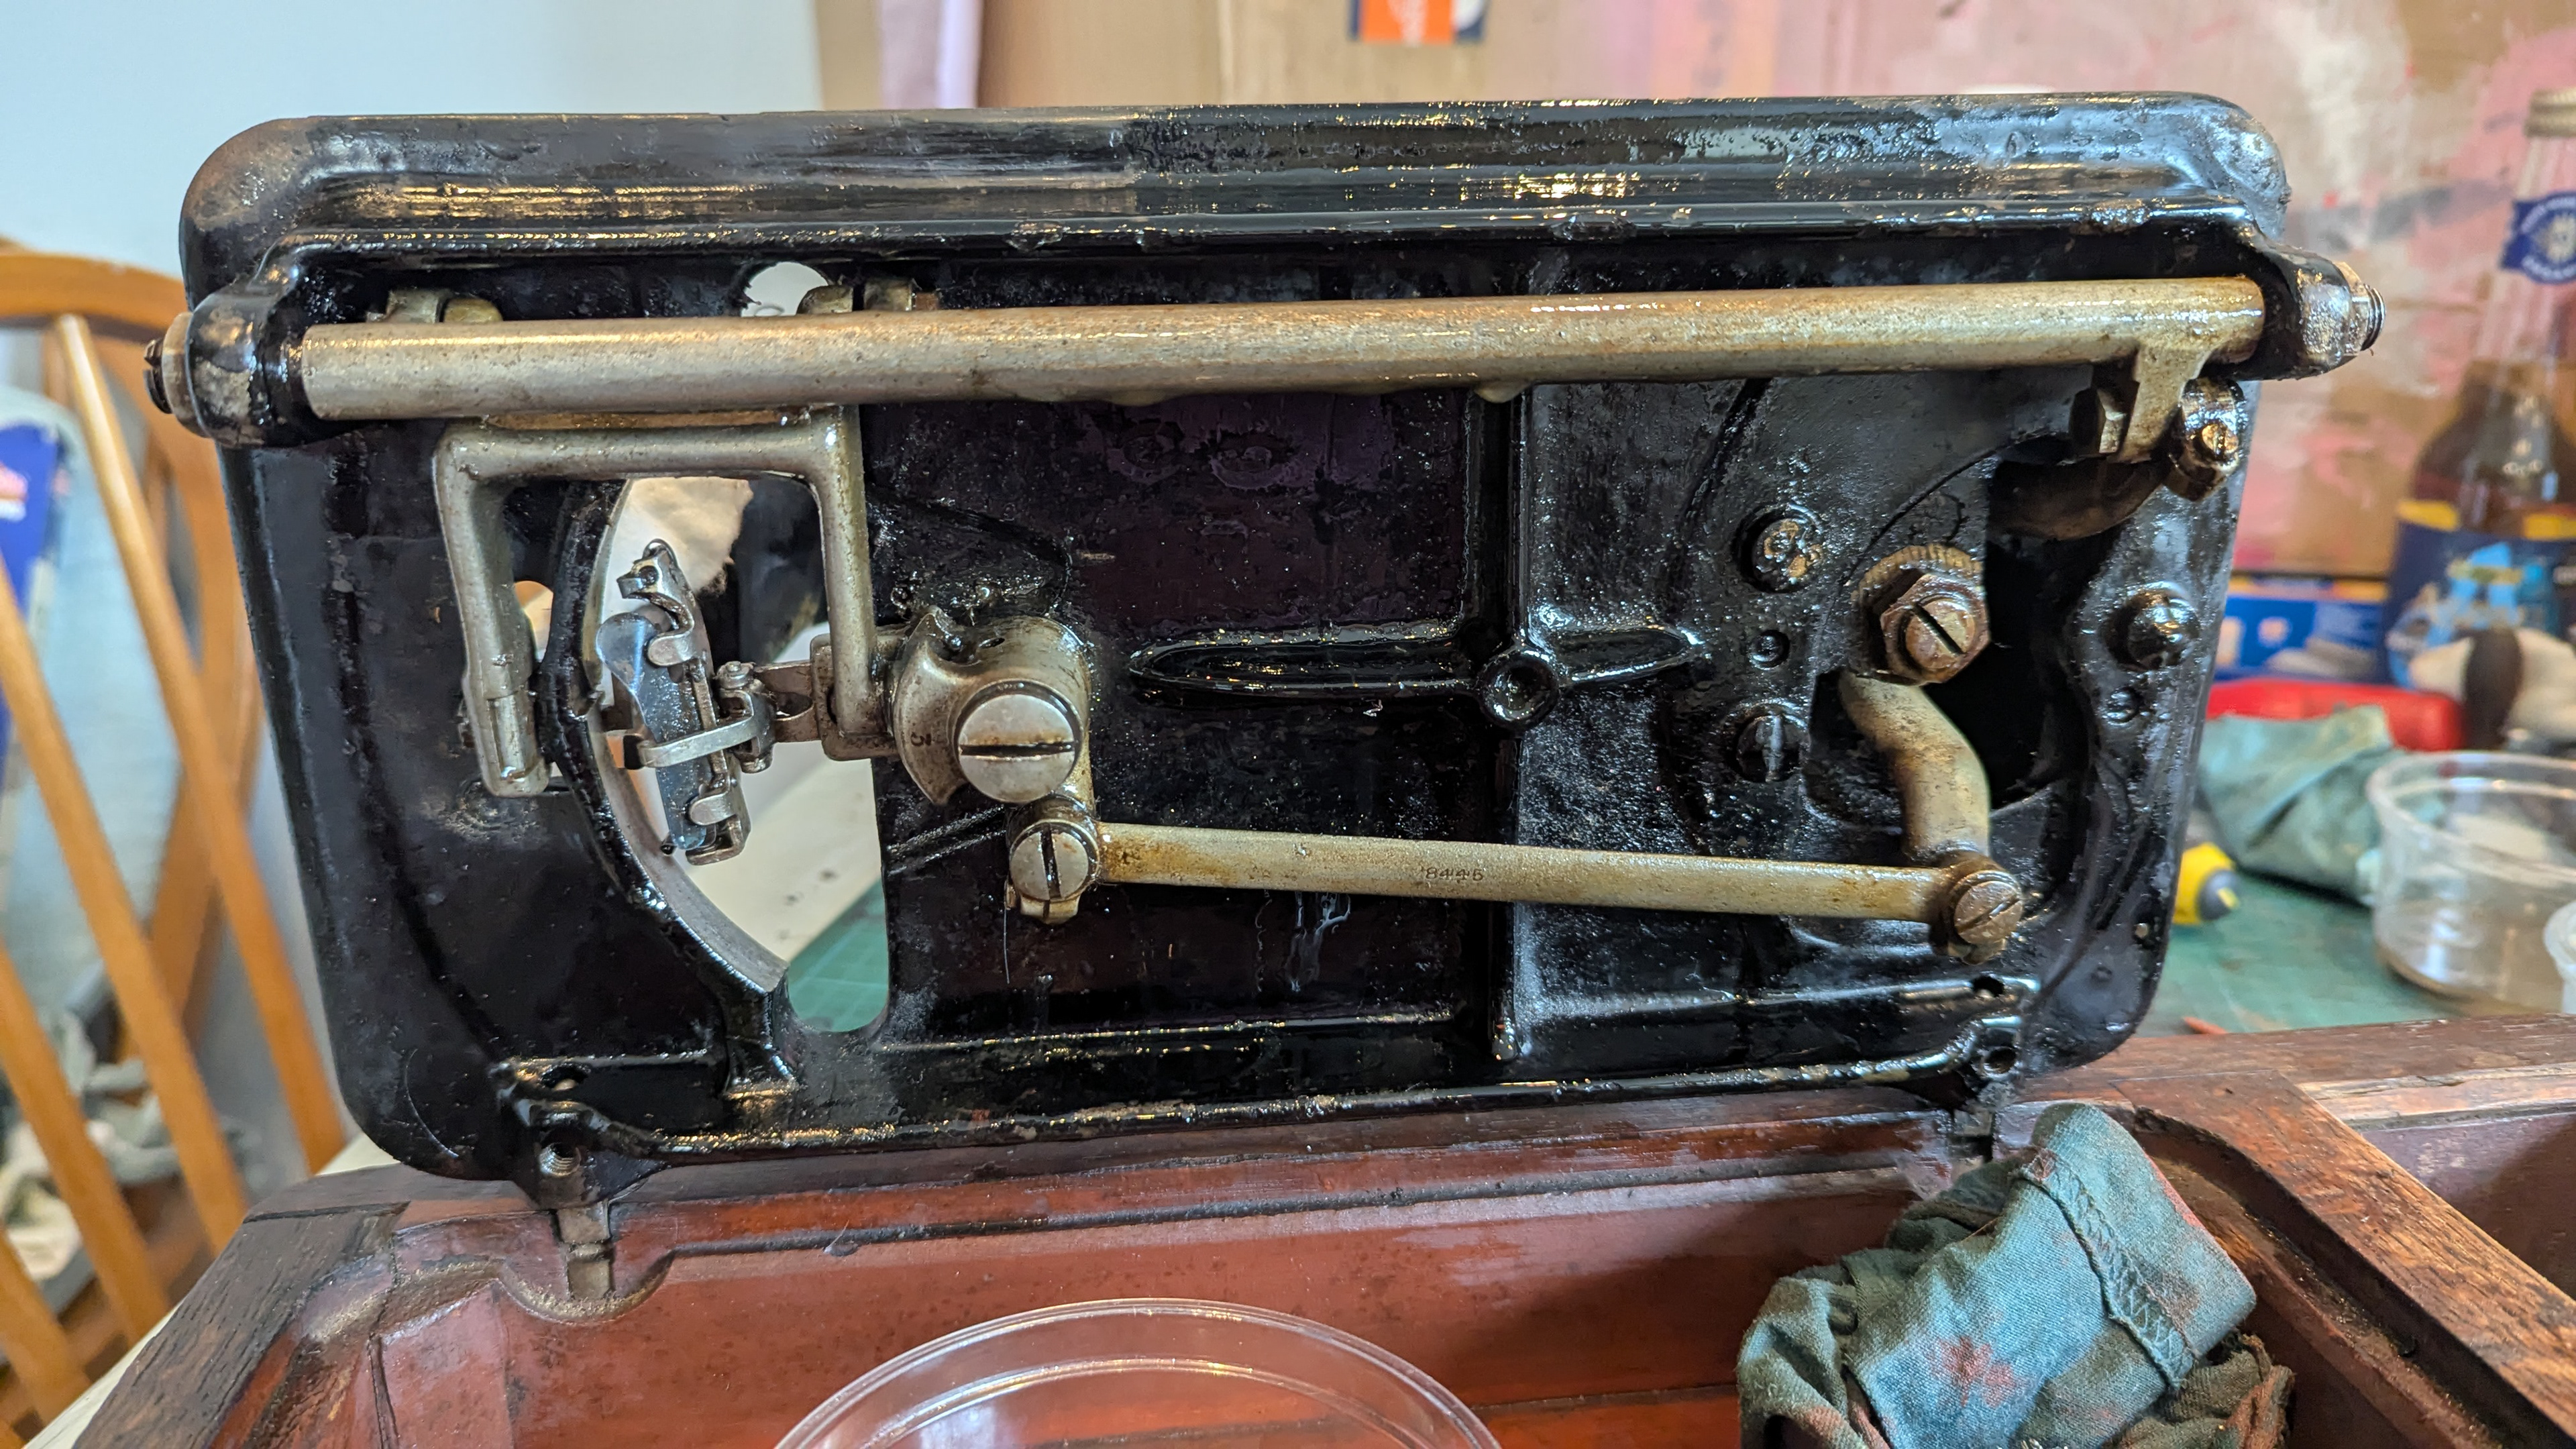
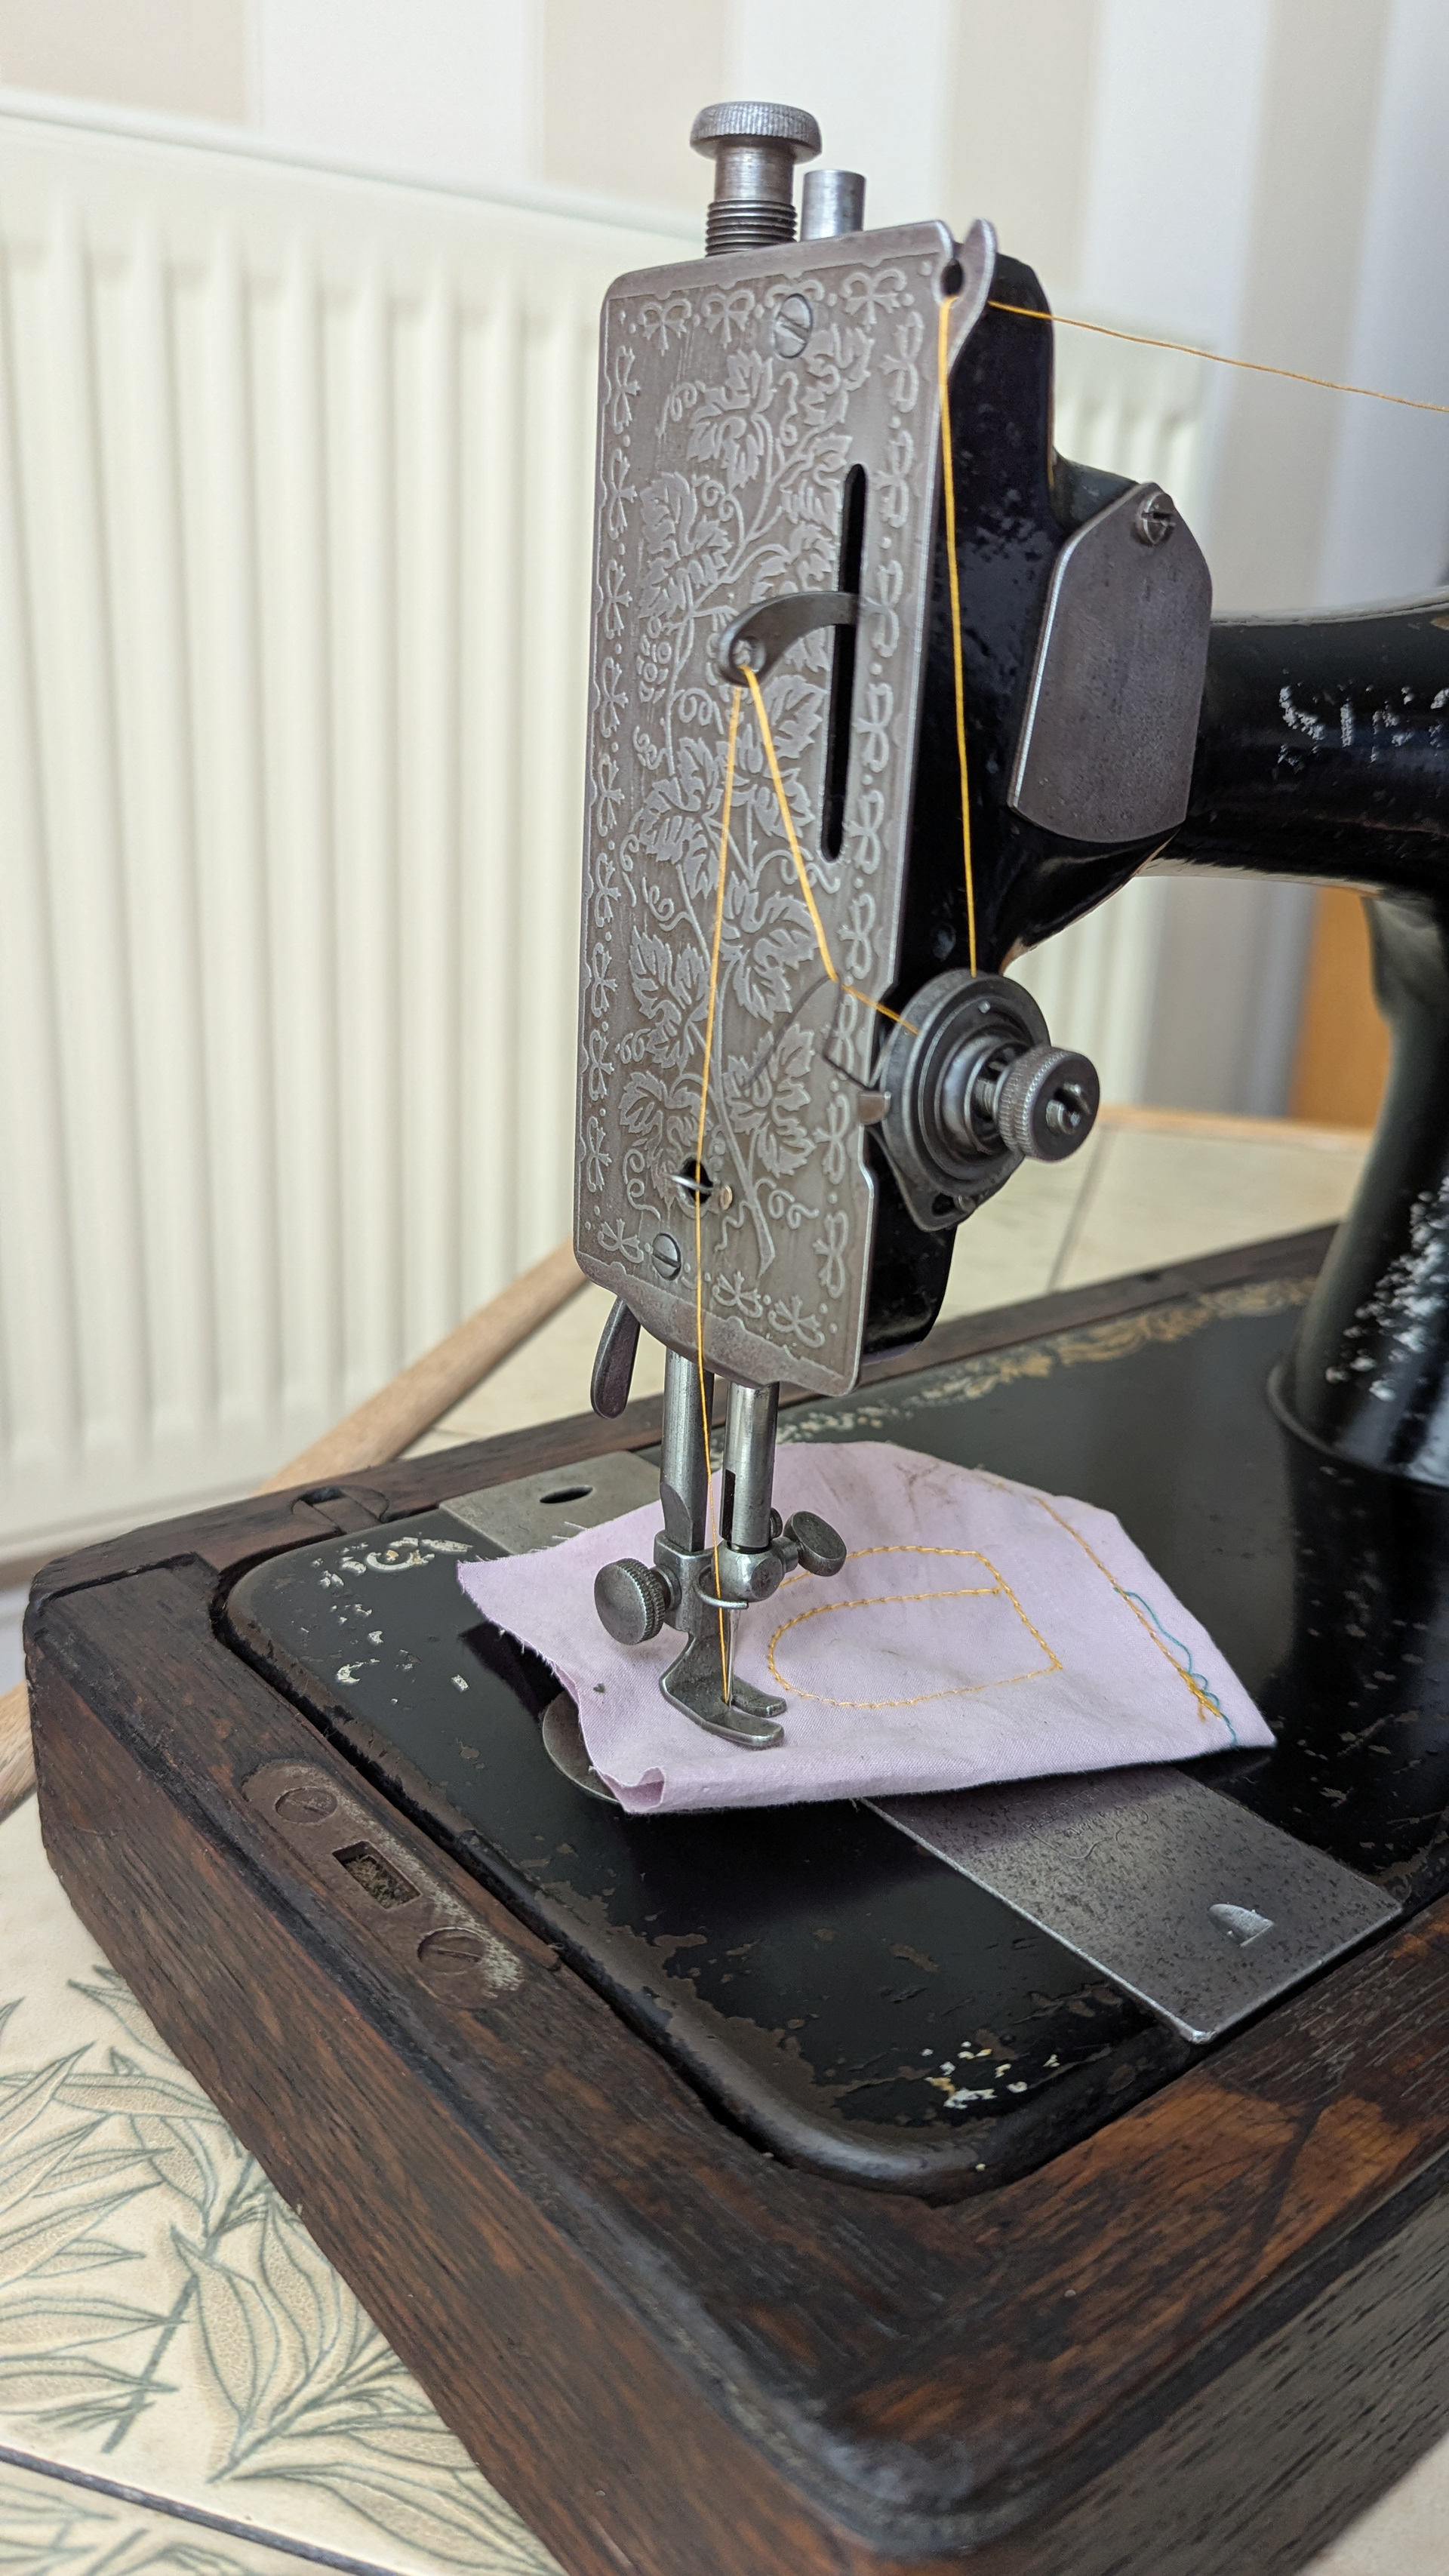
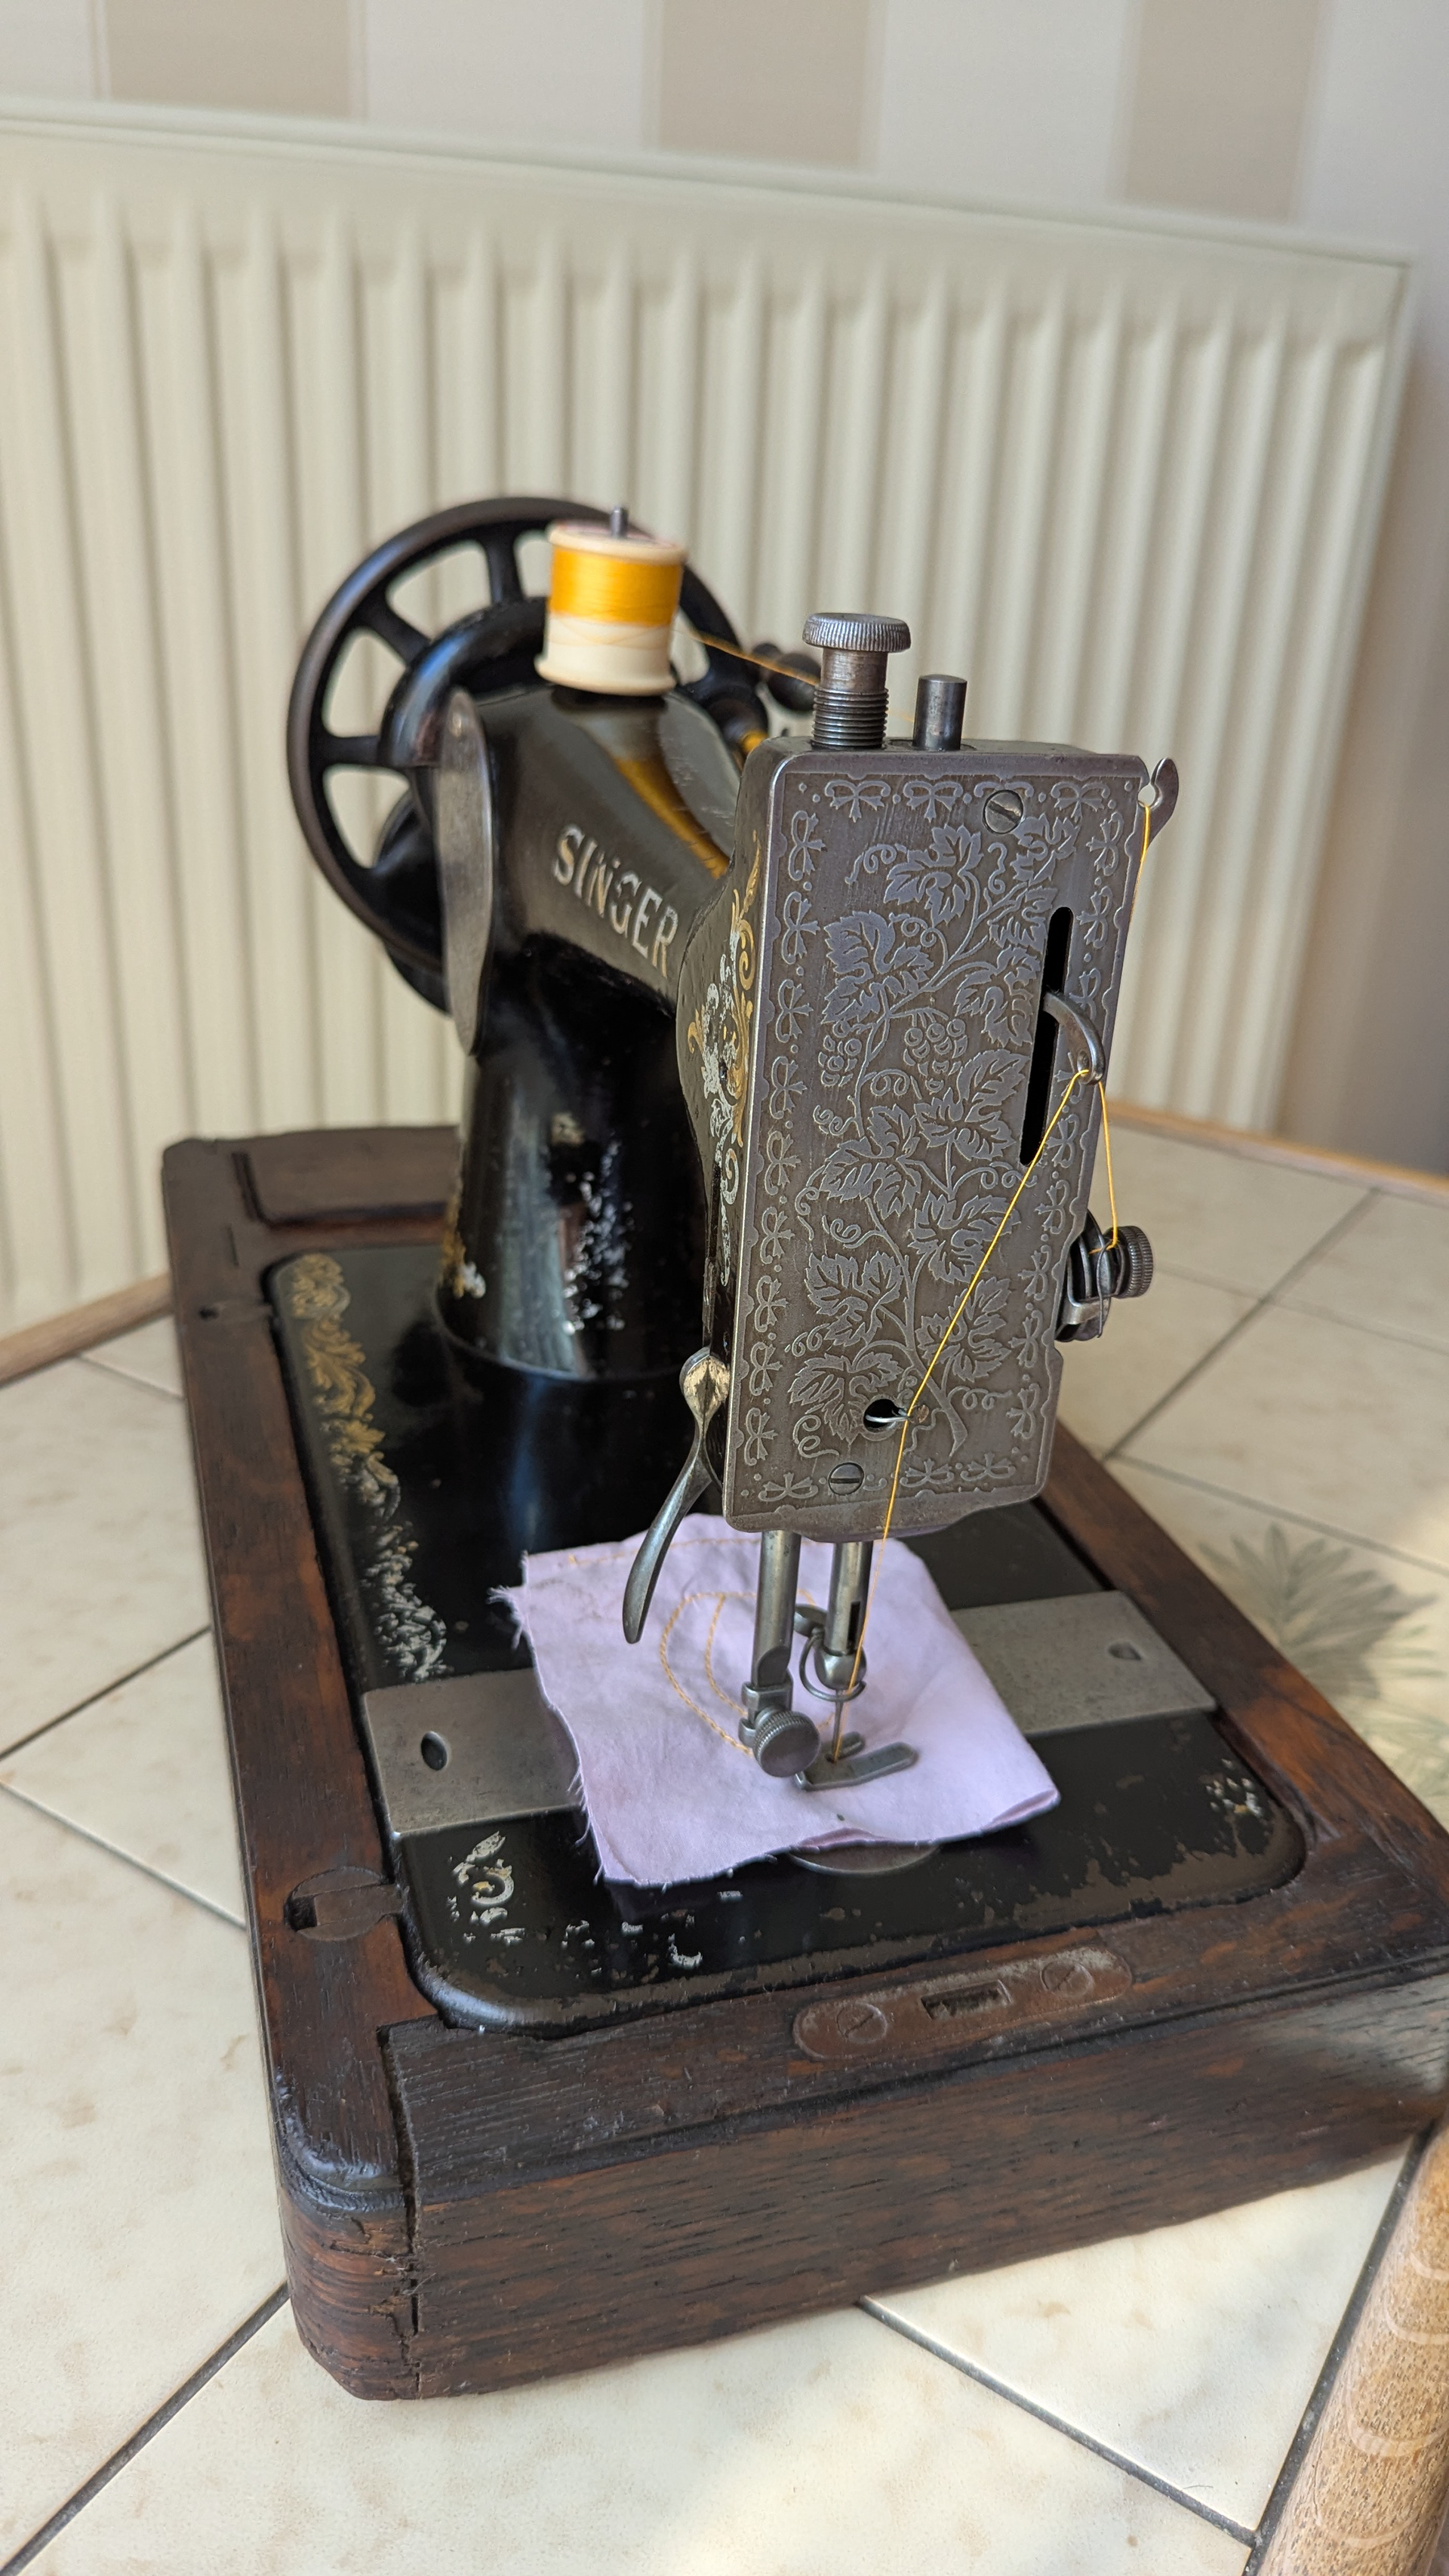
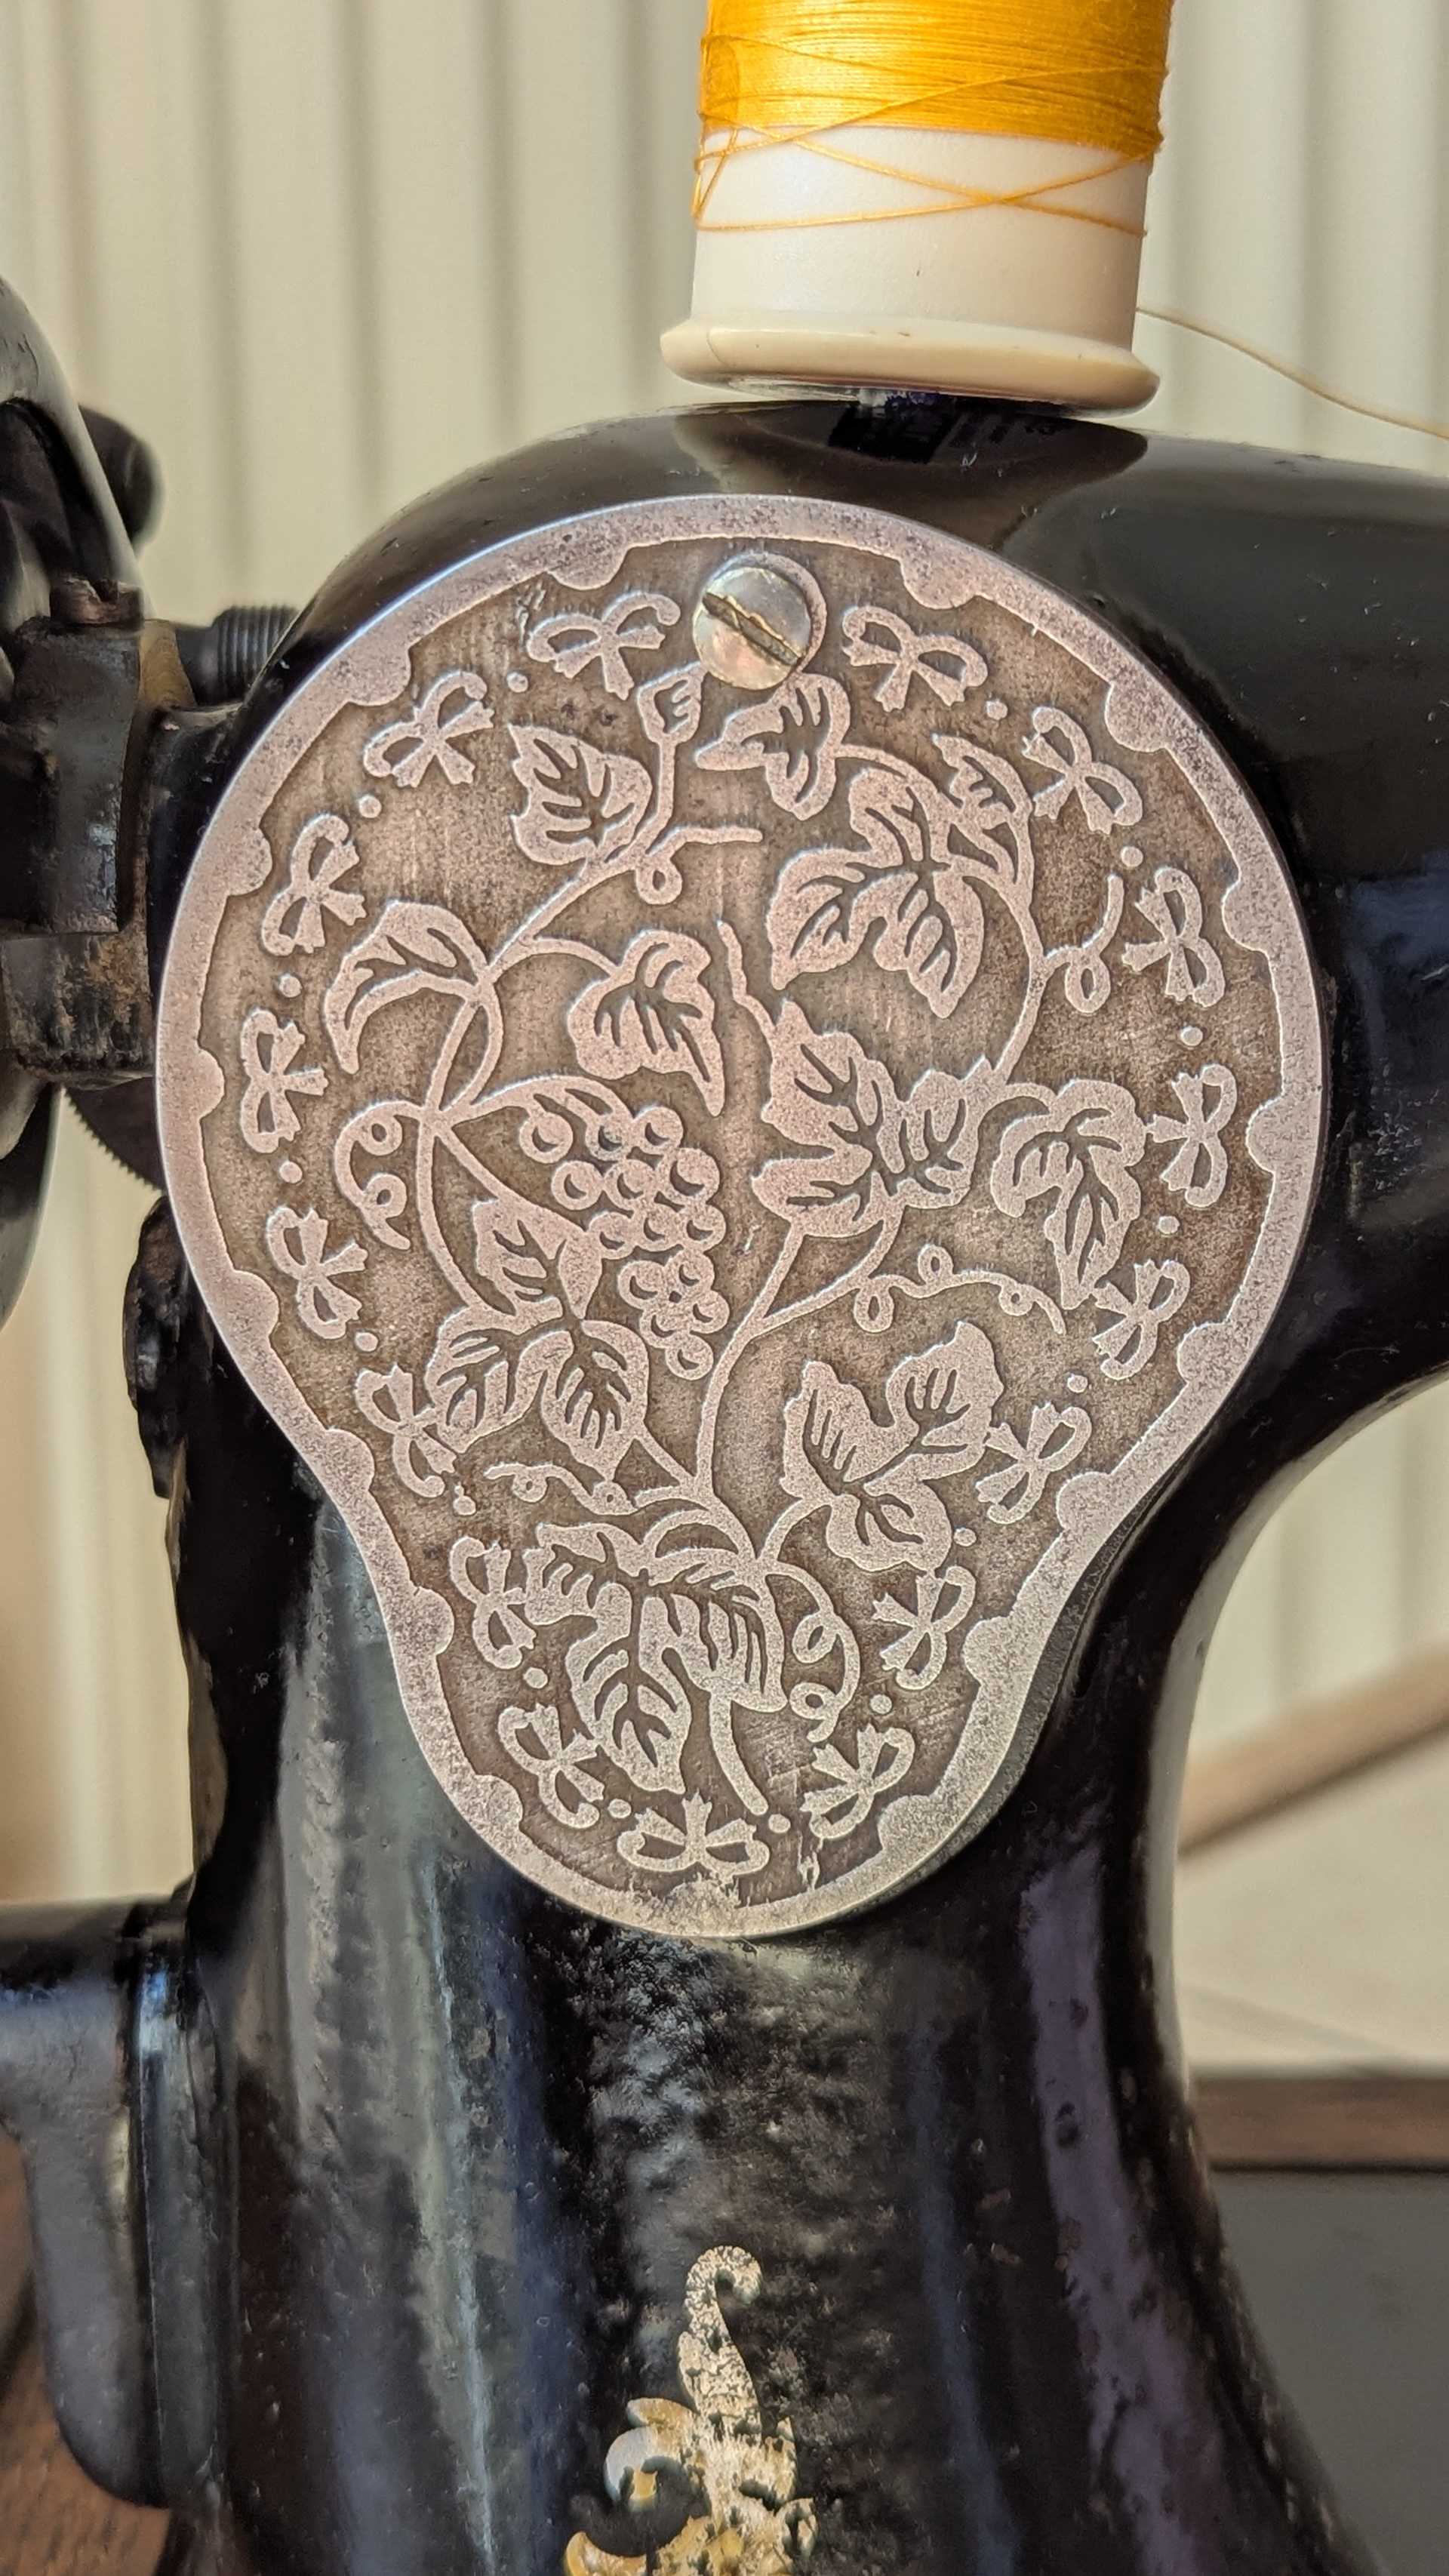
View of the face without the plate
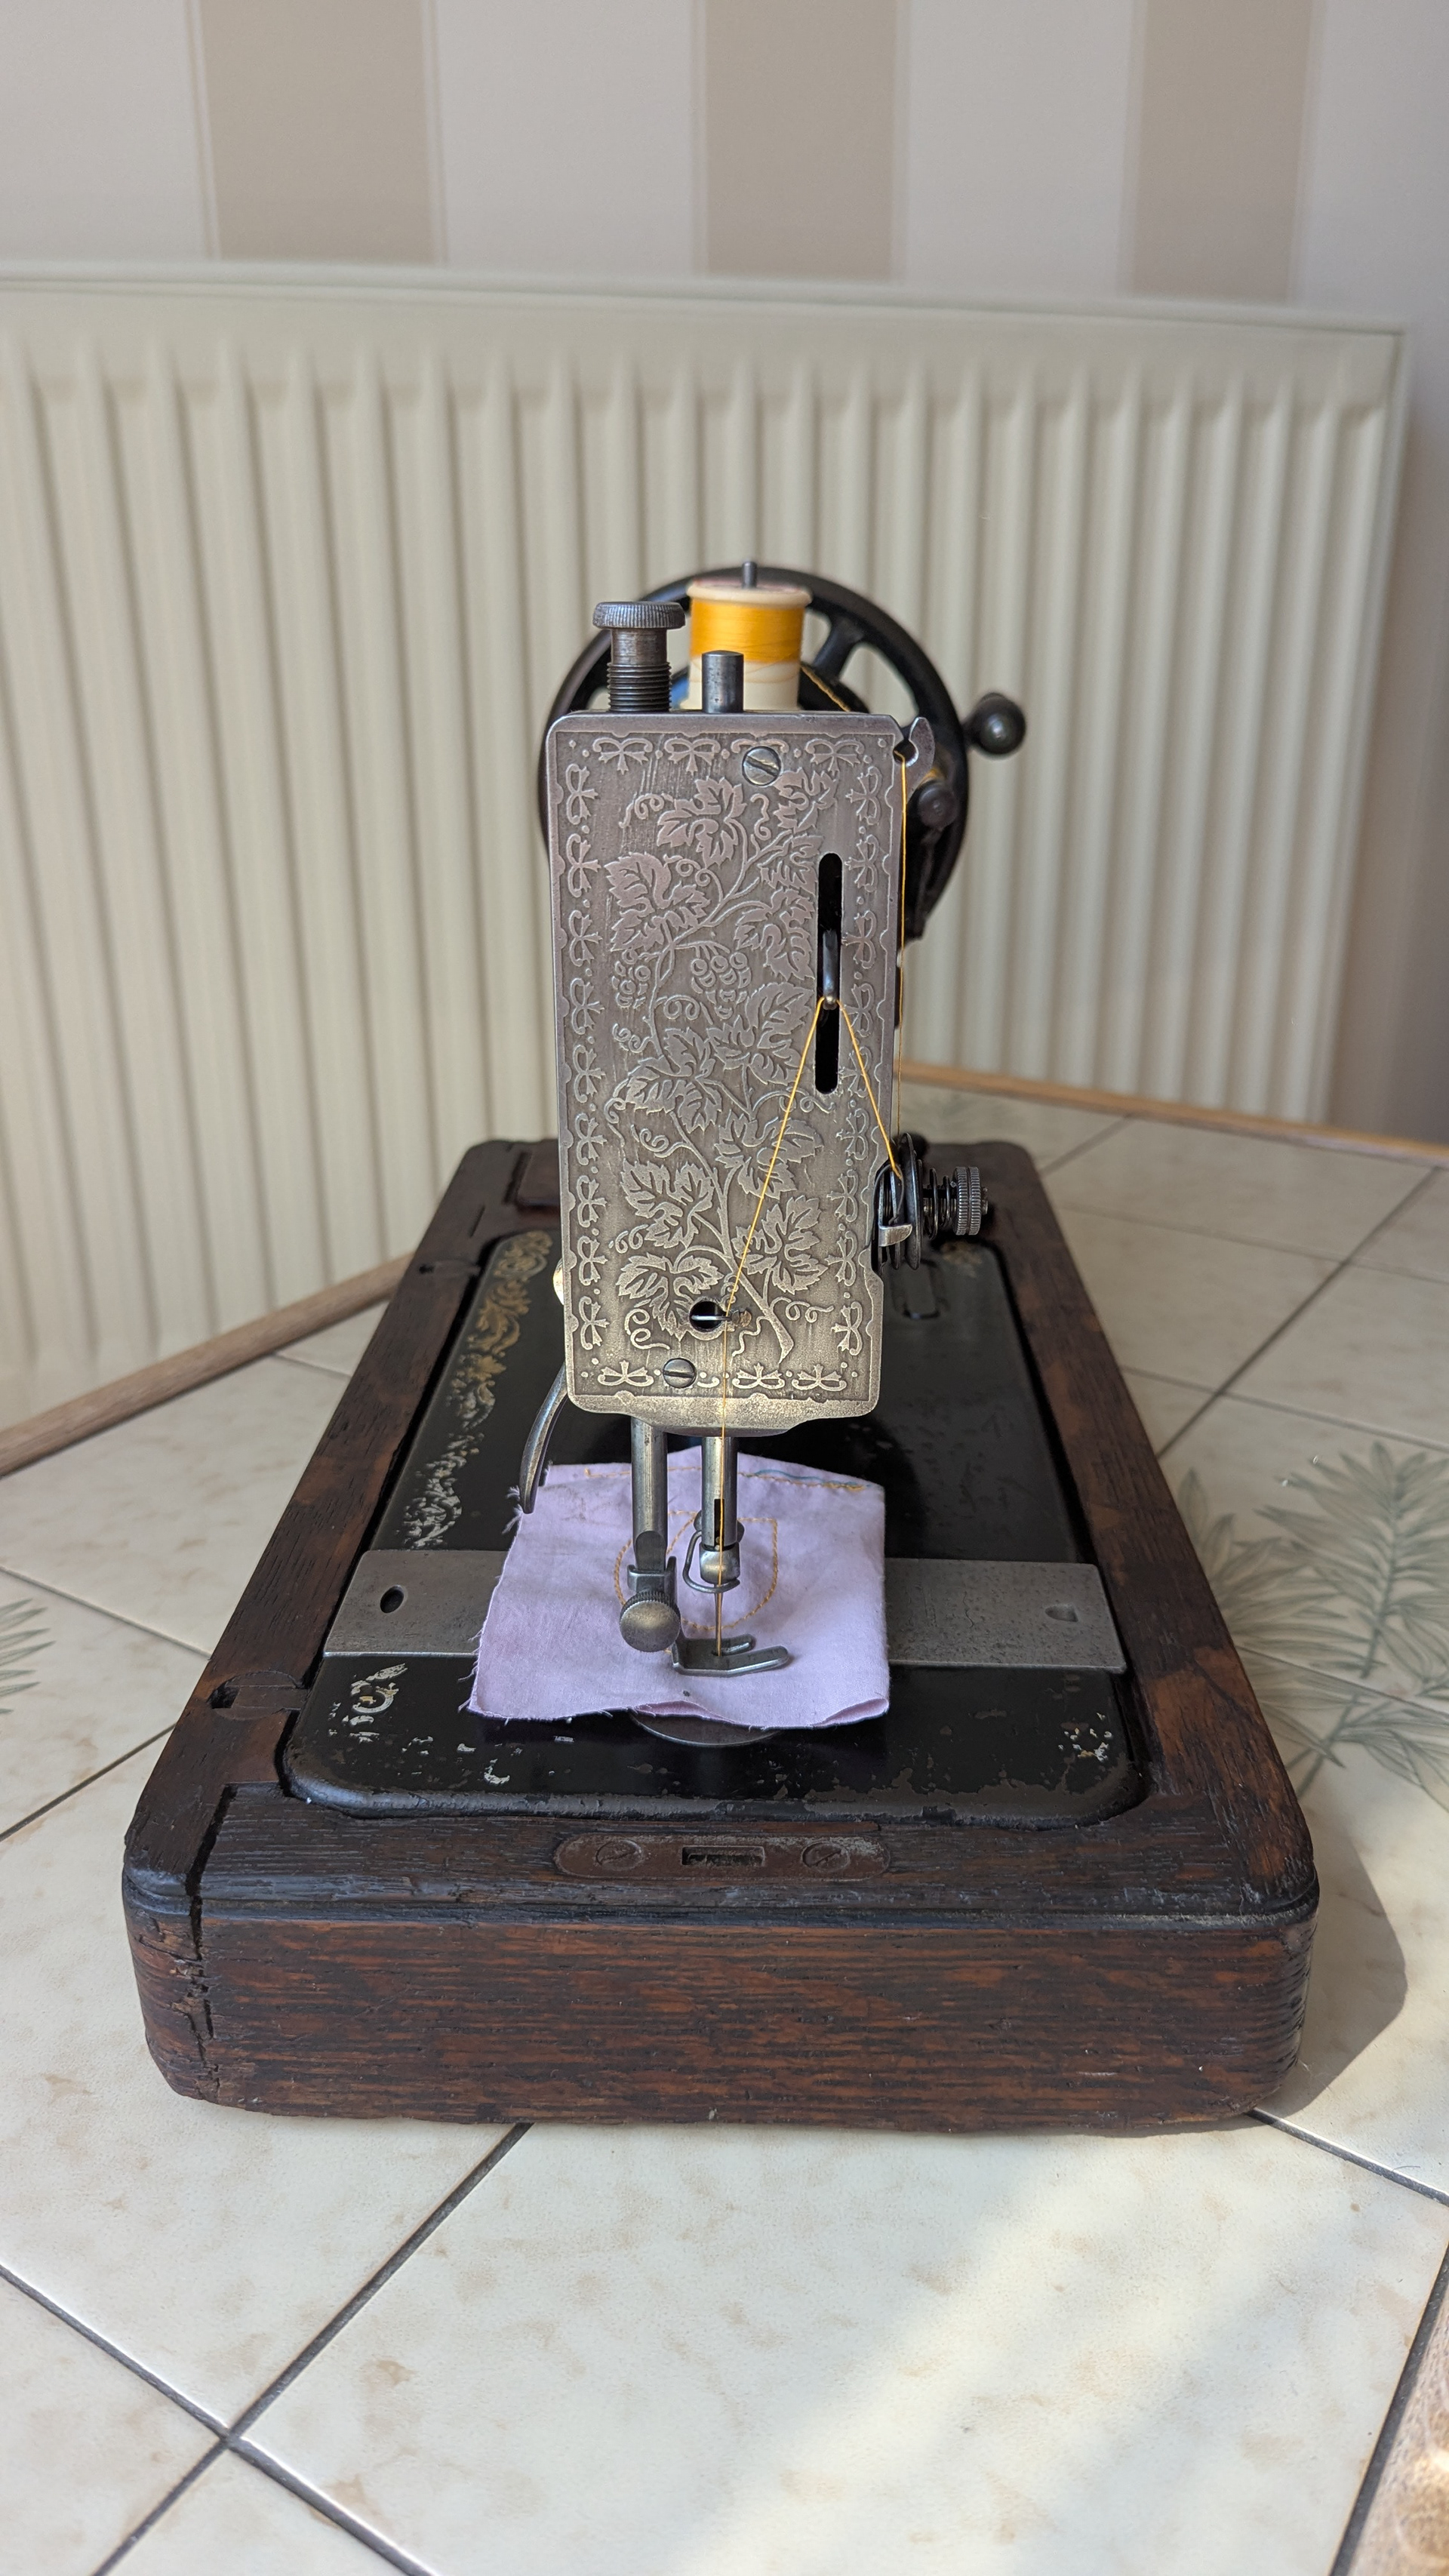
Initial assessment
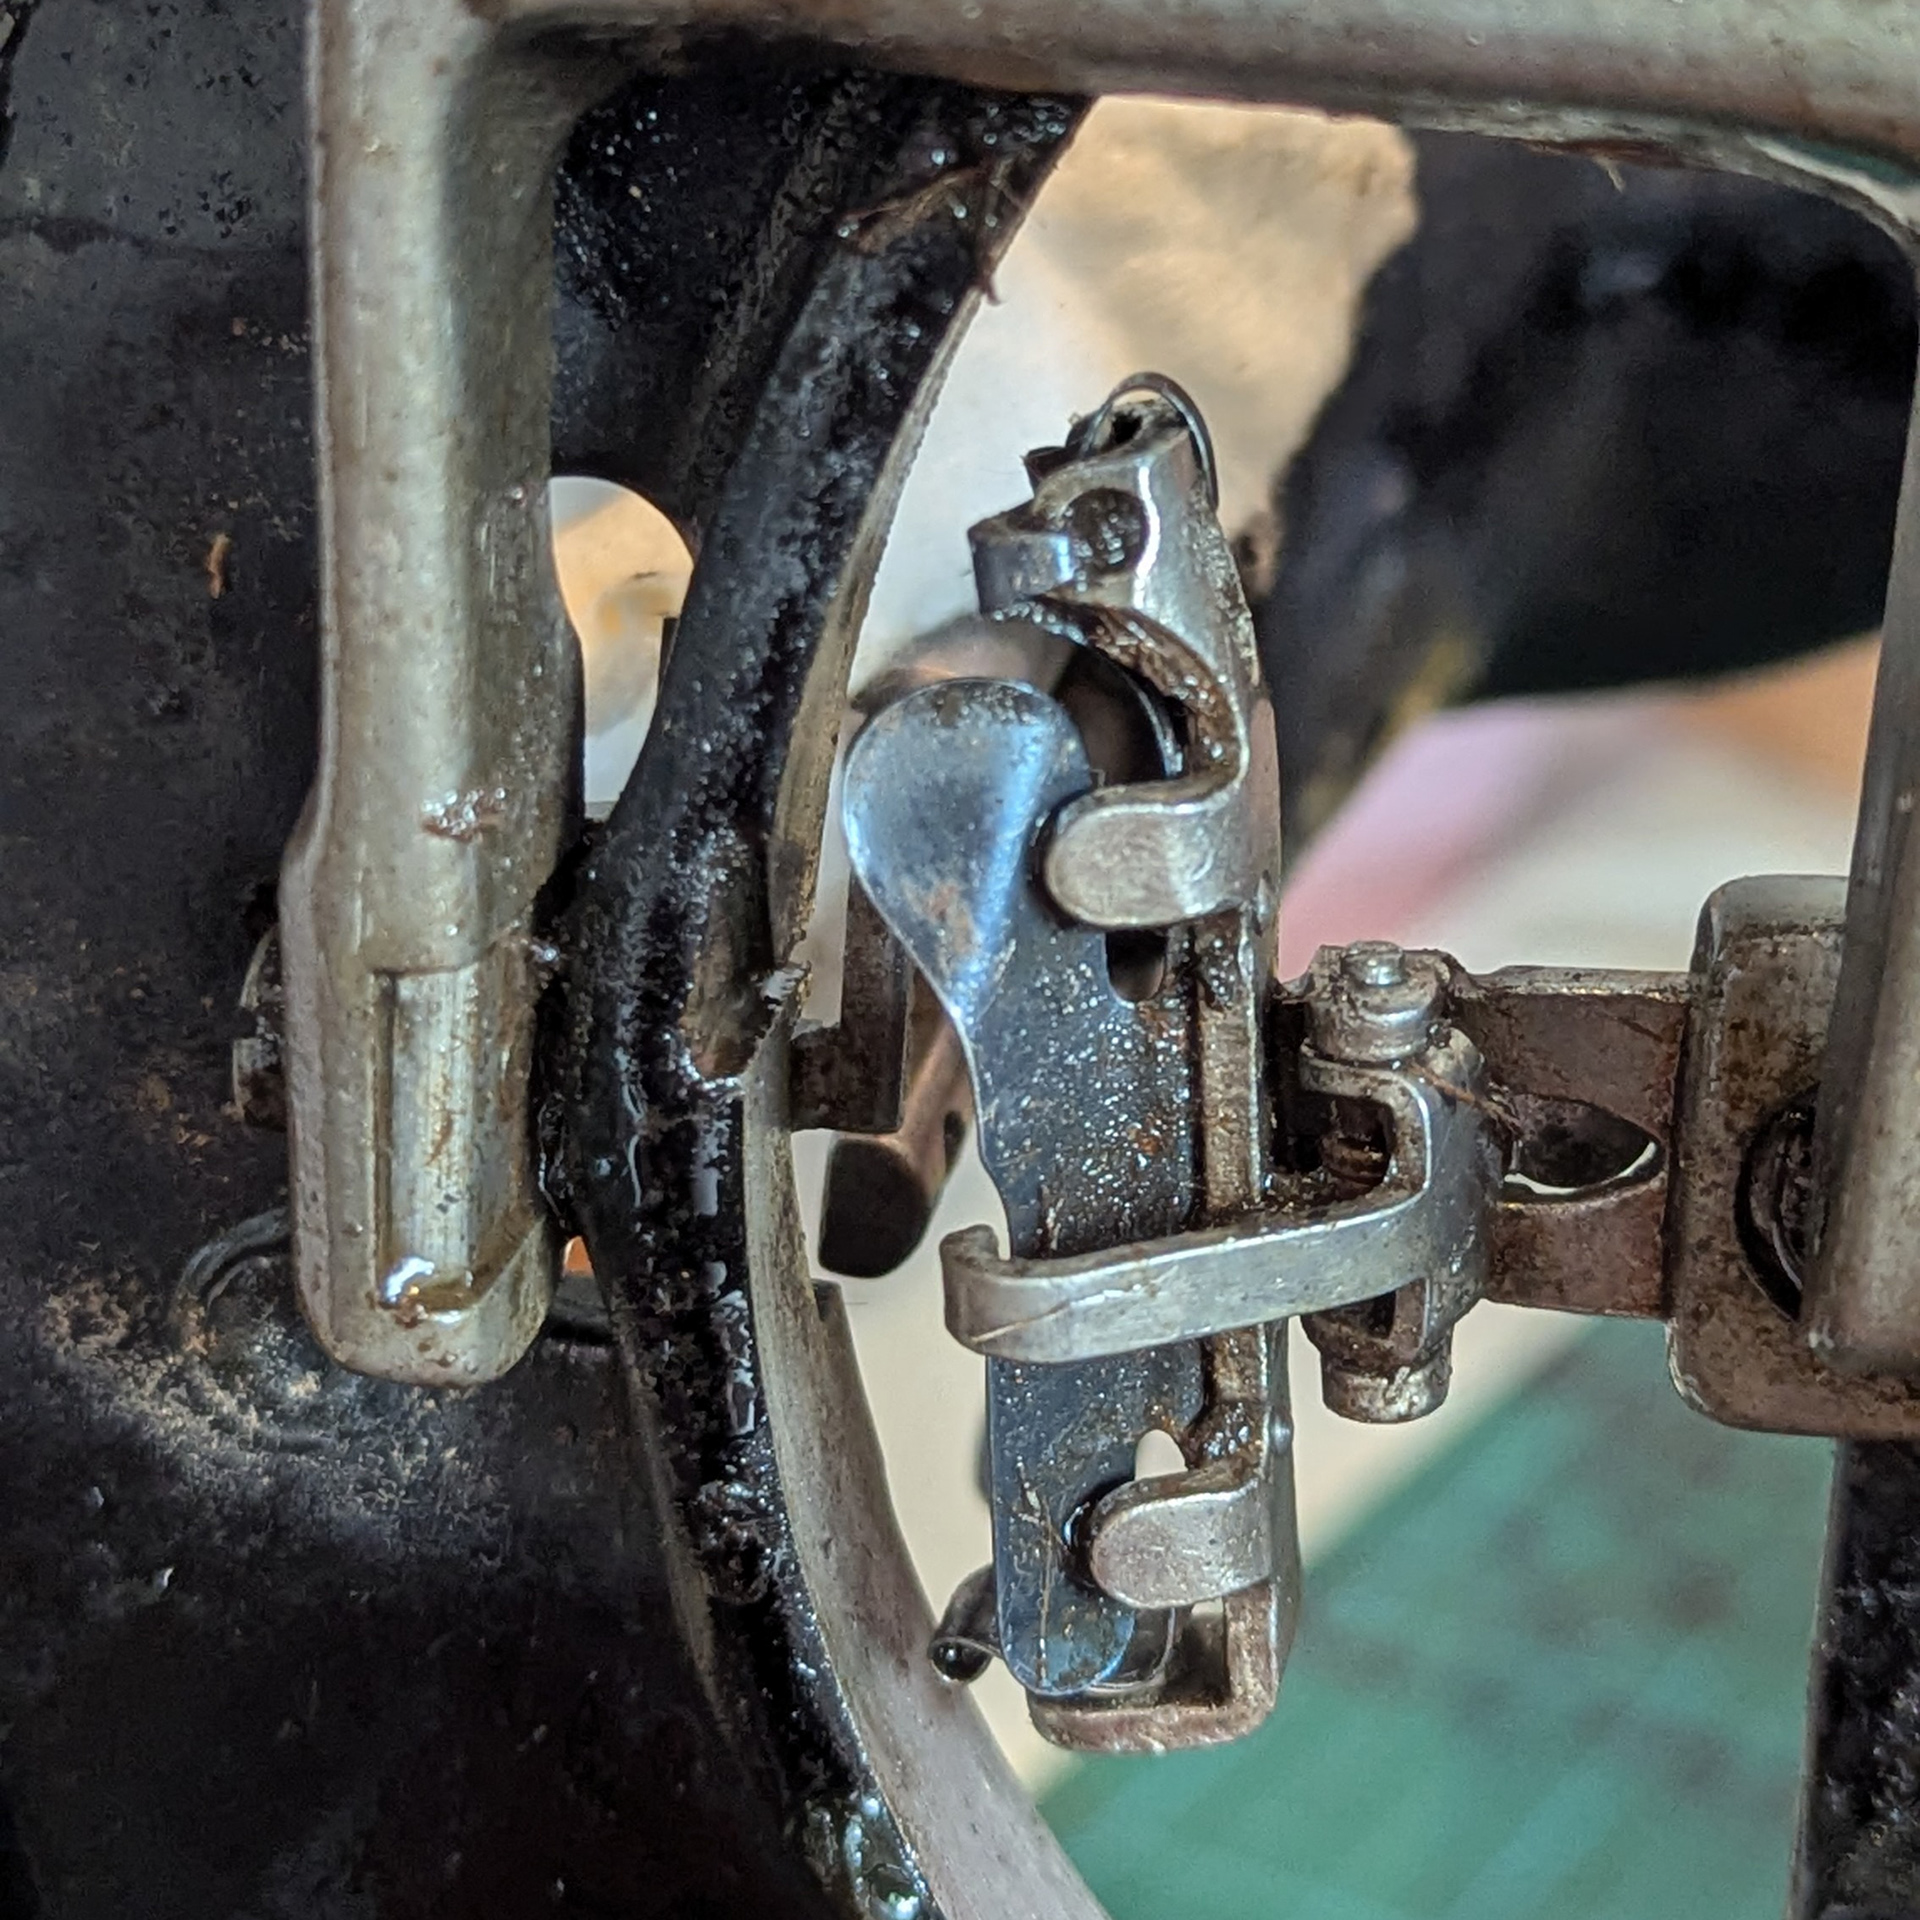
I gave a closer examination. The hand crank worked and the needle went up and down. The lower mechanism containing the ‘bullet’ bobbin case seemed complete and it moved as I expected - without really knowing much about this model. I noticed the presser foot that was locked in a lifted position. I realised this was actually the main issue why it was brought to me.
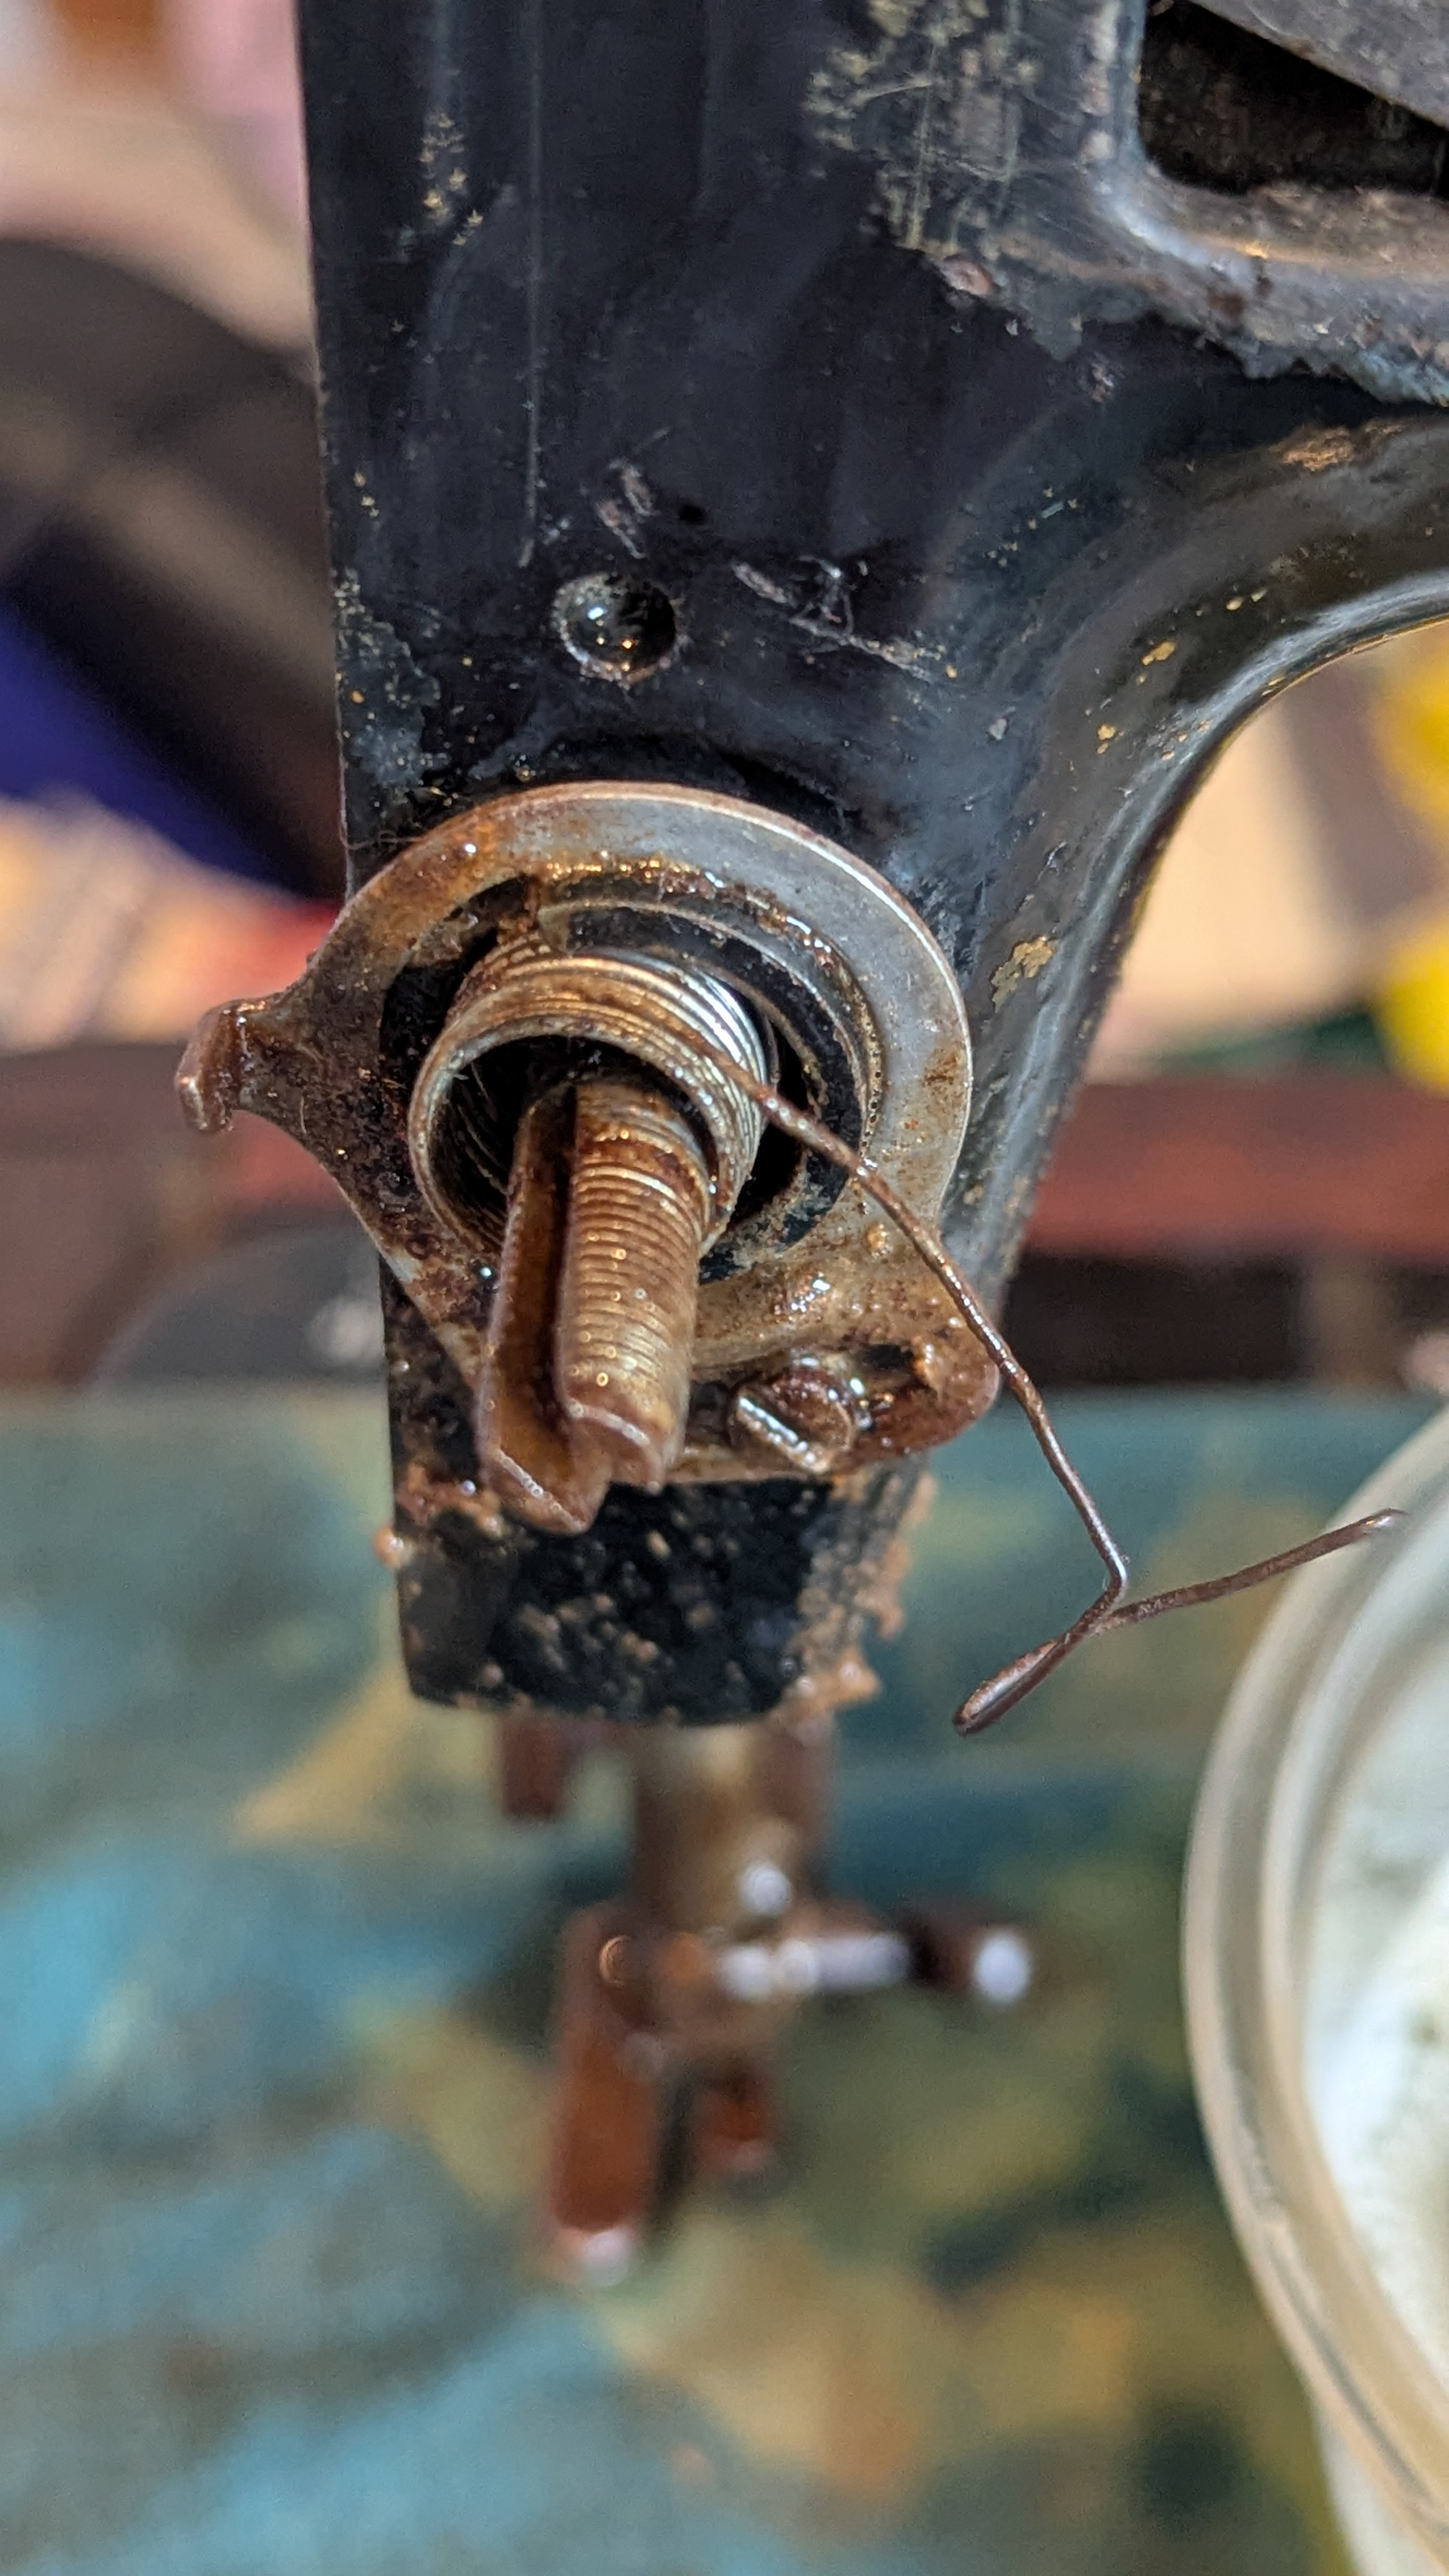
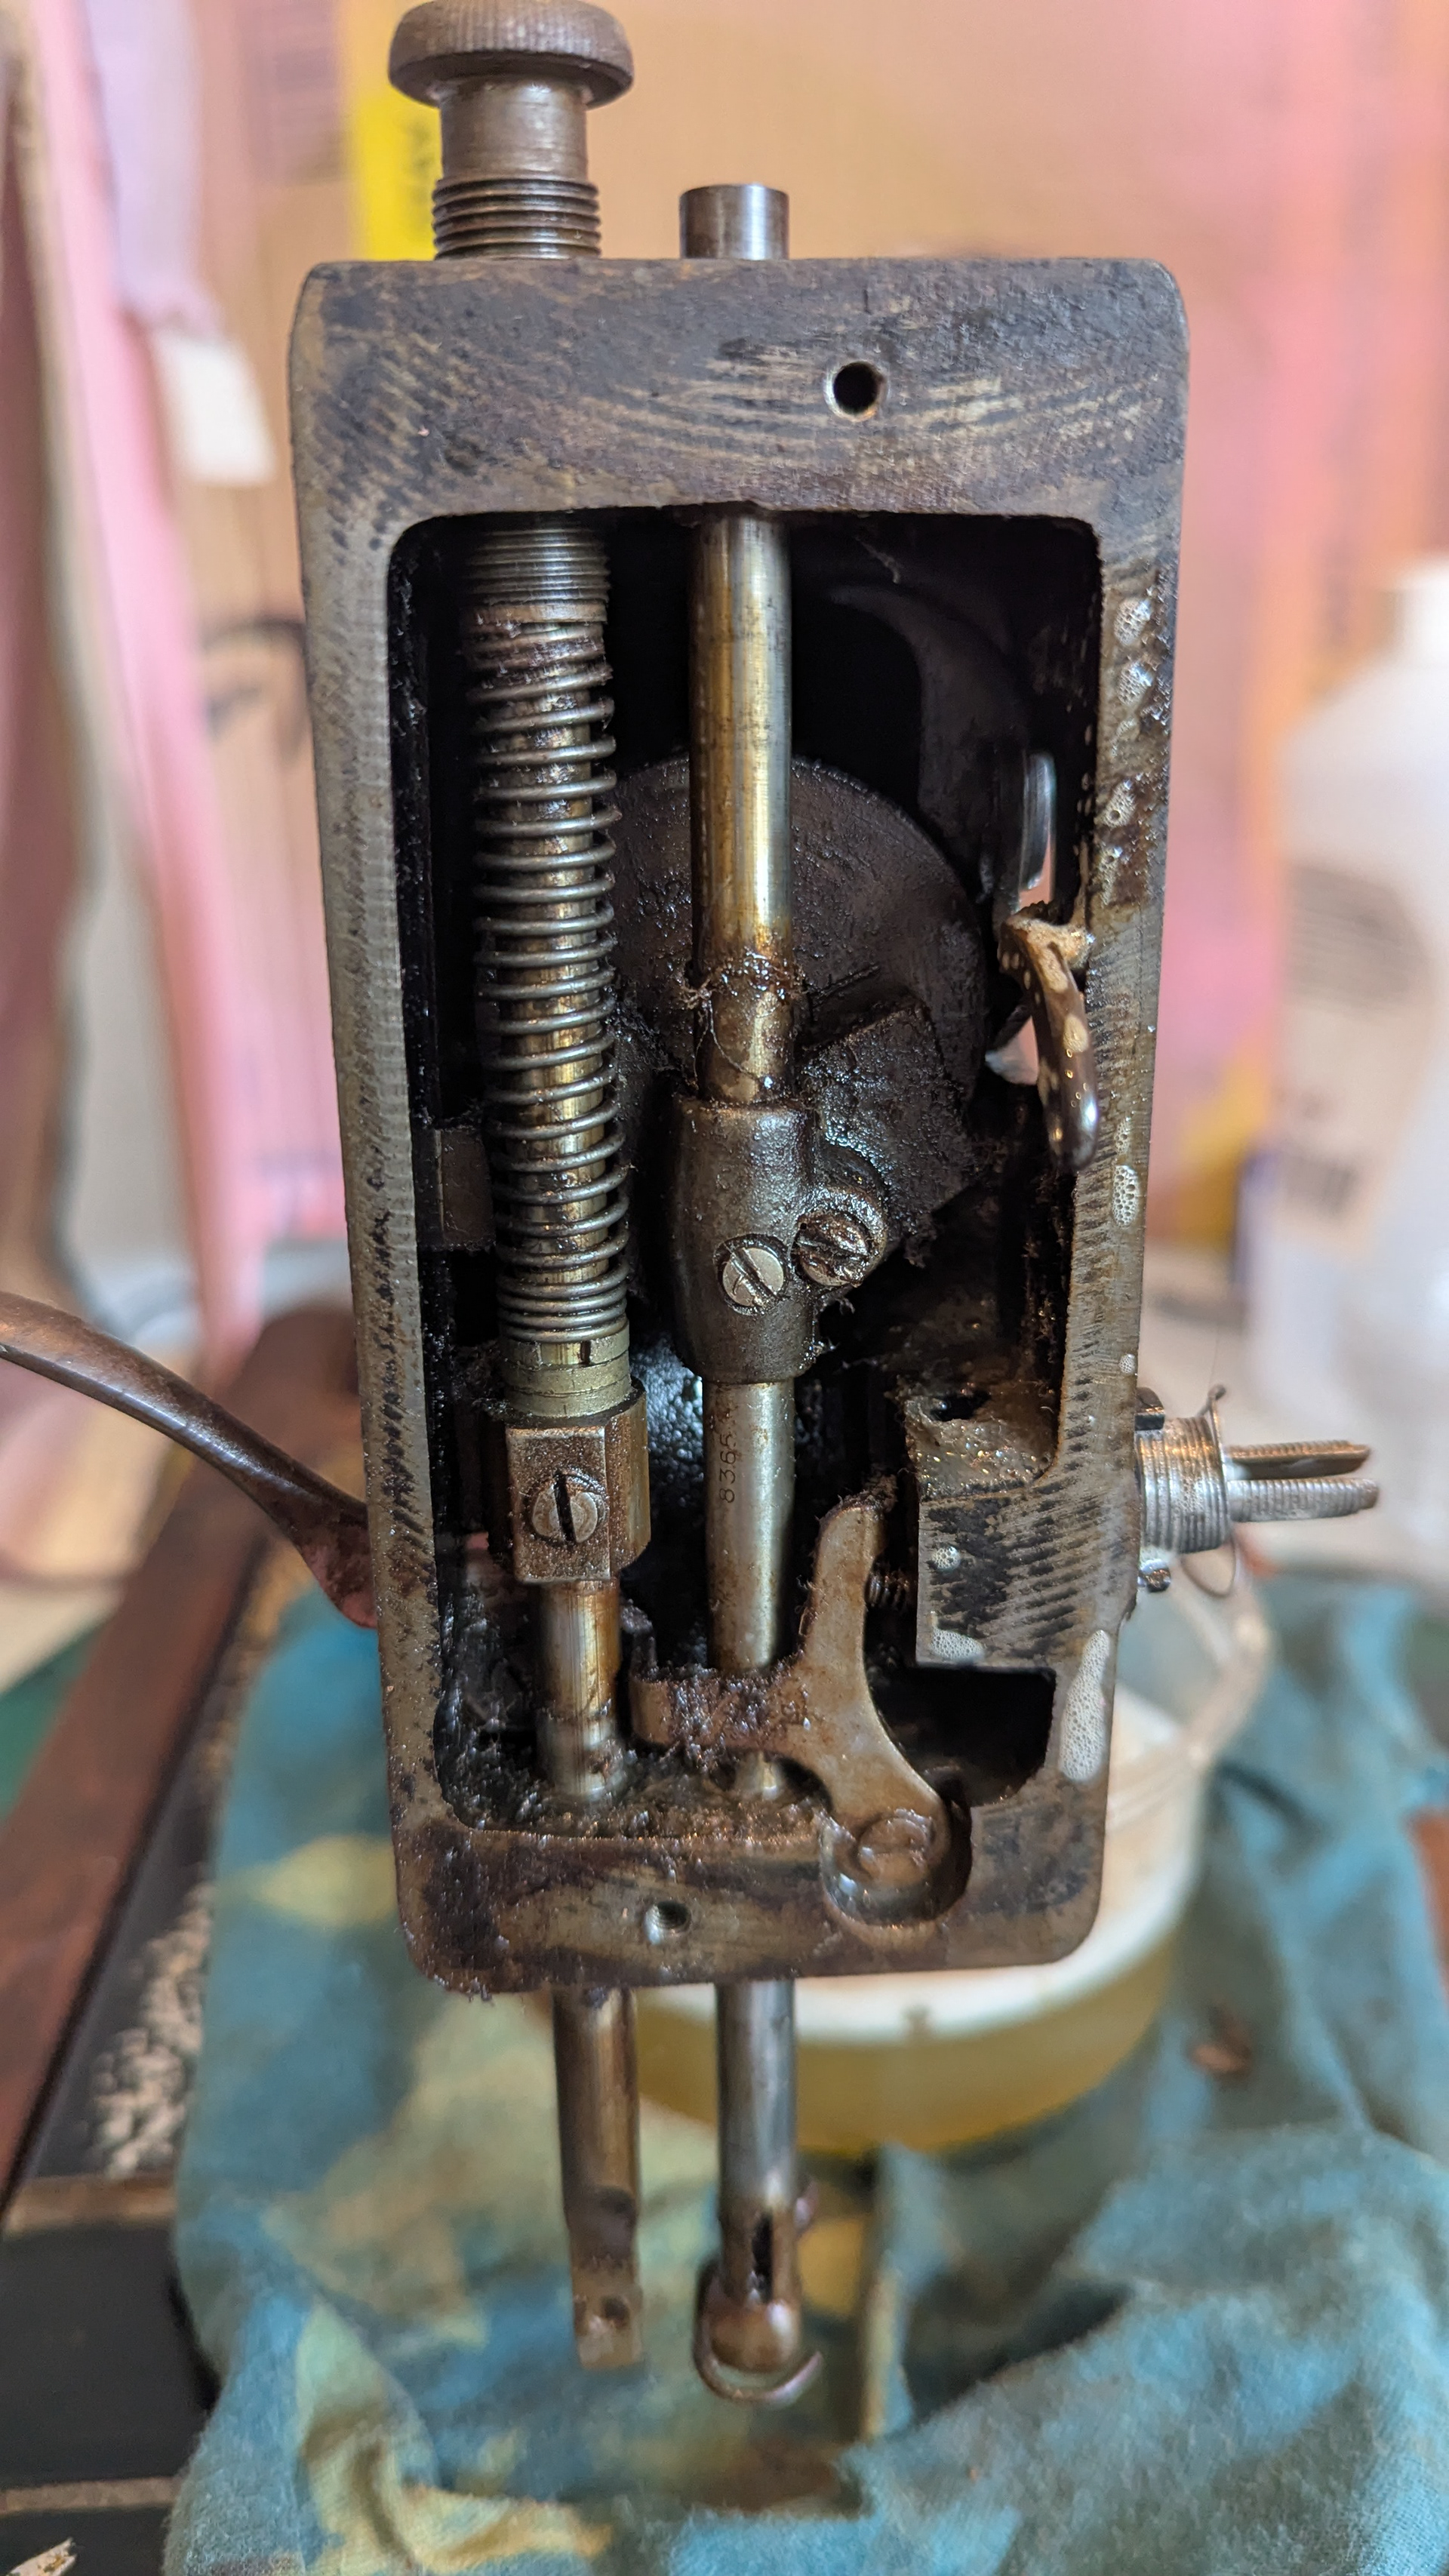
I opened the face plate to see what was going on in there. There was a lot of rust, grease and dirt. The presser bar lifter moved up and down, but wasn’t having an effect on the presser bar. Nothing seemed off, really - apart from the extreme dirt - and I couldn’t see anything missing or broken so I assumed it was just stuck. I forced it a bit and eventually came off.
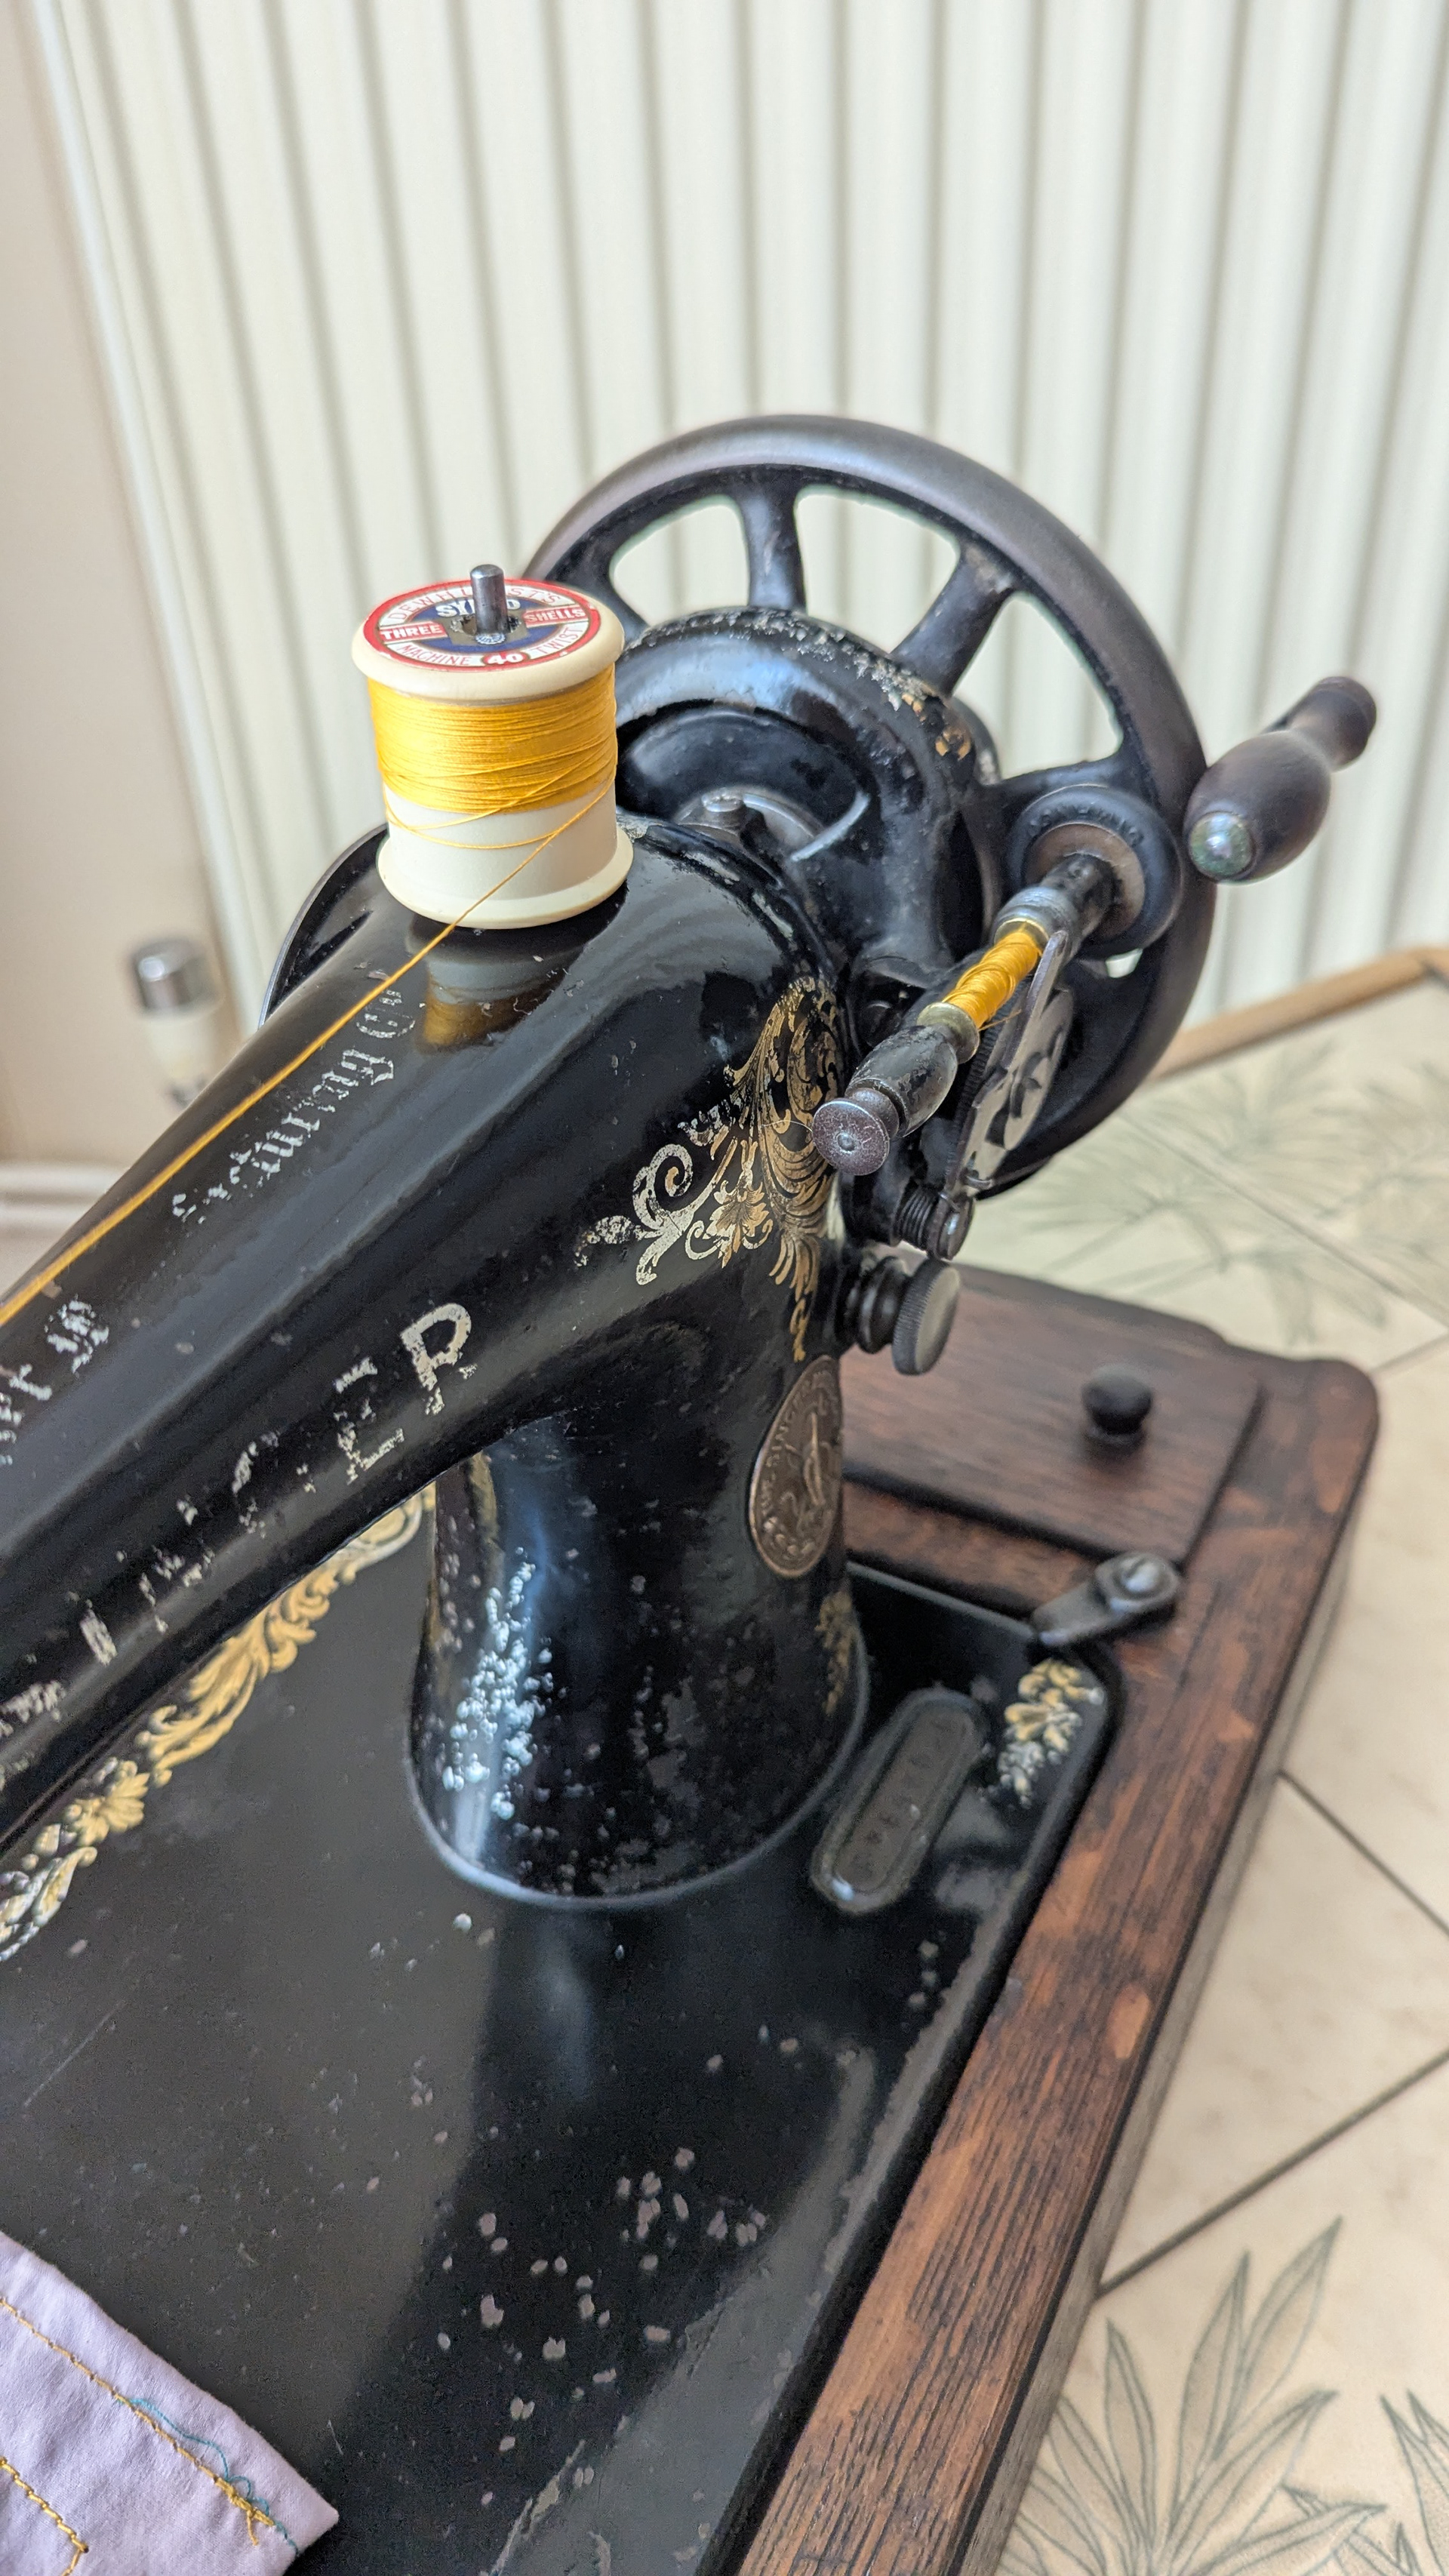
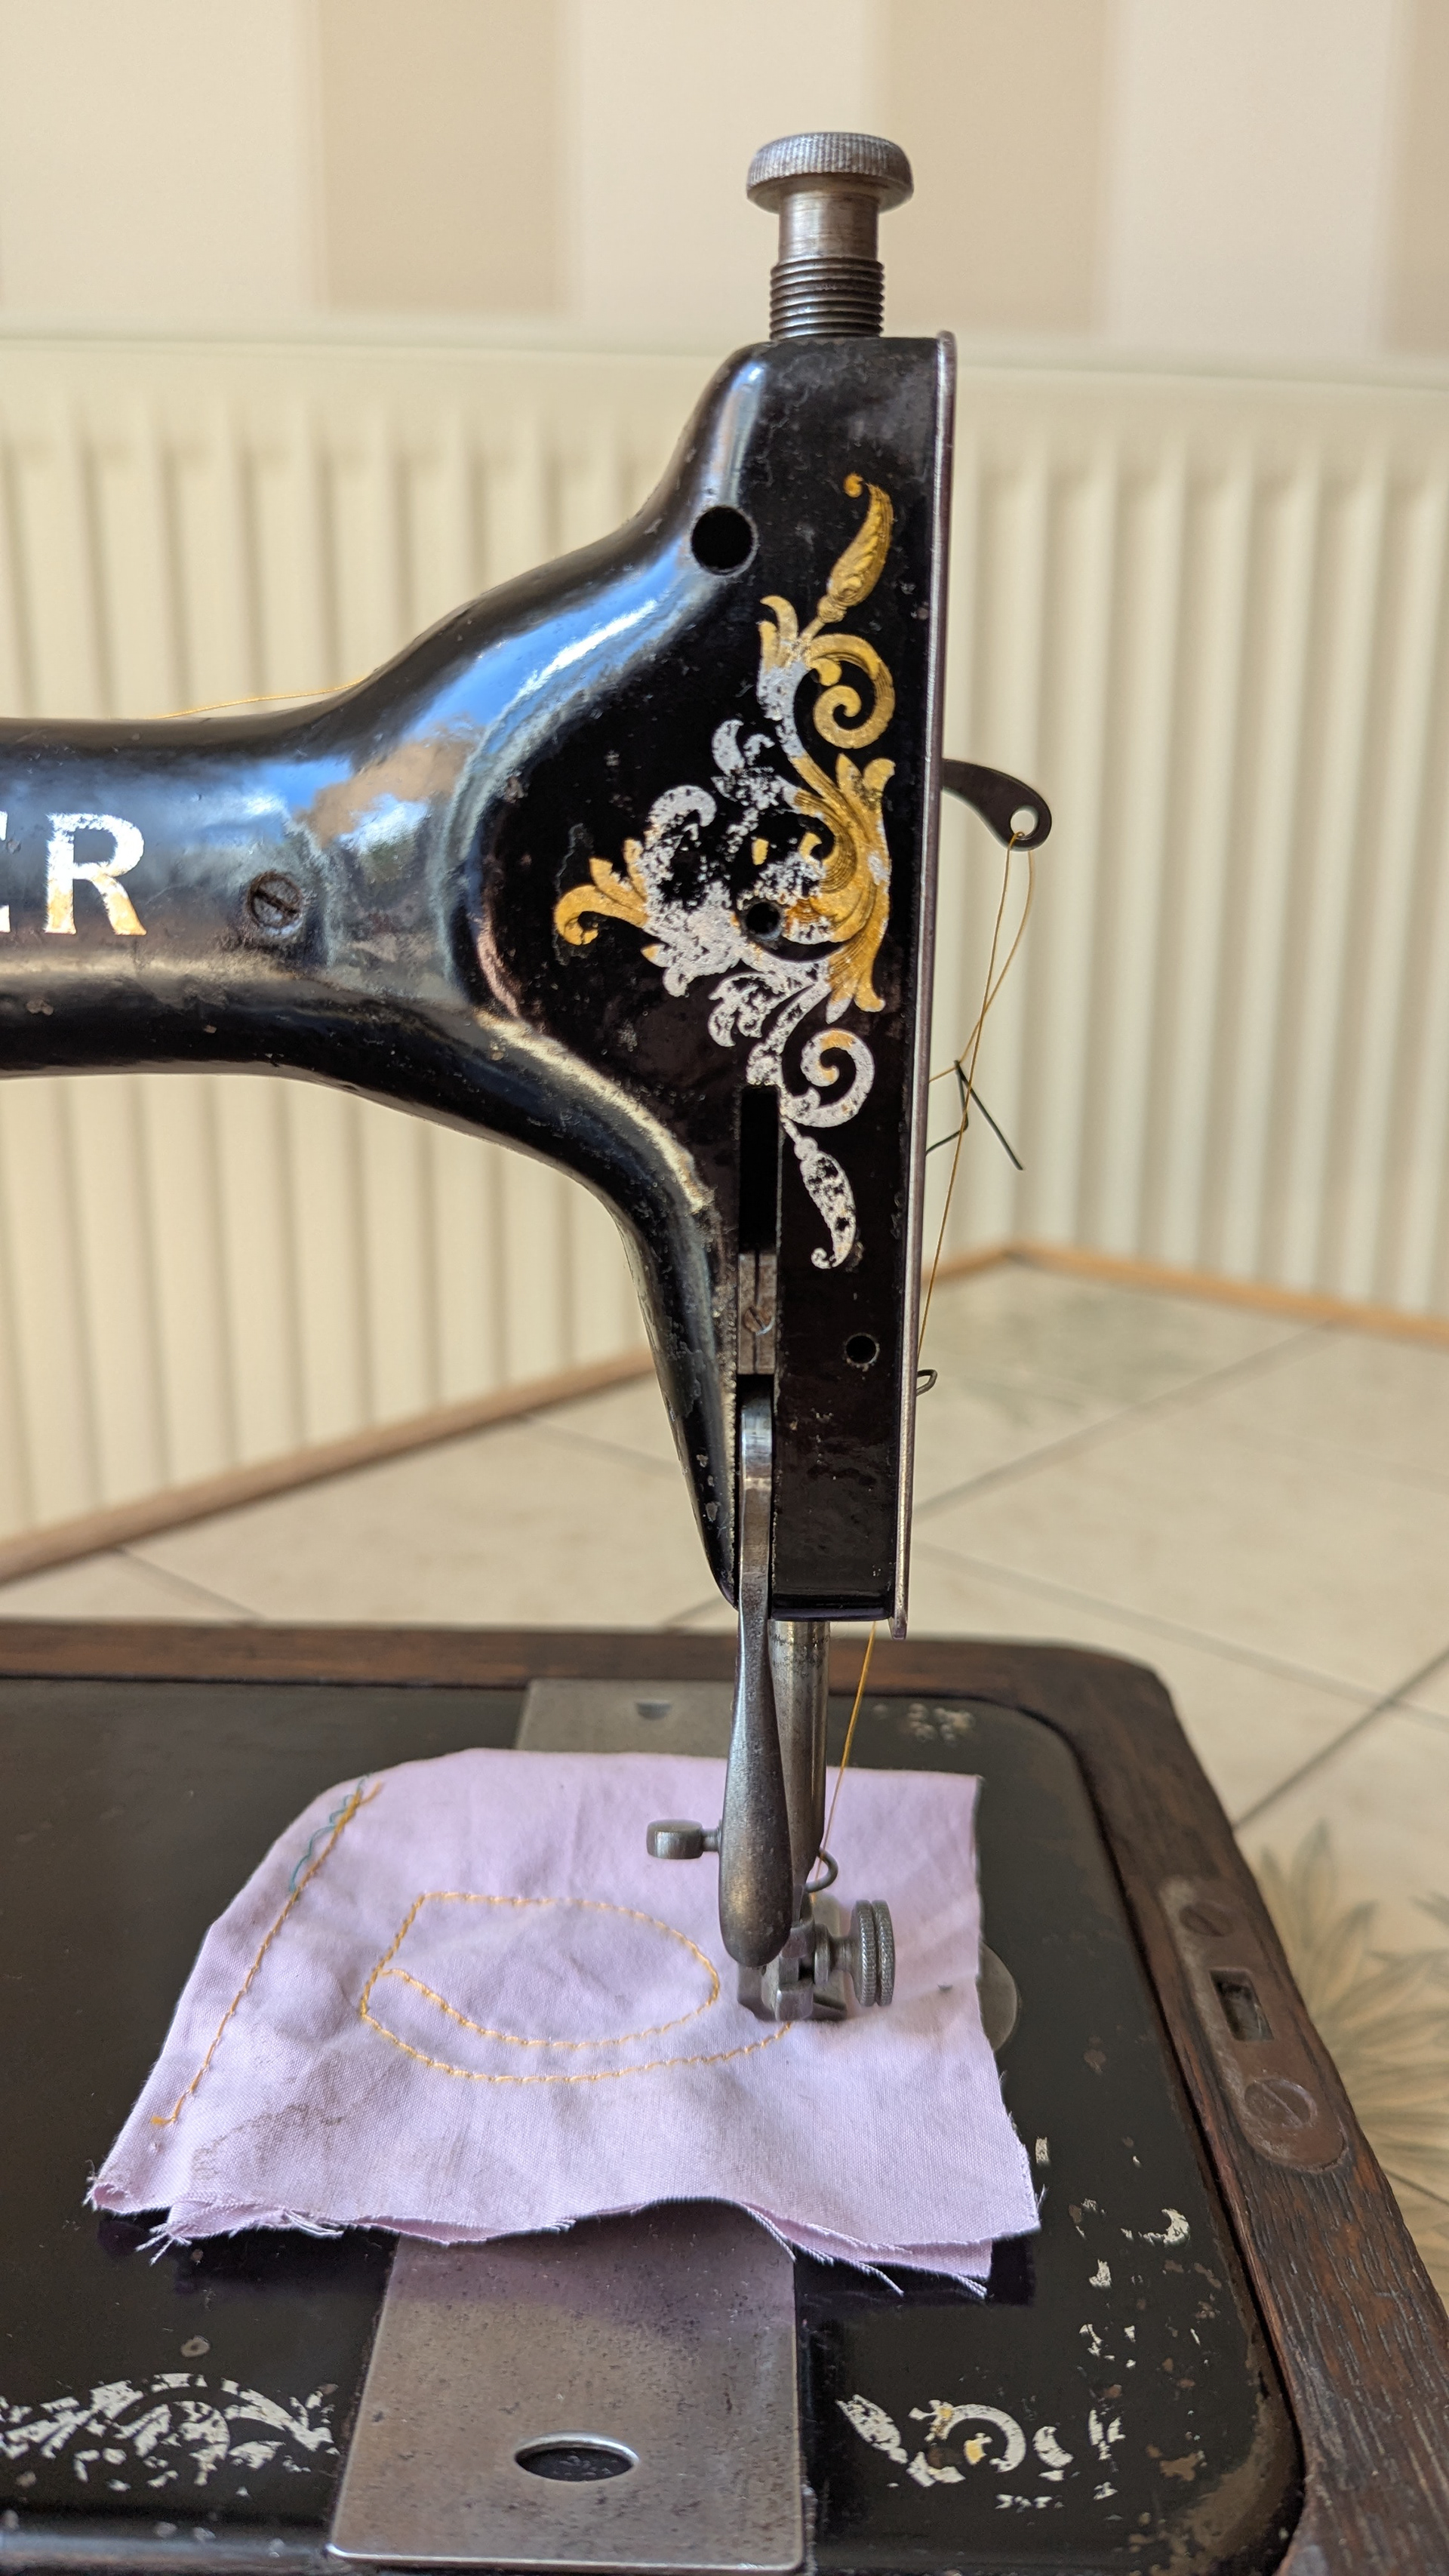
First test
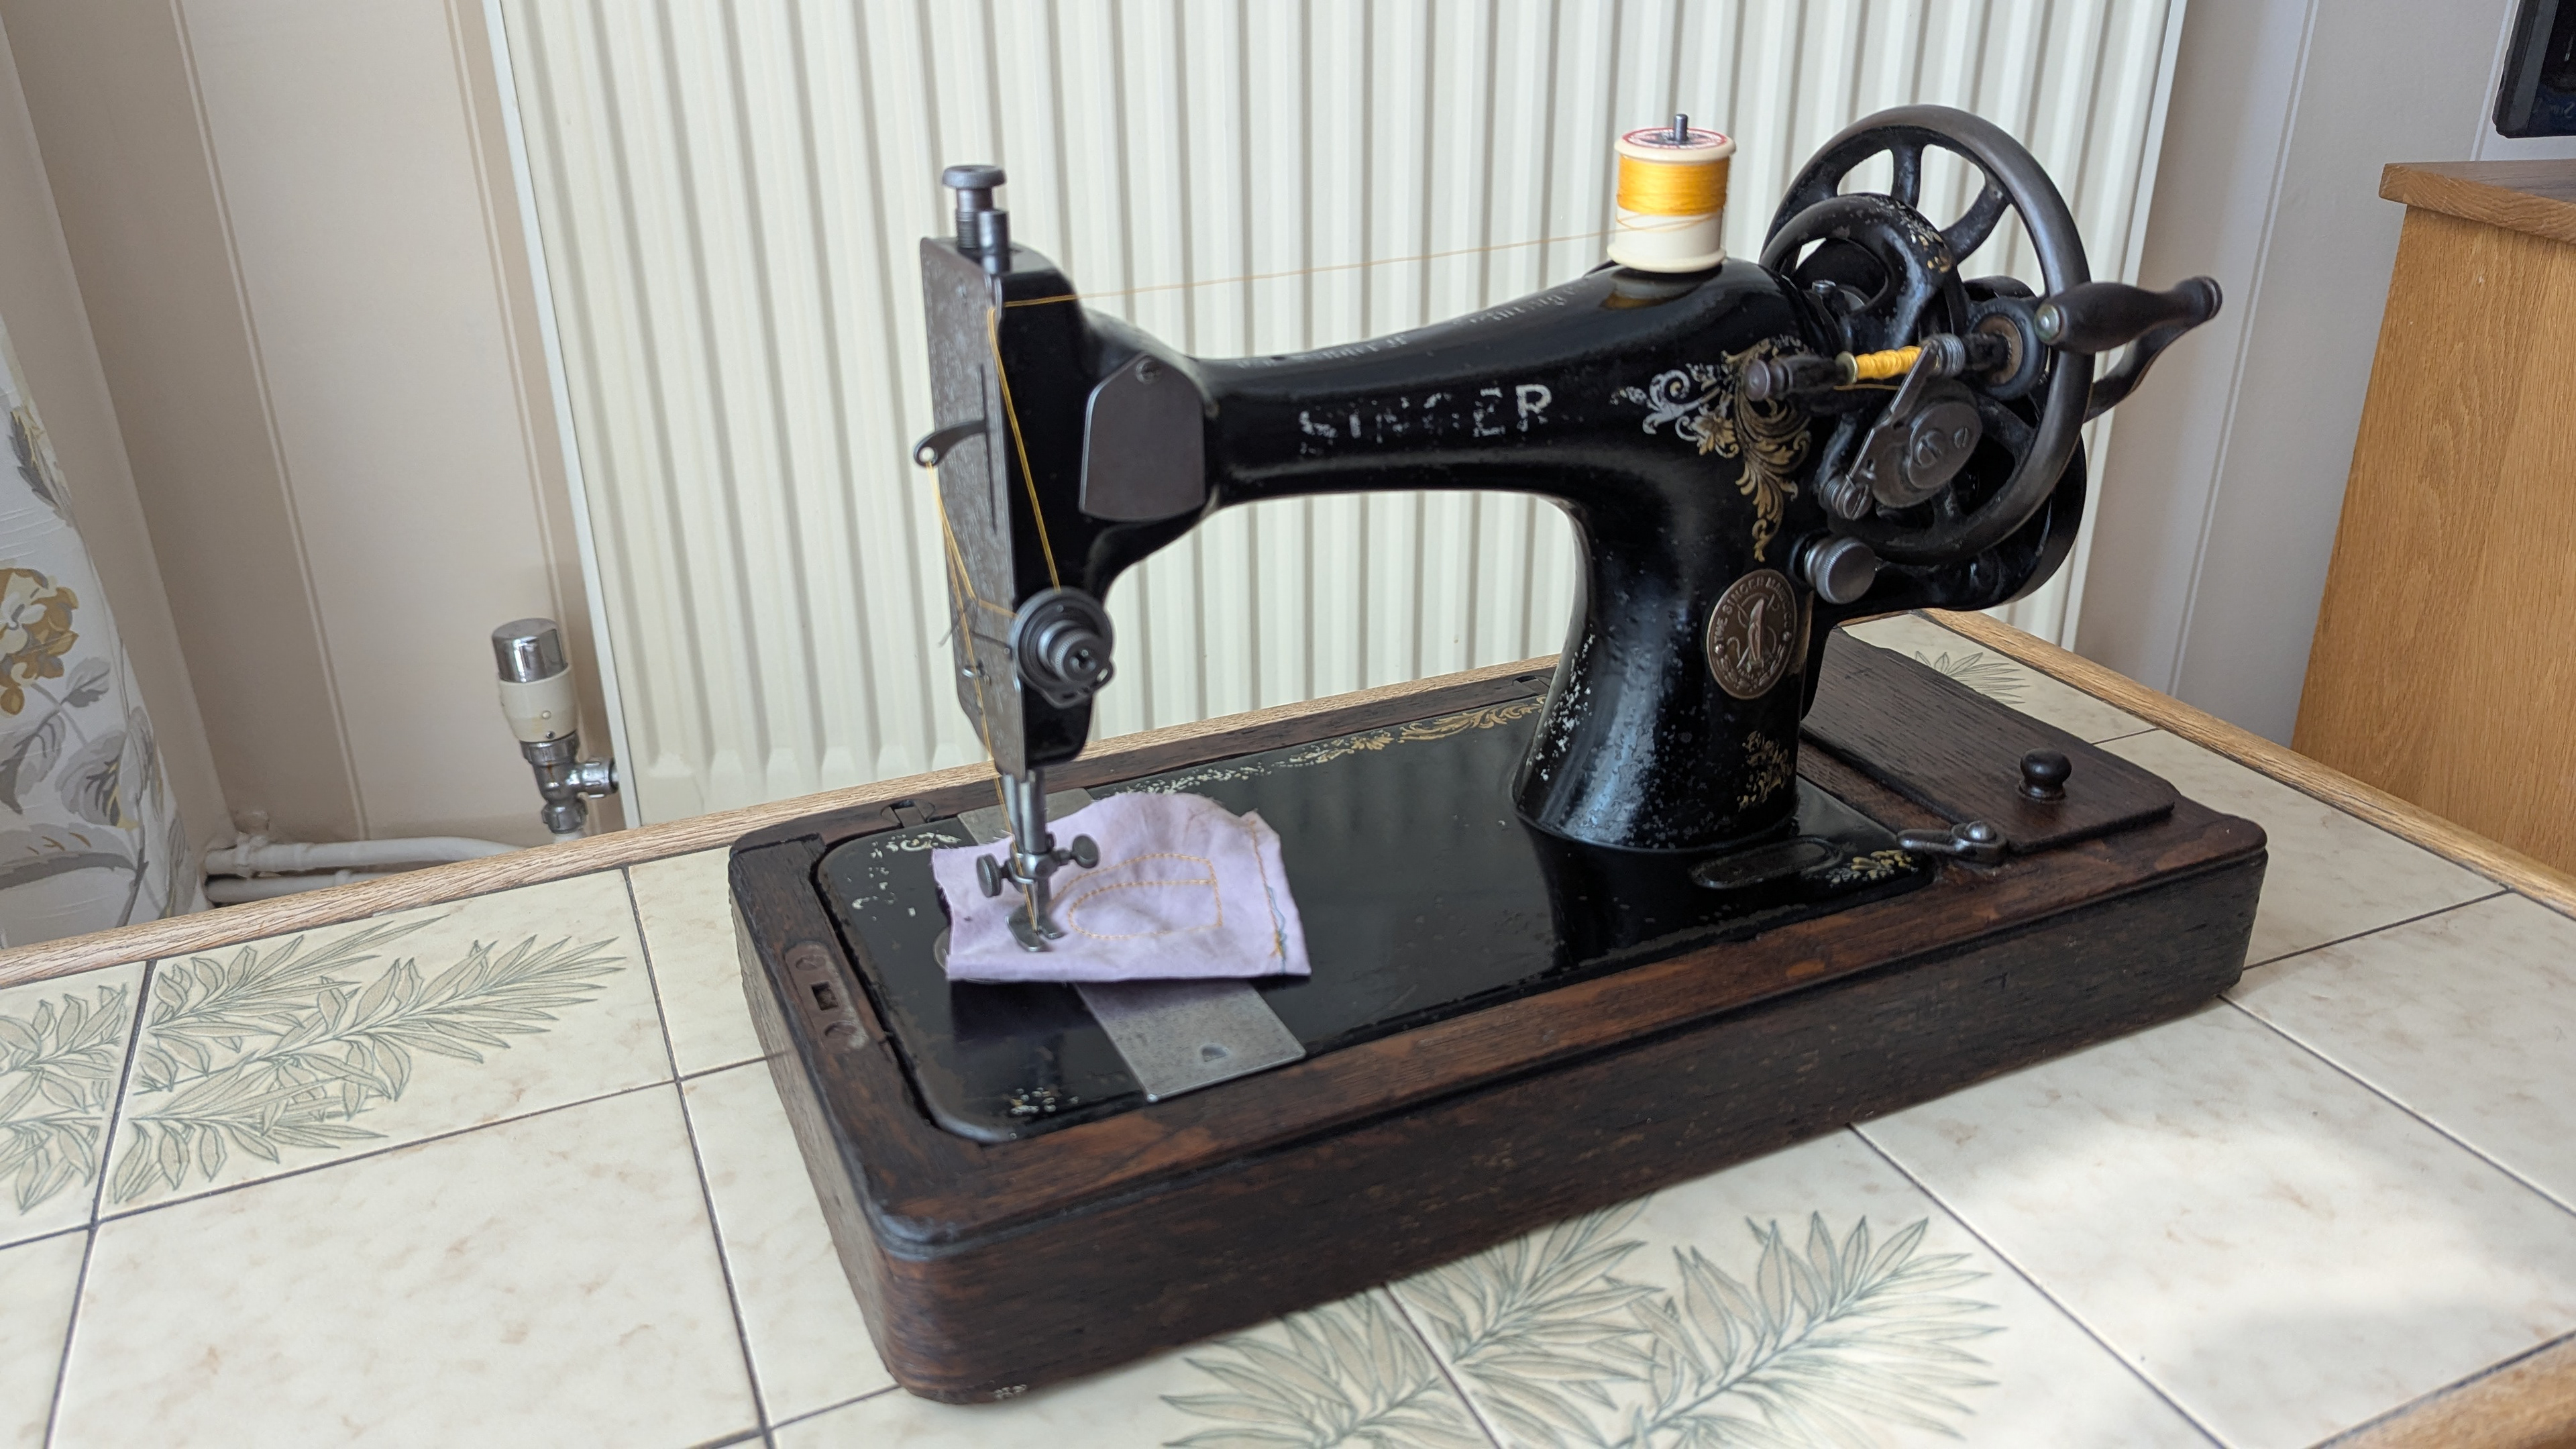
I decided to give it a quick try to make sure it sewed - even if not perfectly. I fiddled with the tension mechanism until it looked okay, I threaded the bobbin case and I tried it. And it worked! The machine, in that poor condition actually could sew. It was quite an exciting moment.
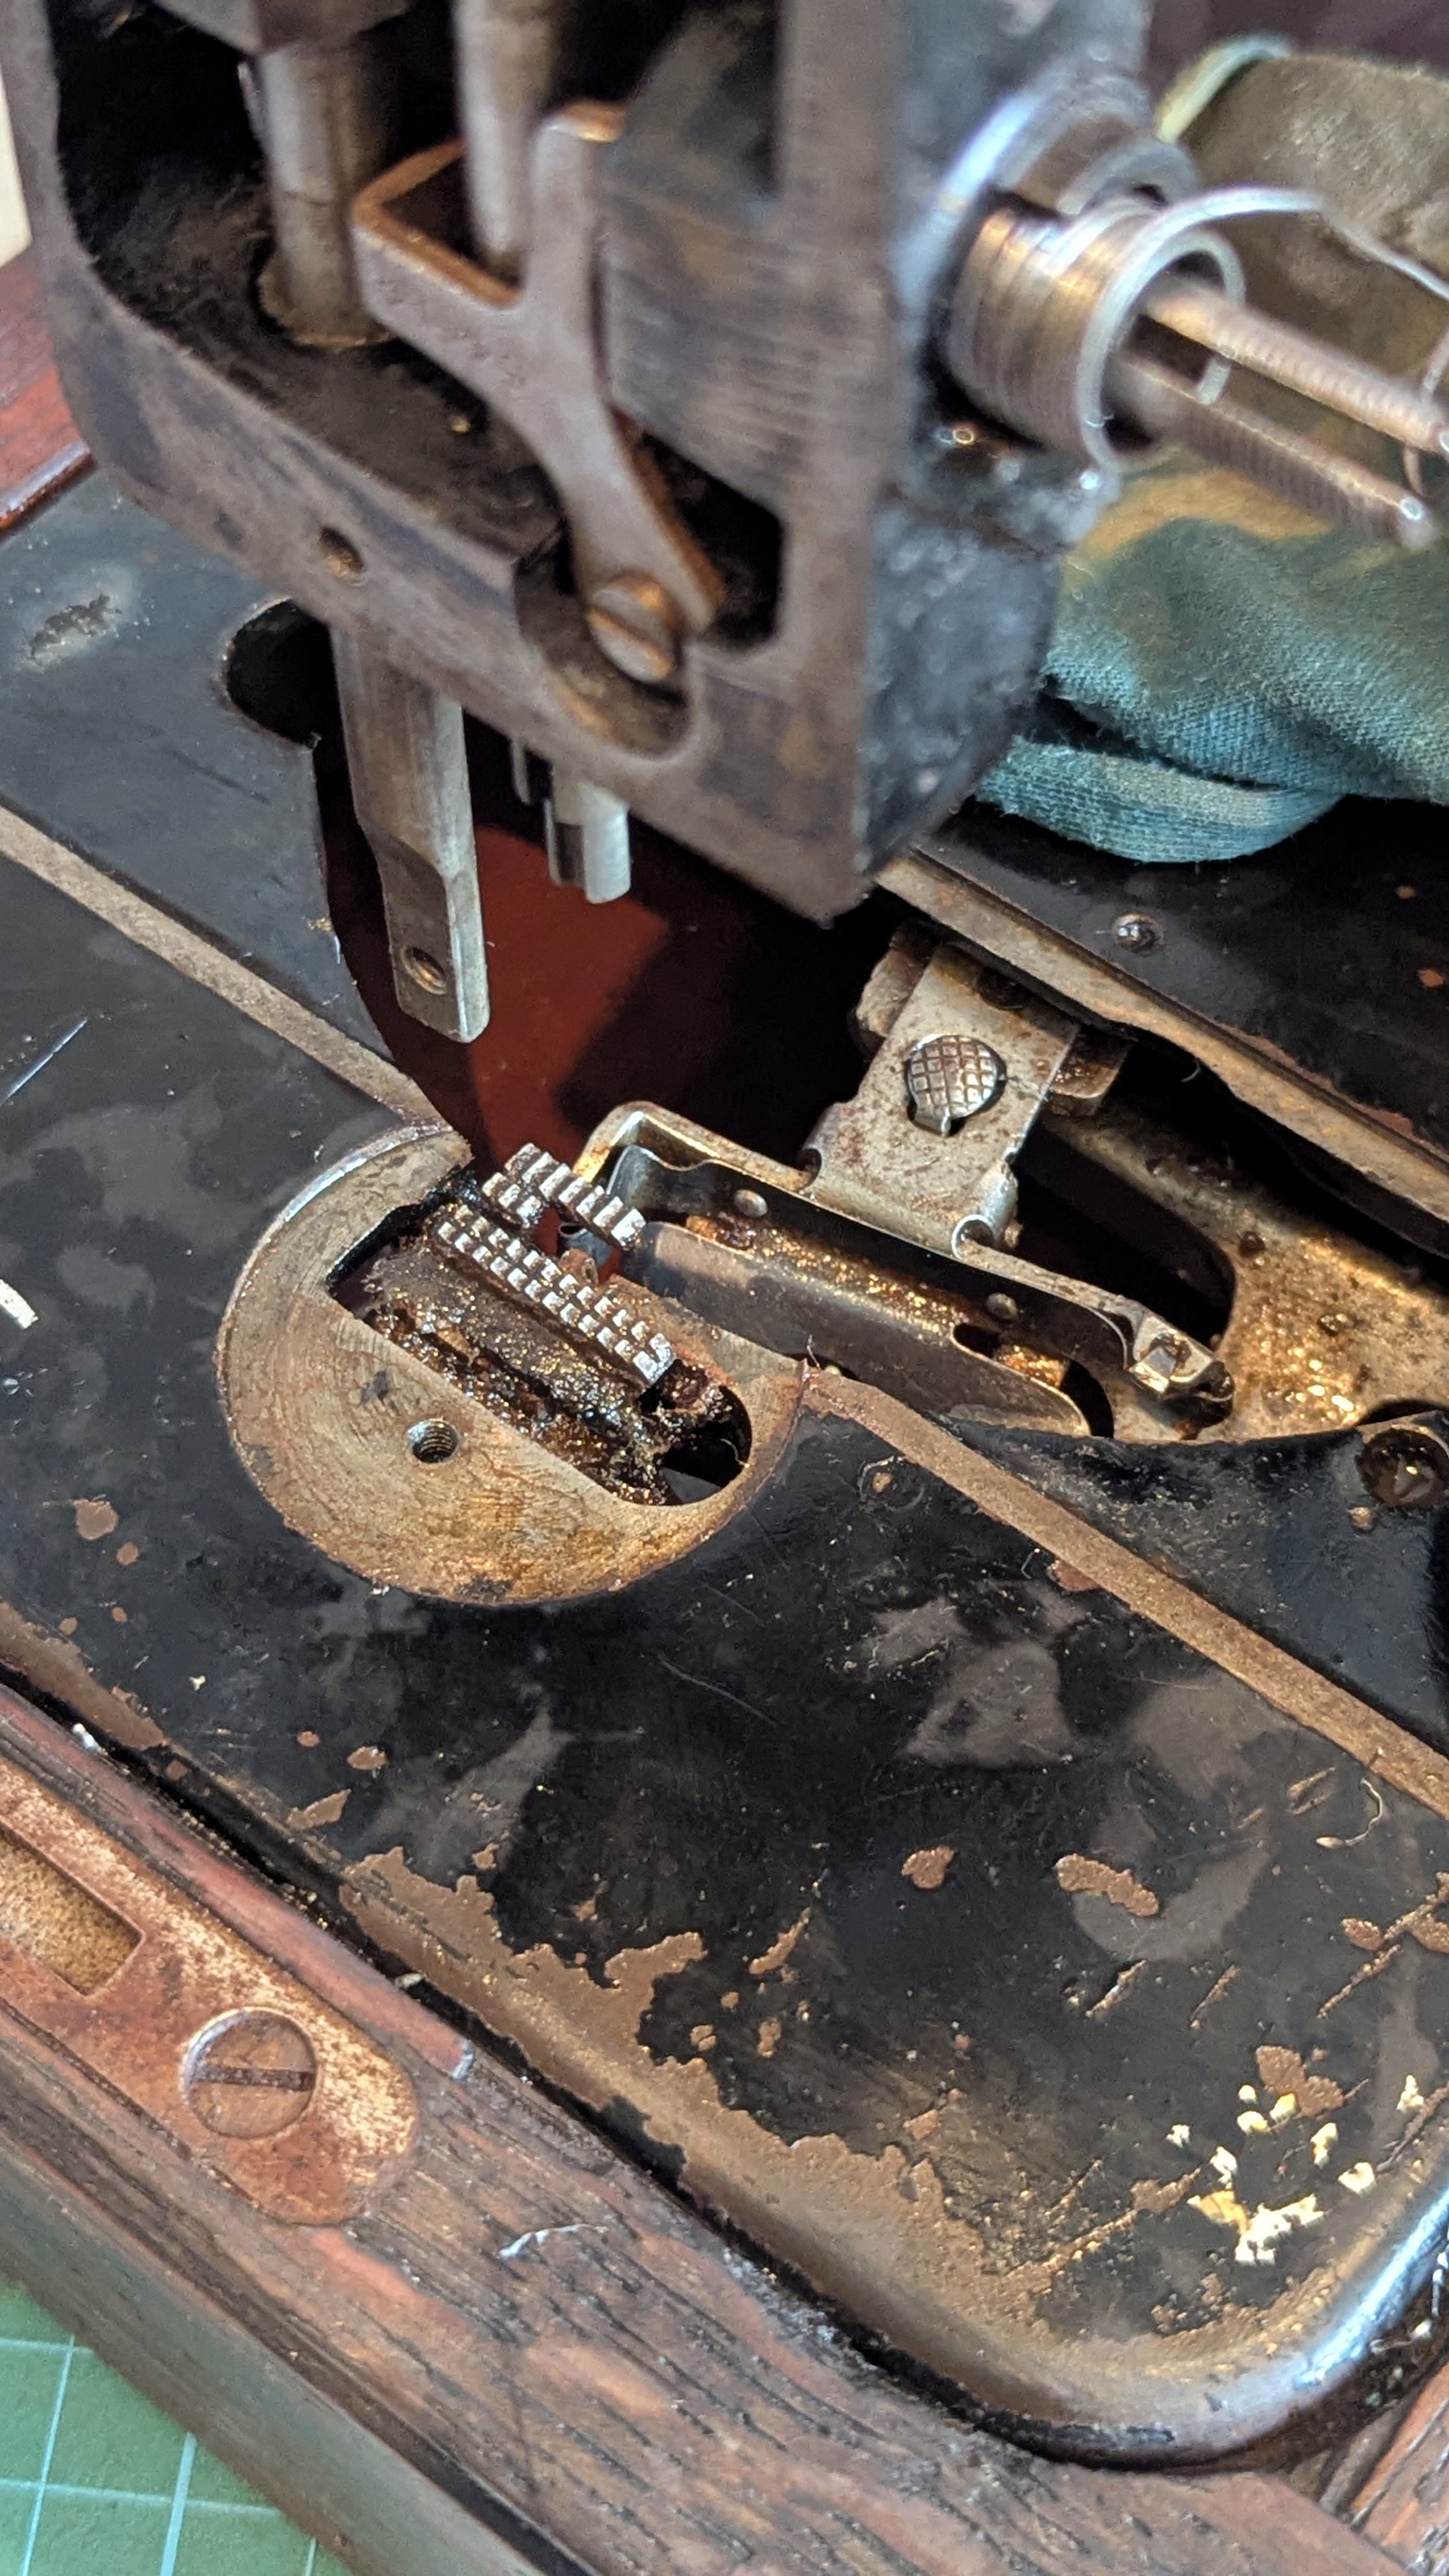
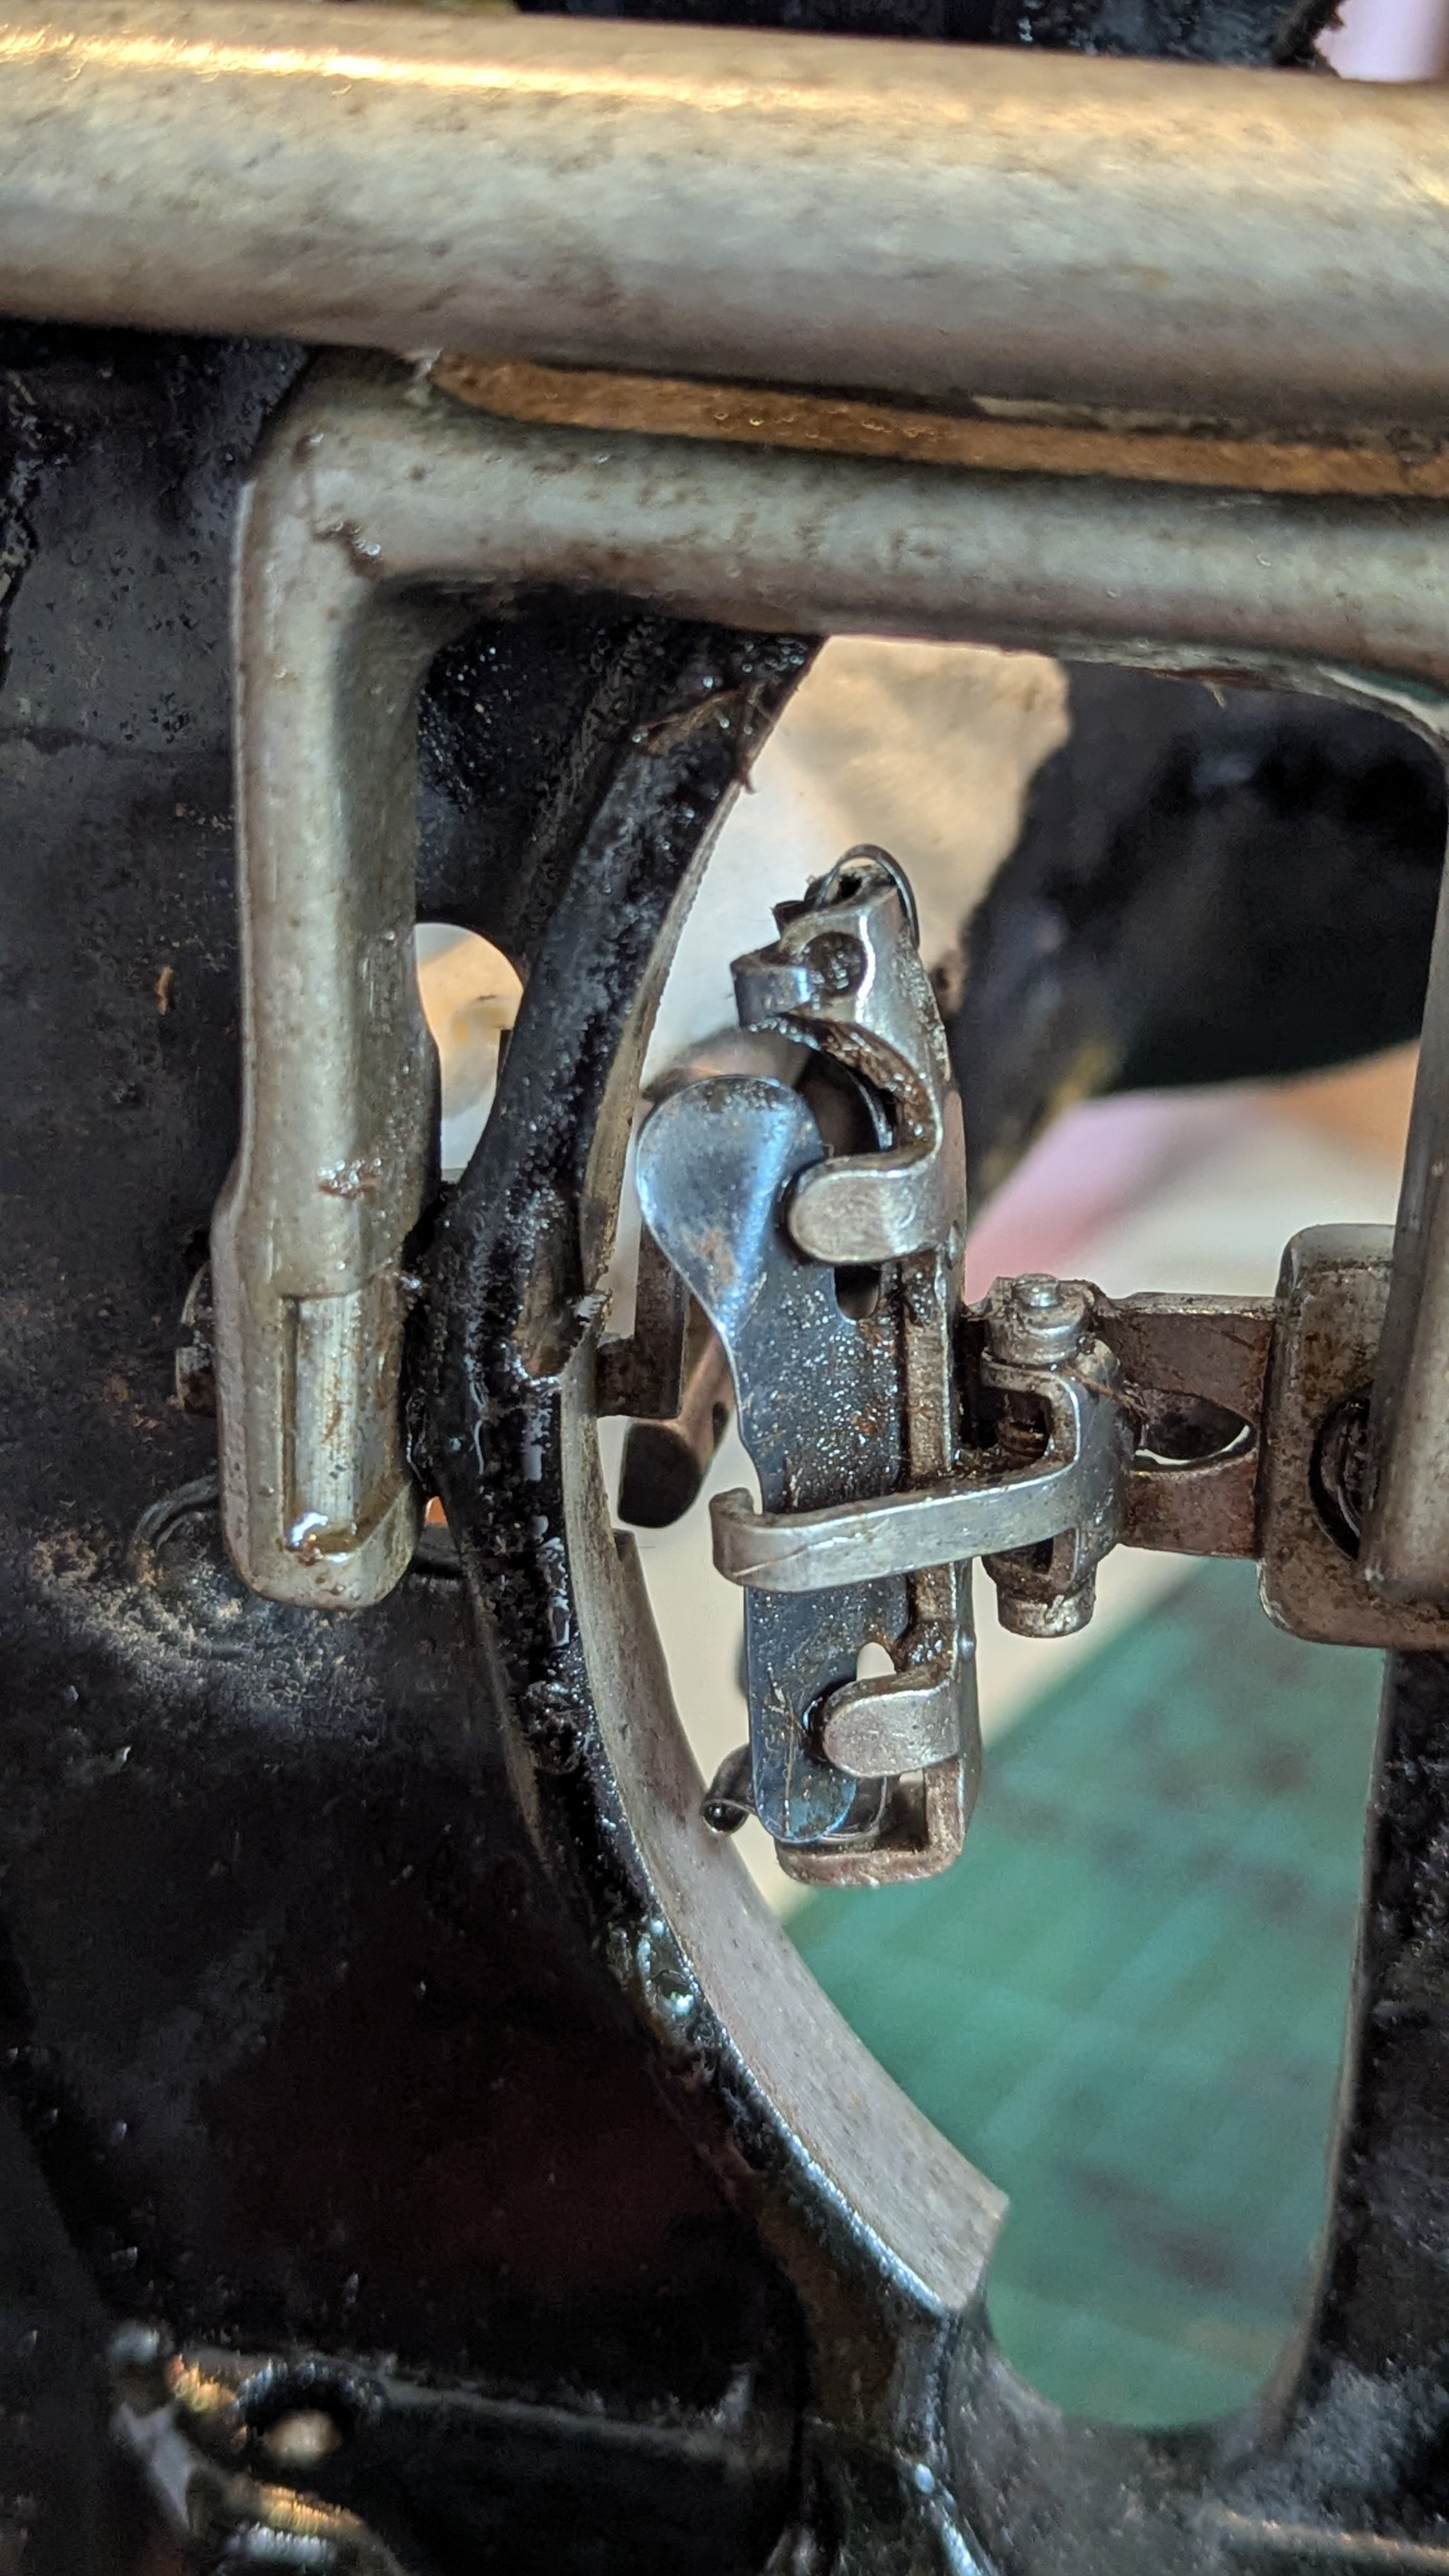
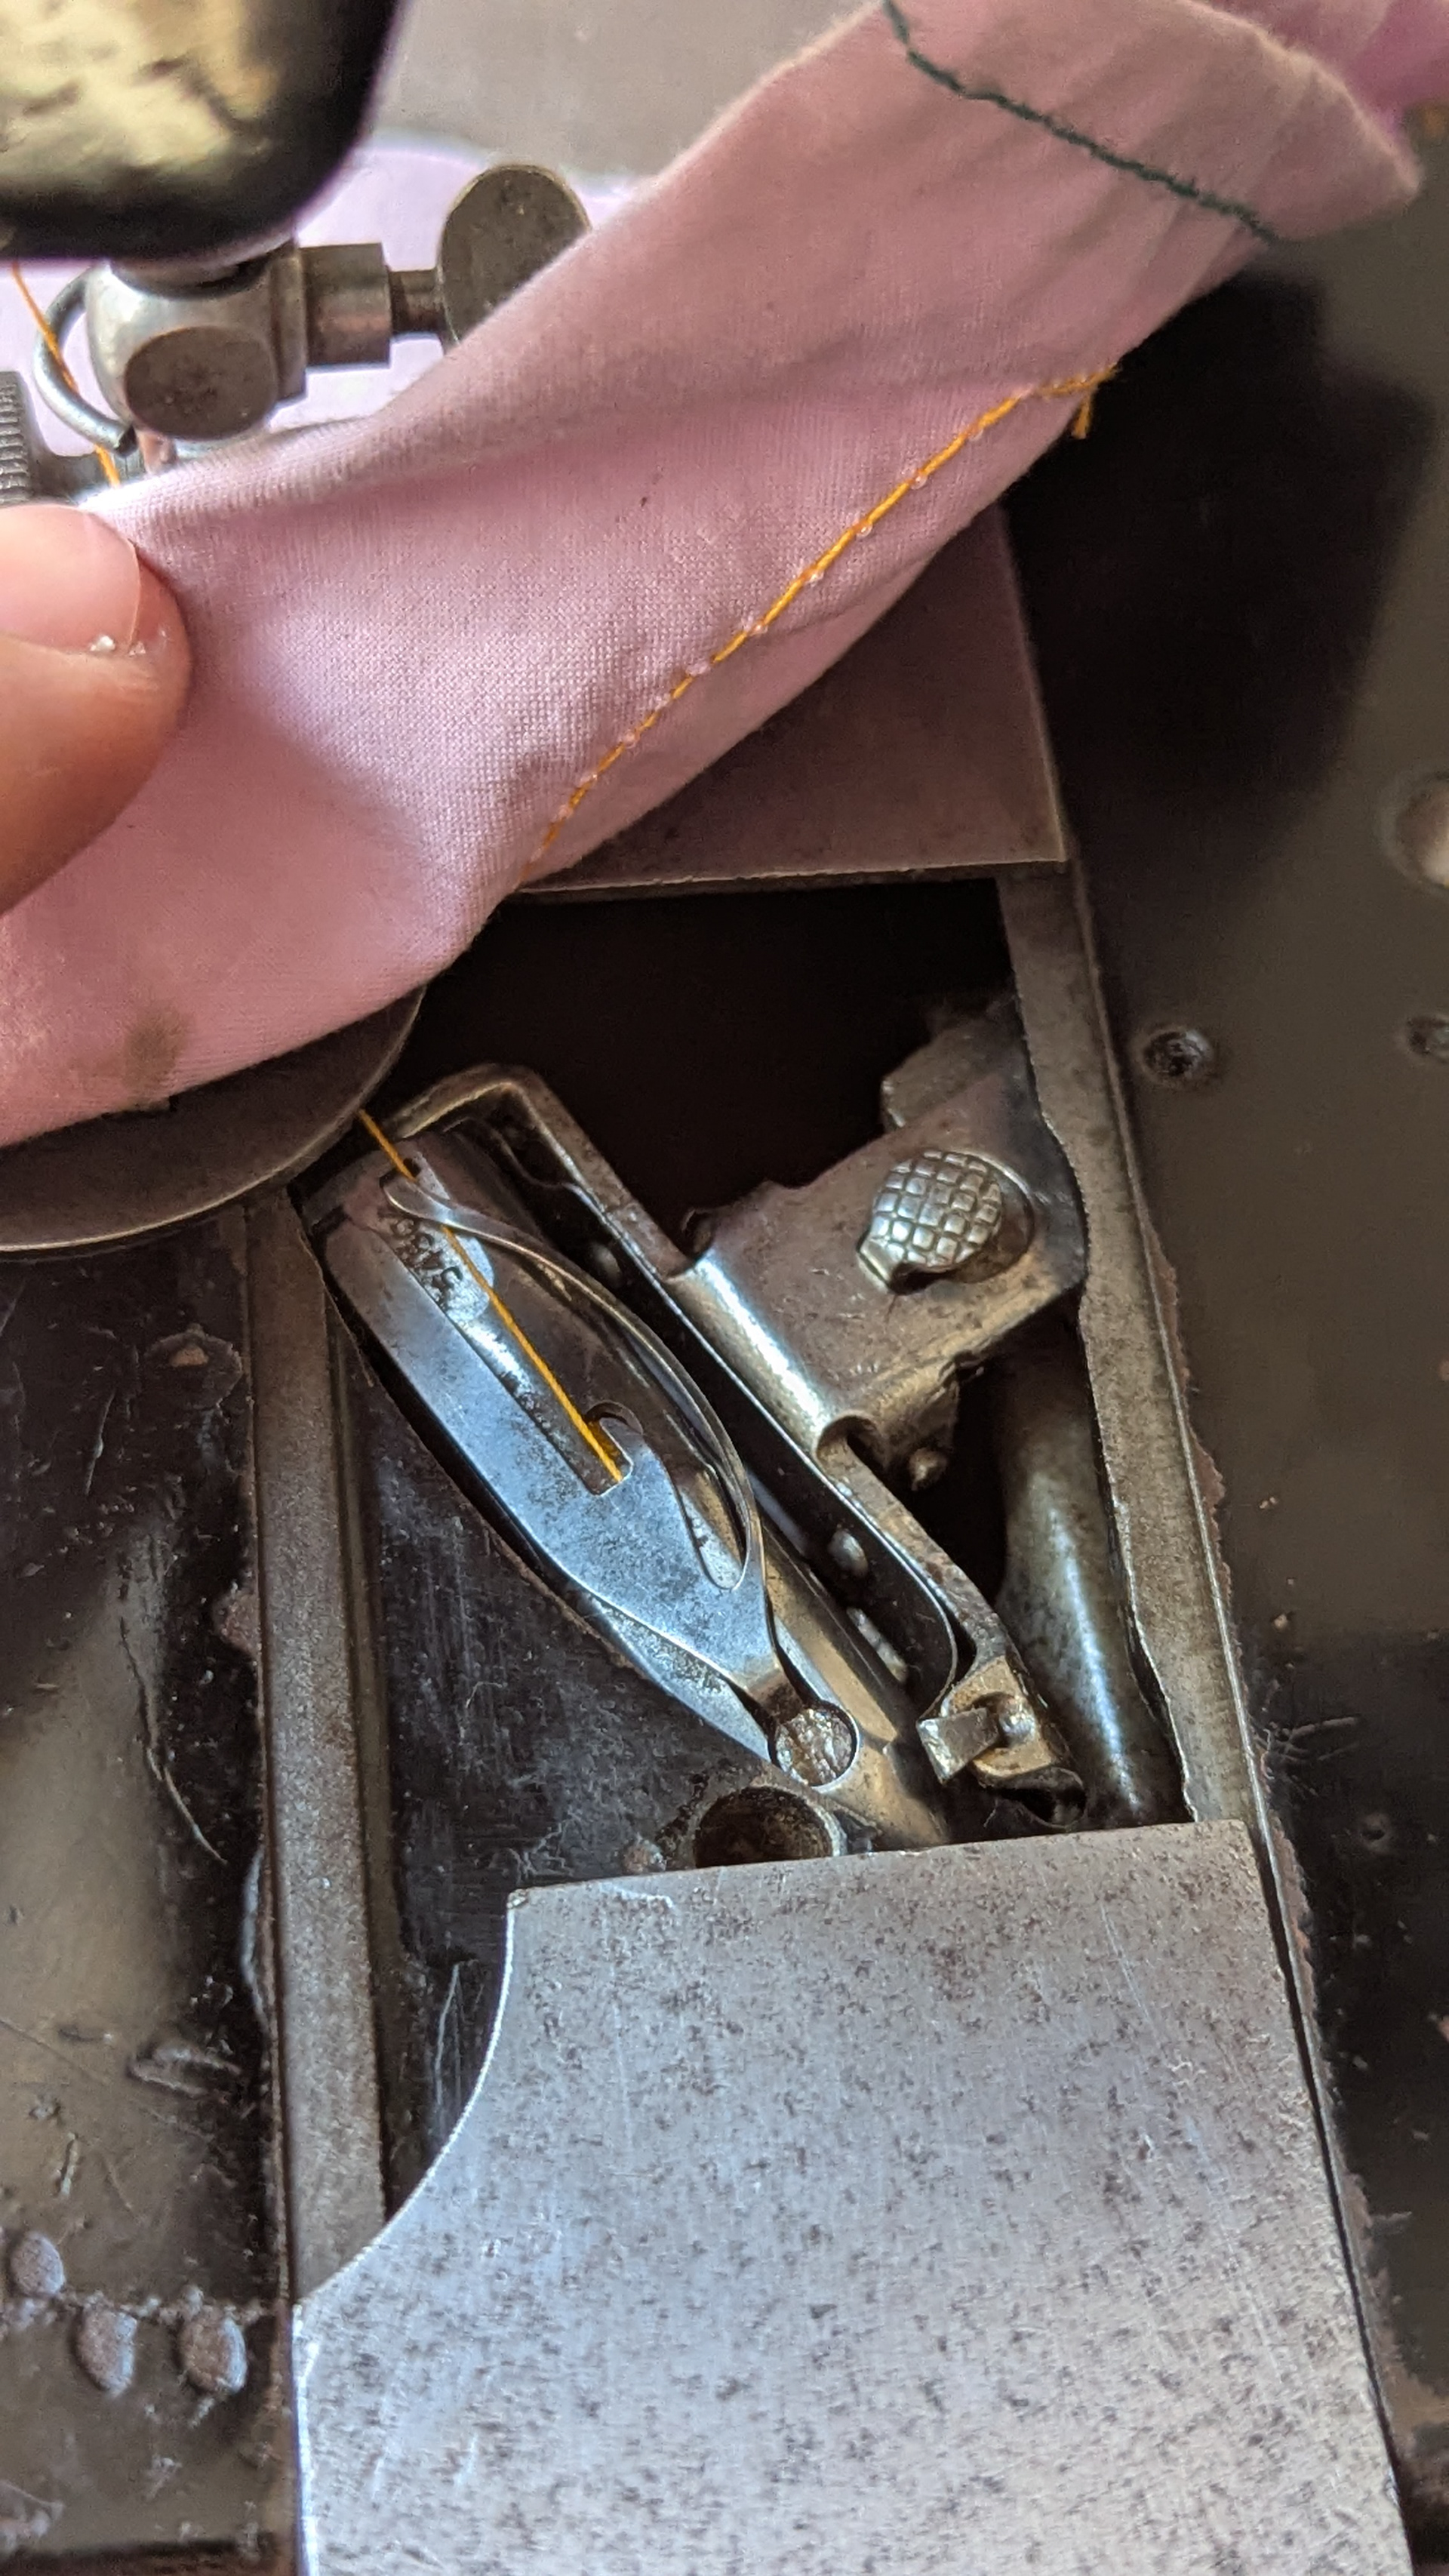
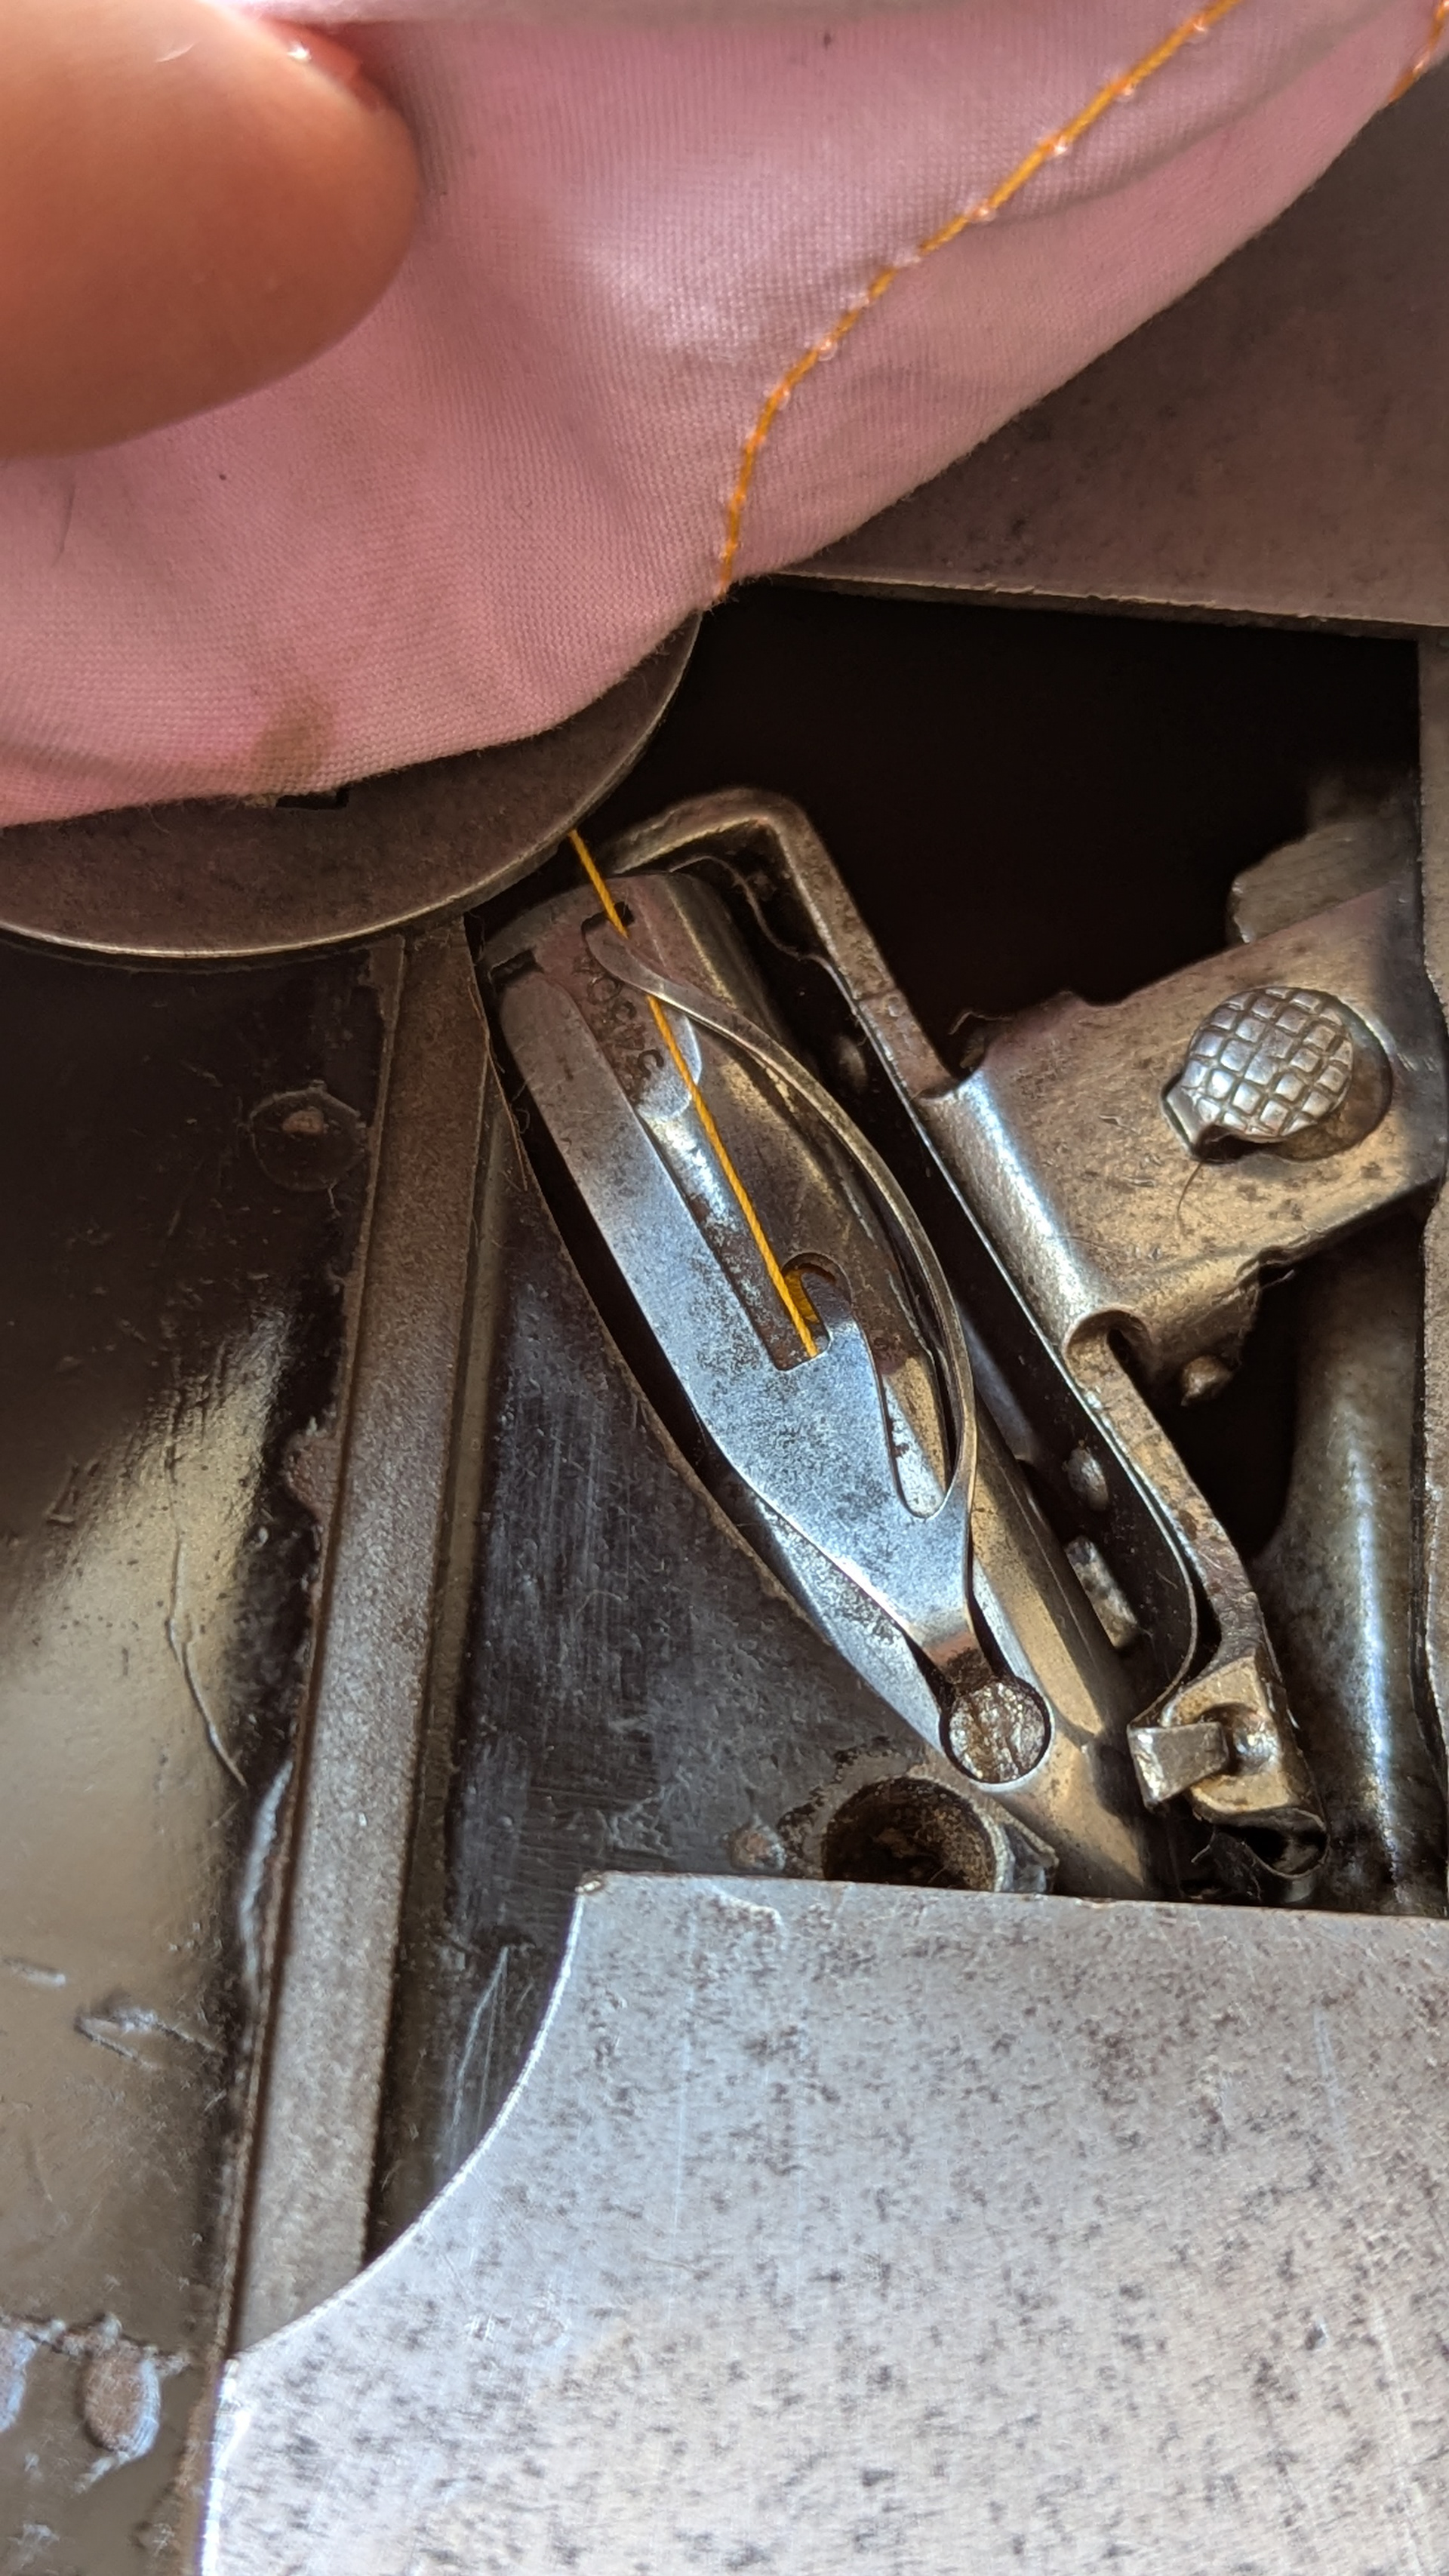
Bobbin case view from below
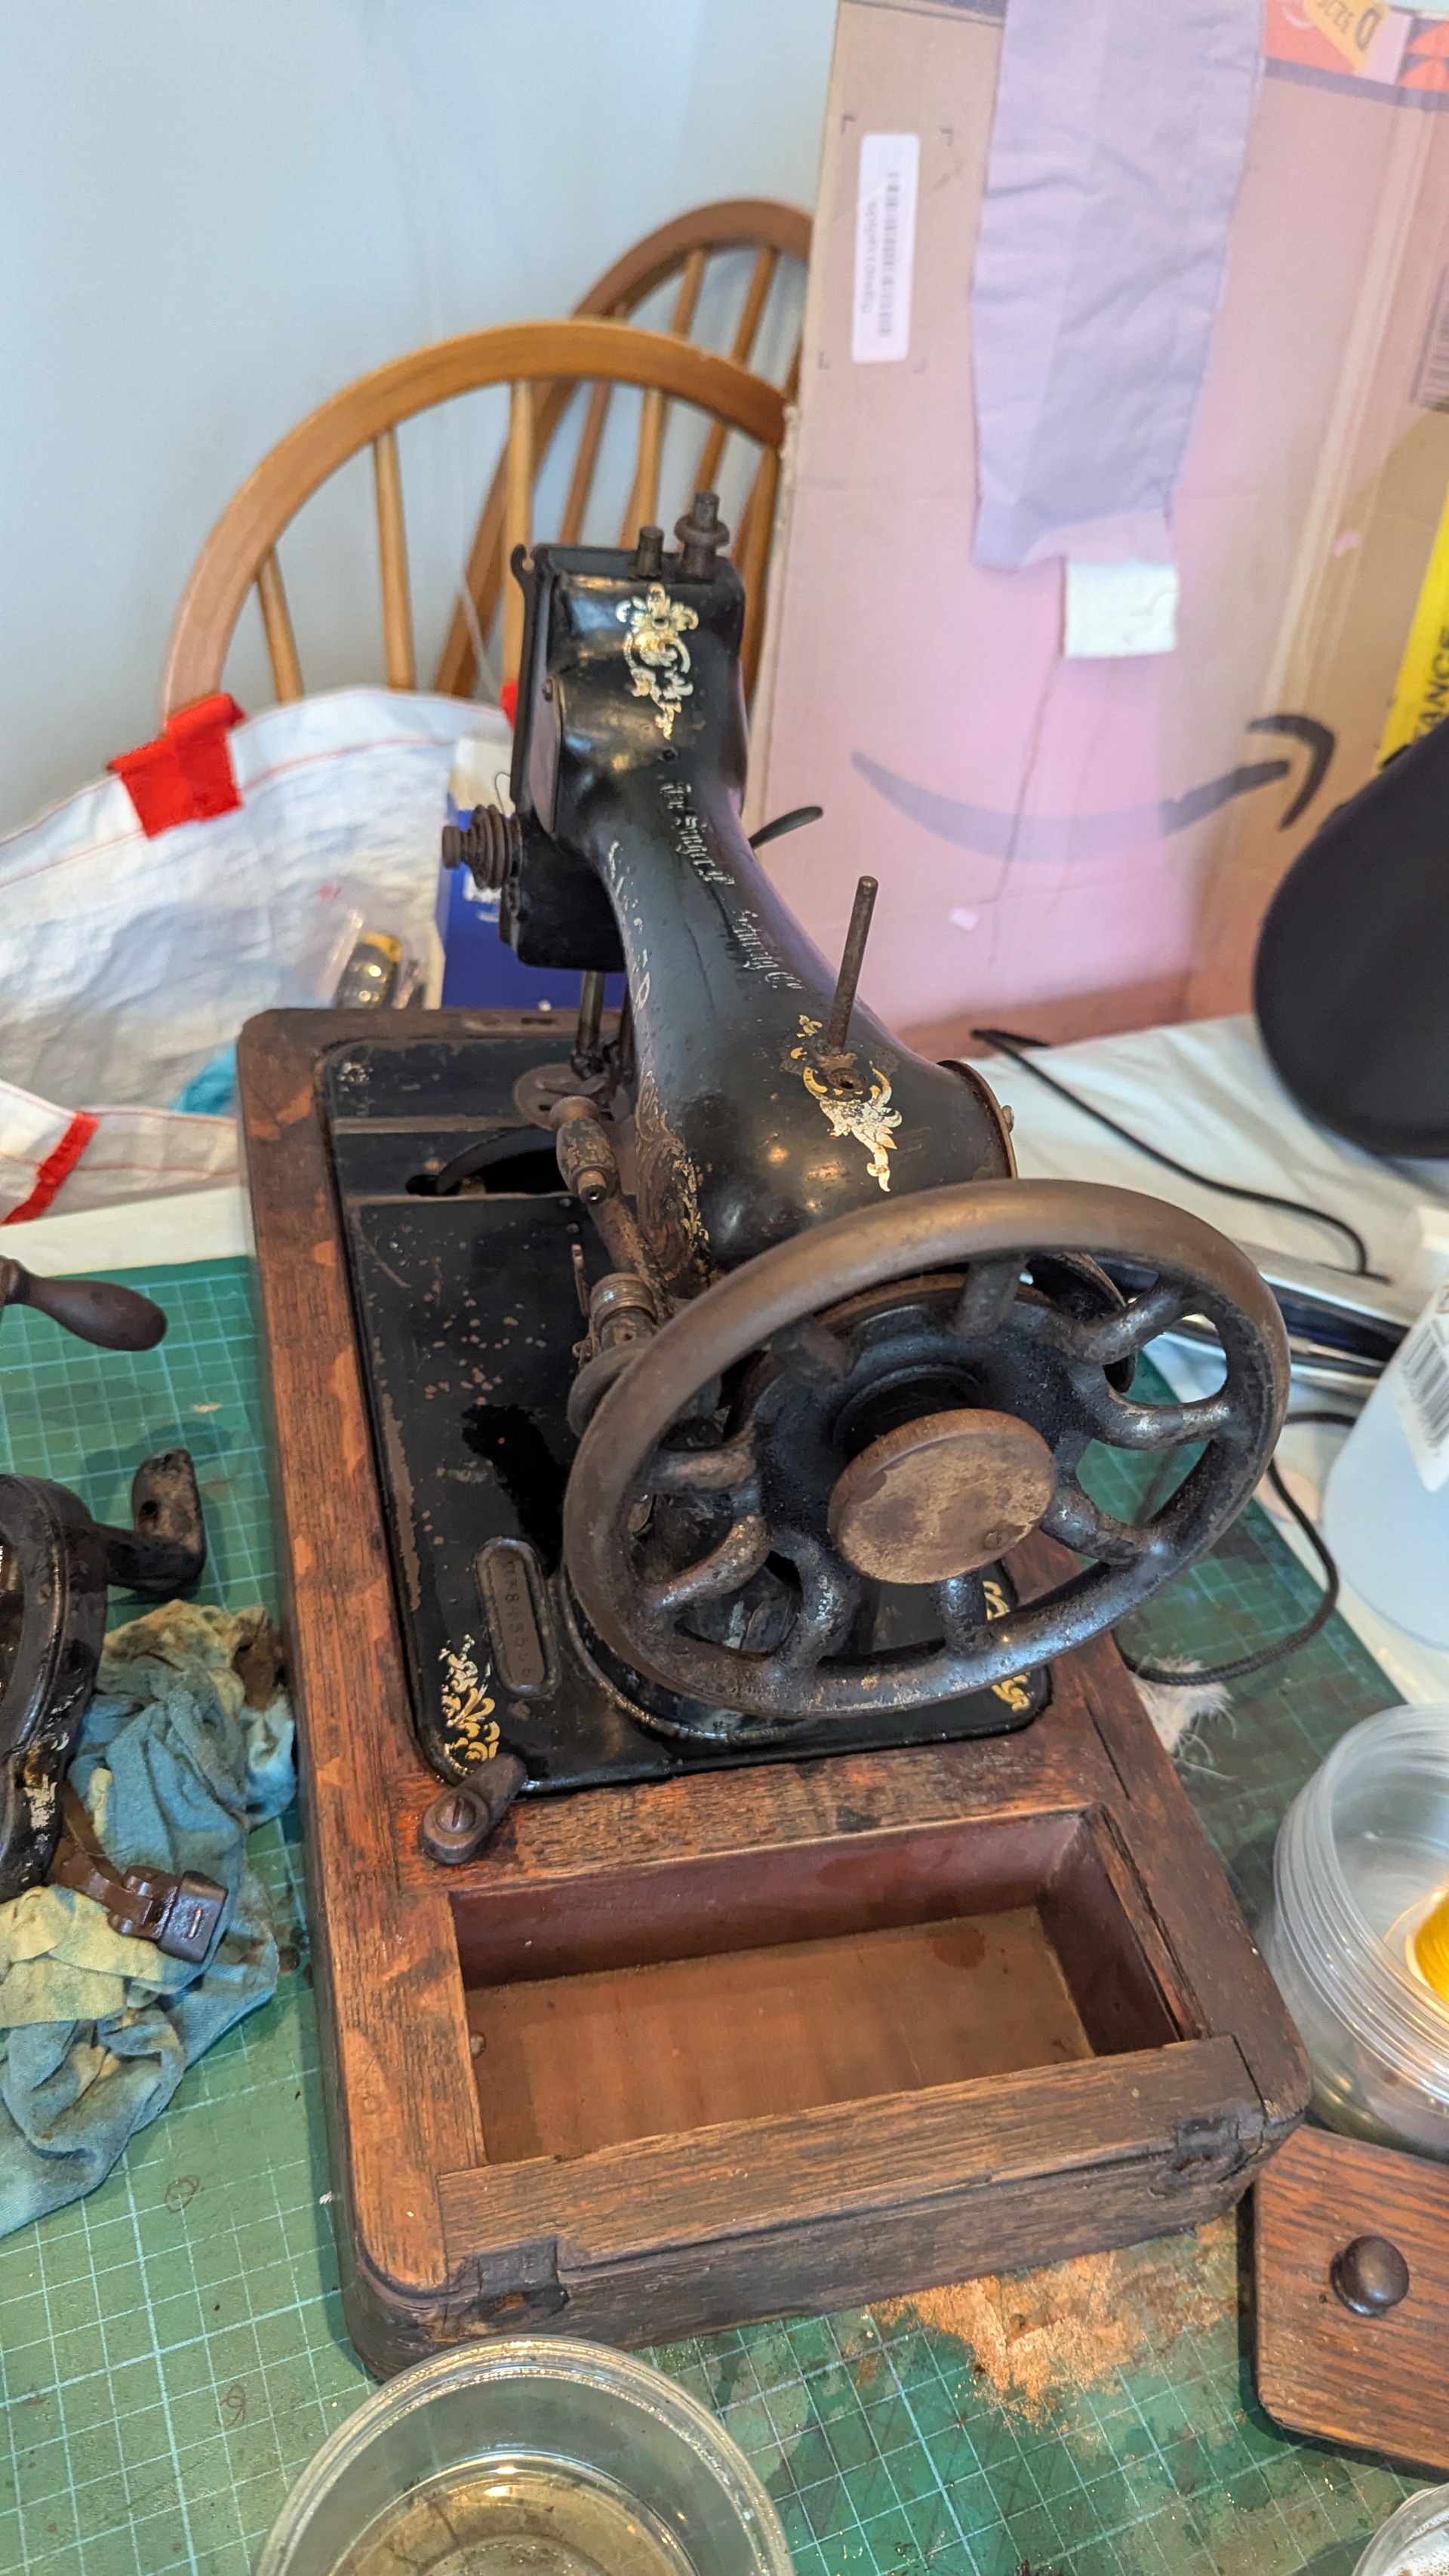
Cleaning and restoration process
I went to give it a good clean. As the machine was in a fair working condition and I was limited in time and tools, I decided to limit the pieces removed and to use brushes, pliers with cotton and other utensils to clean inside the machine.
This are the processes I took on this order approximately:
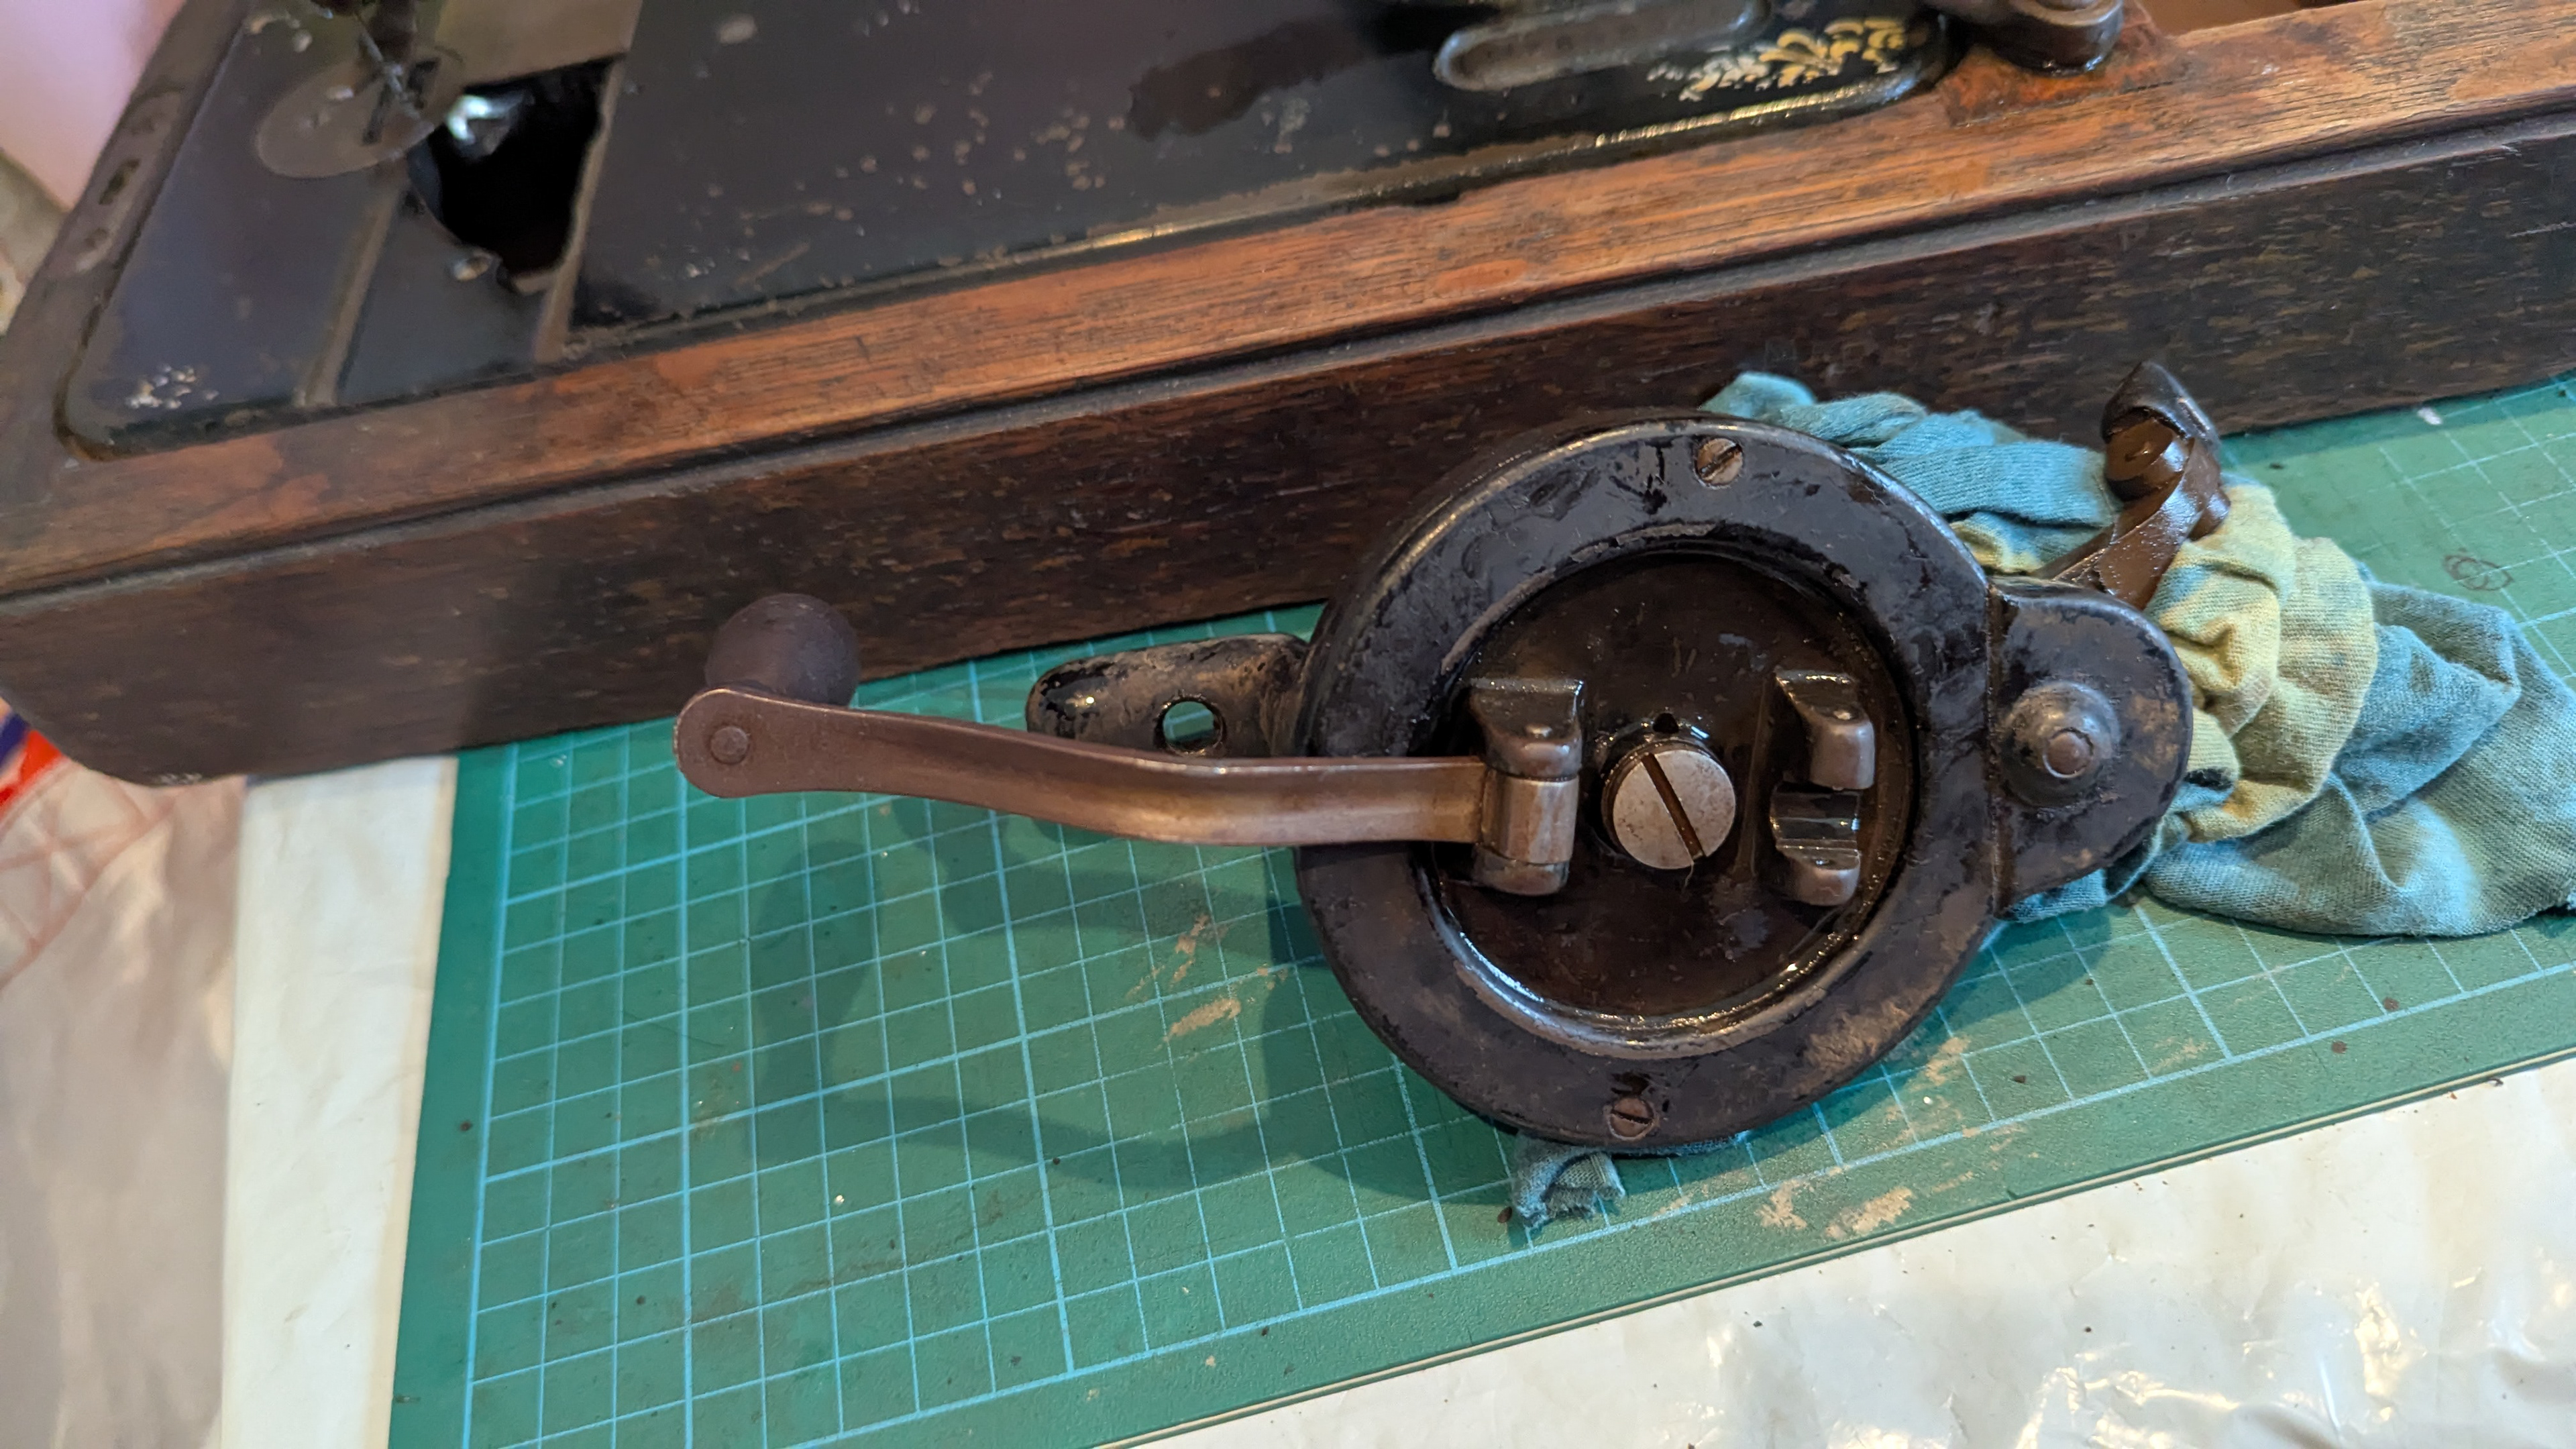
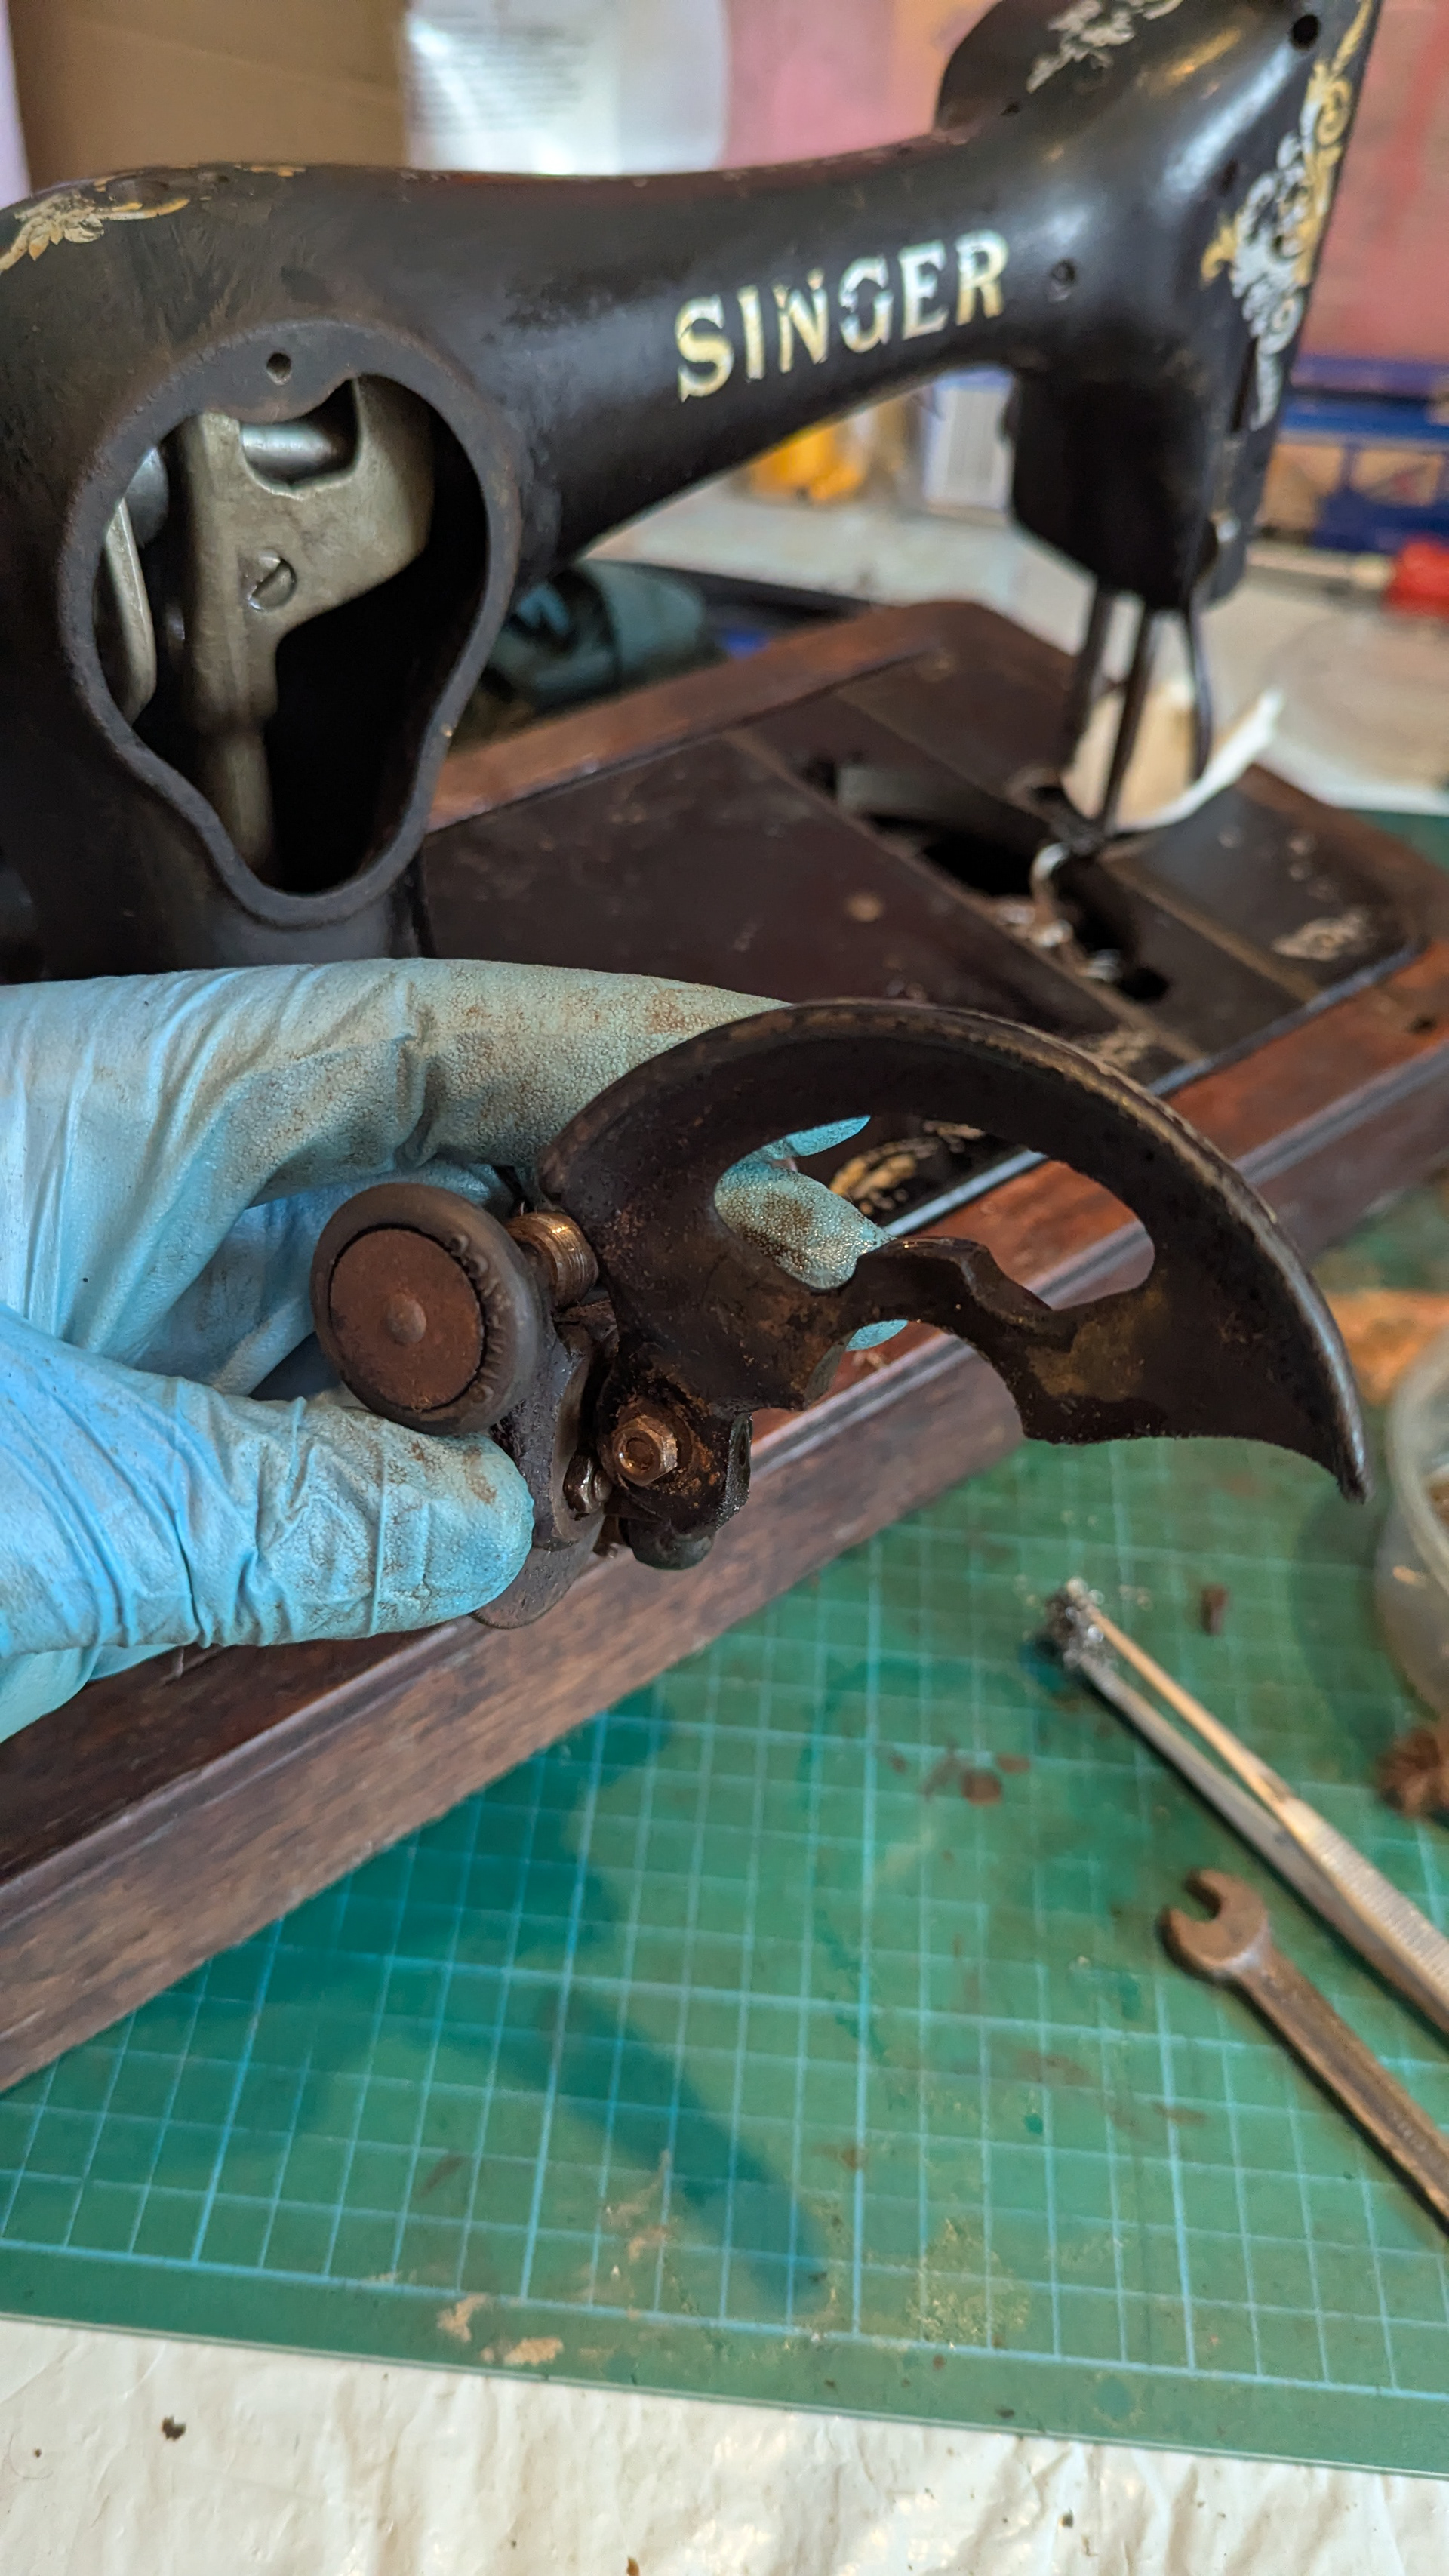
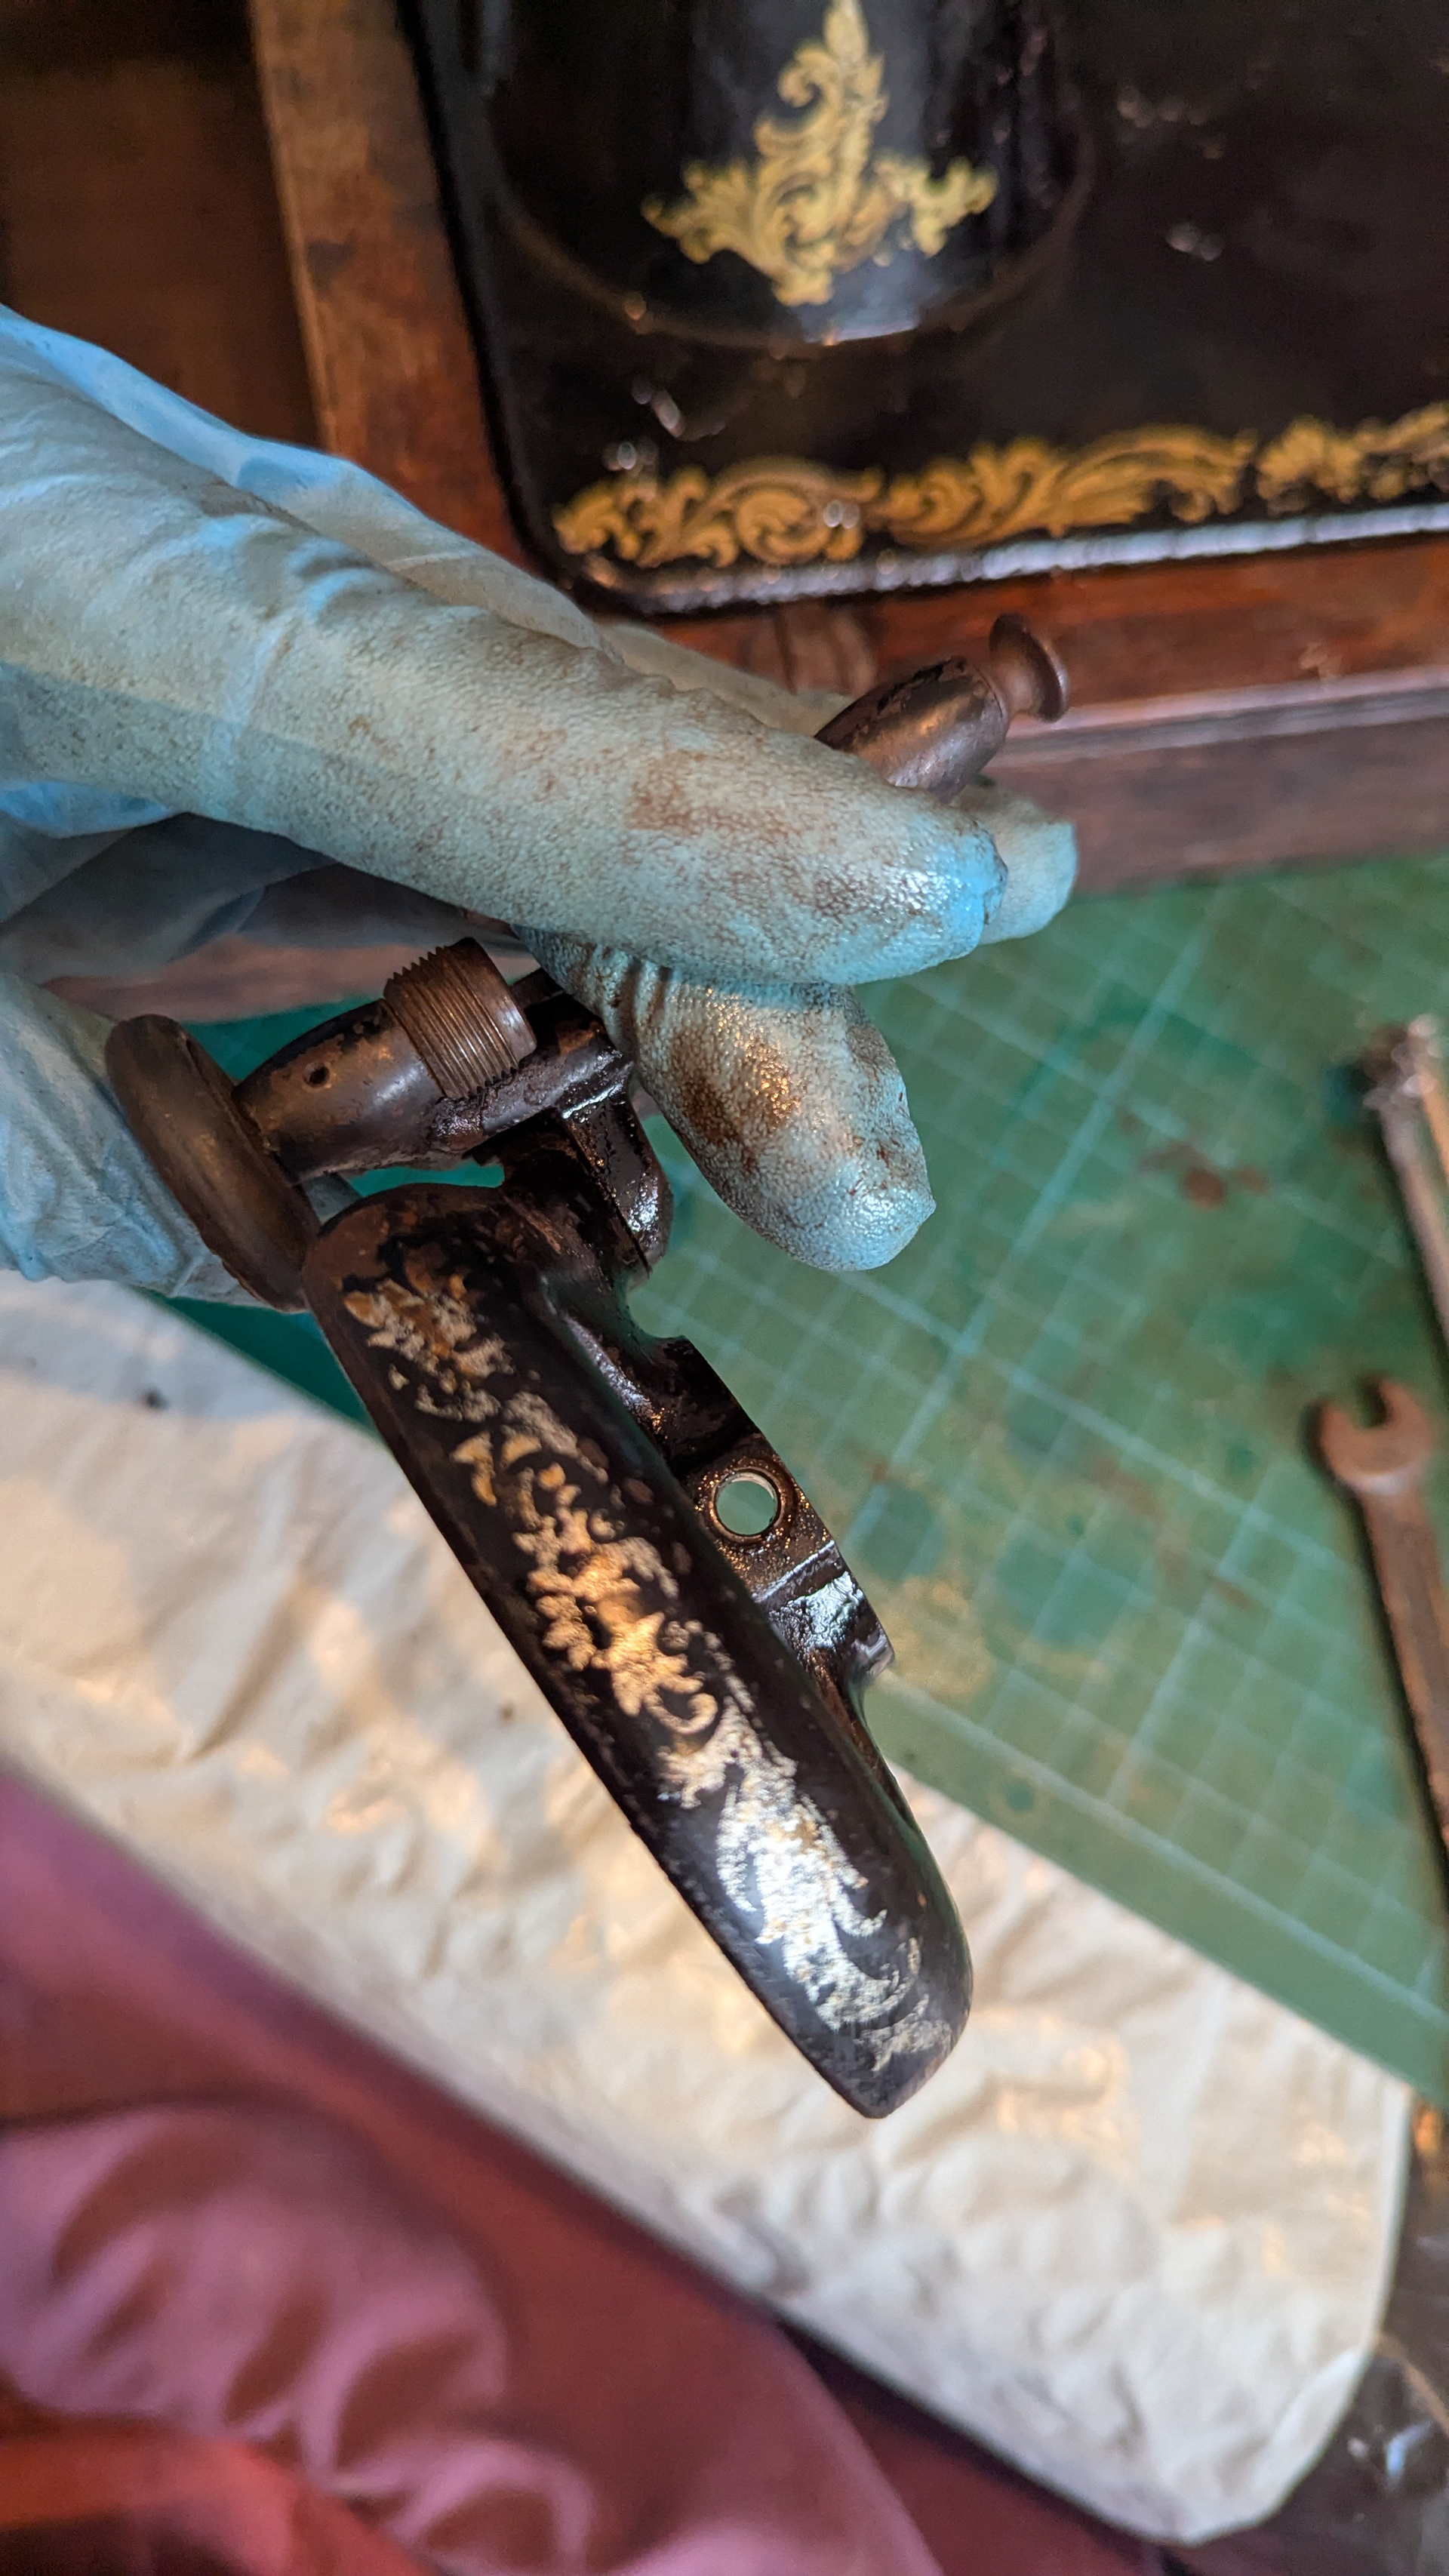
1 Dismounted tension mechanism, hand crank, bobbin winder, face plate, rear plate, front plate, throat plate, balance wheel, foot and needle clamp screw.
2 Cleaned and degreased removing old dirt and unlock all parts
3 Removed rust and protected all metal parts, including the ones I managed to detach - and also all parts
4 Cleaned the exterior and removed the corrupted coating.
5 Lubricated all mechanism parts and added a layer of oil to all interior metal parts to protect from rust
6 Reassembled, tested and adjusted the tensions.
7 Polished the machine with wax.
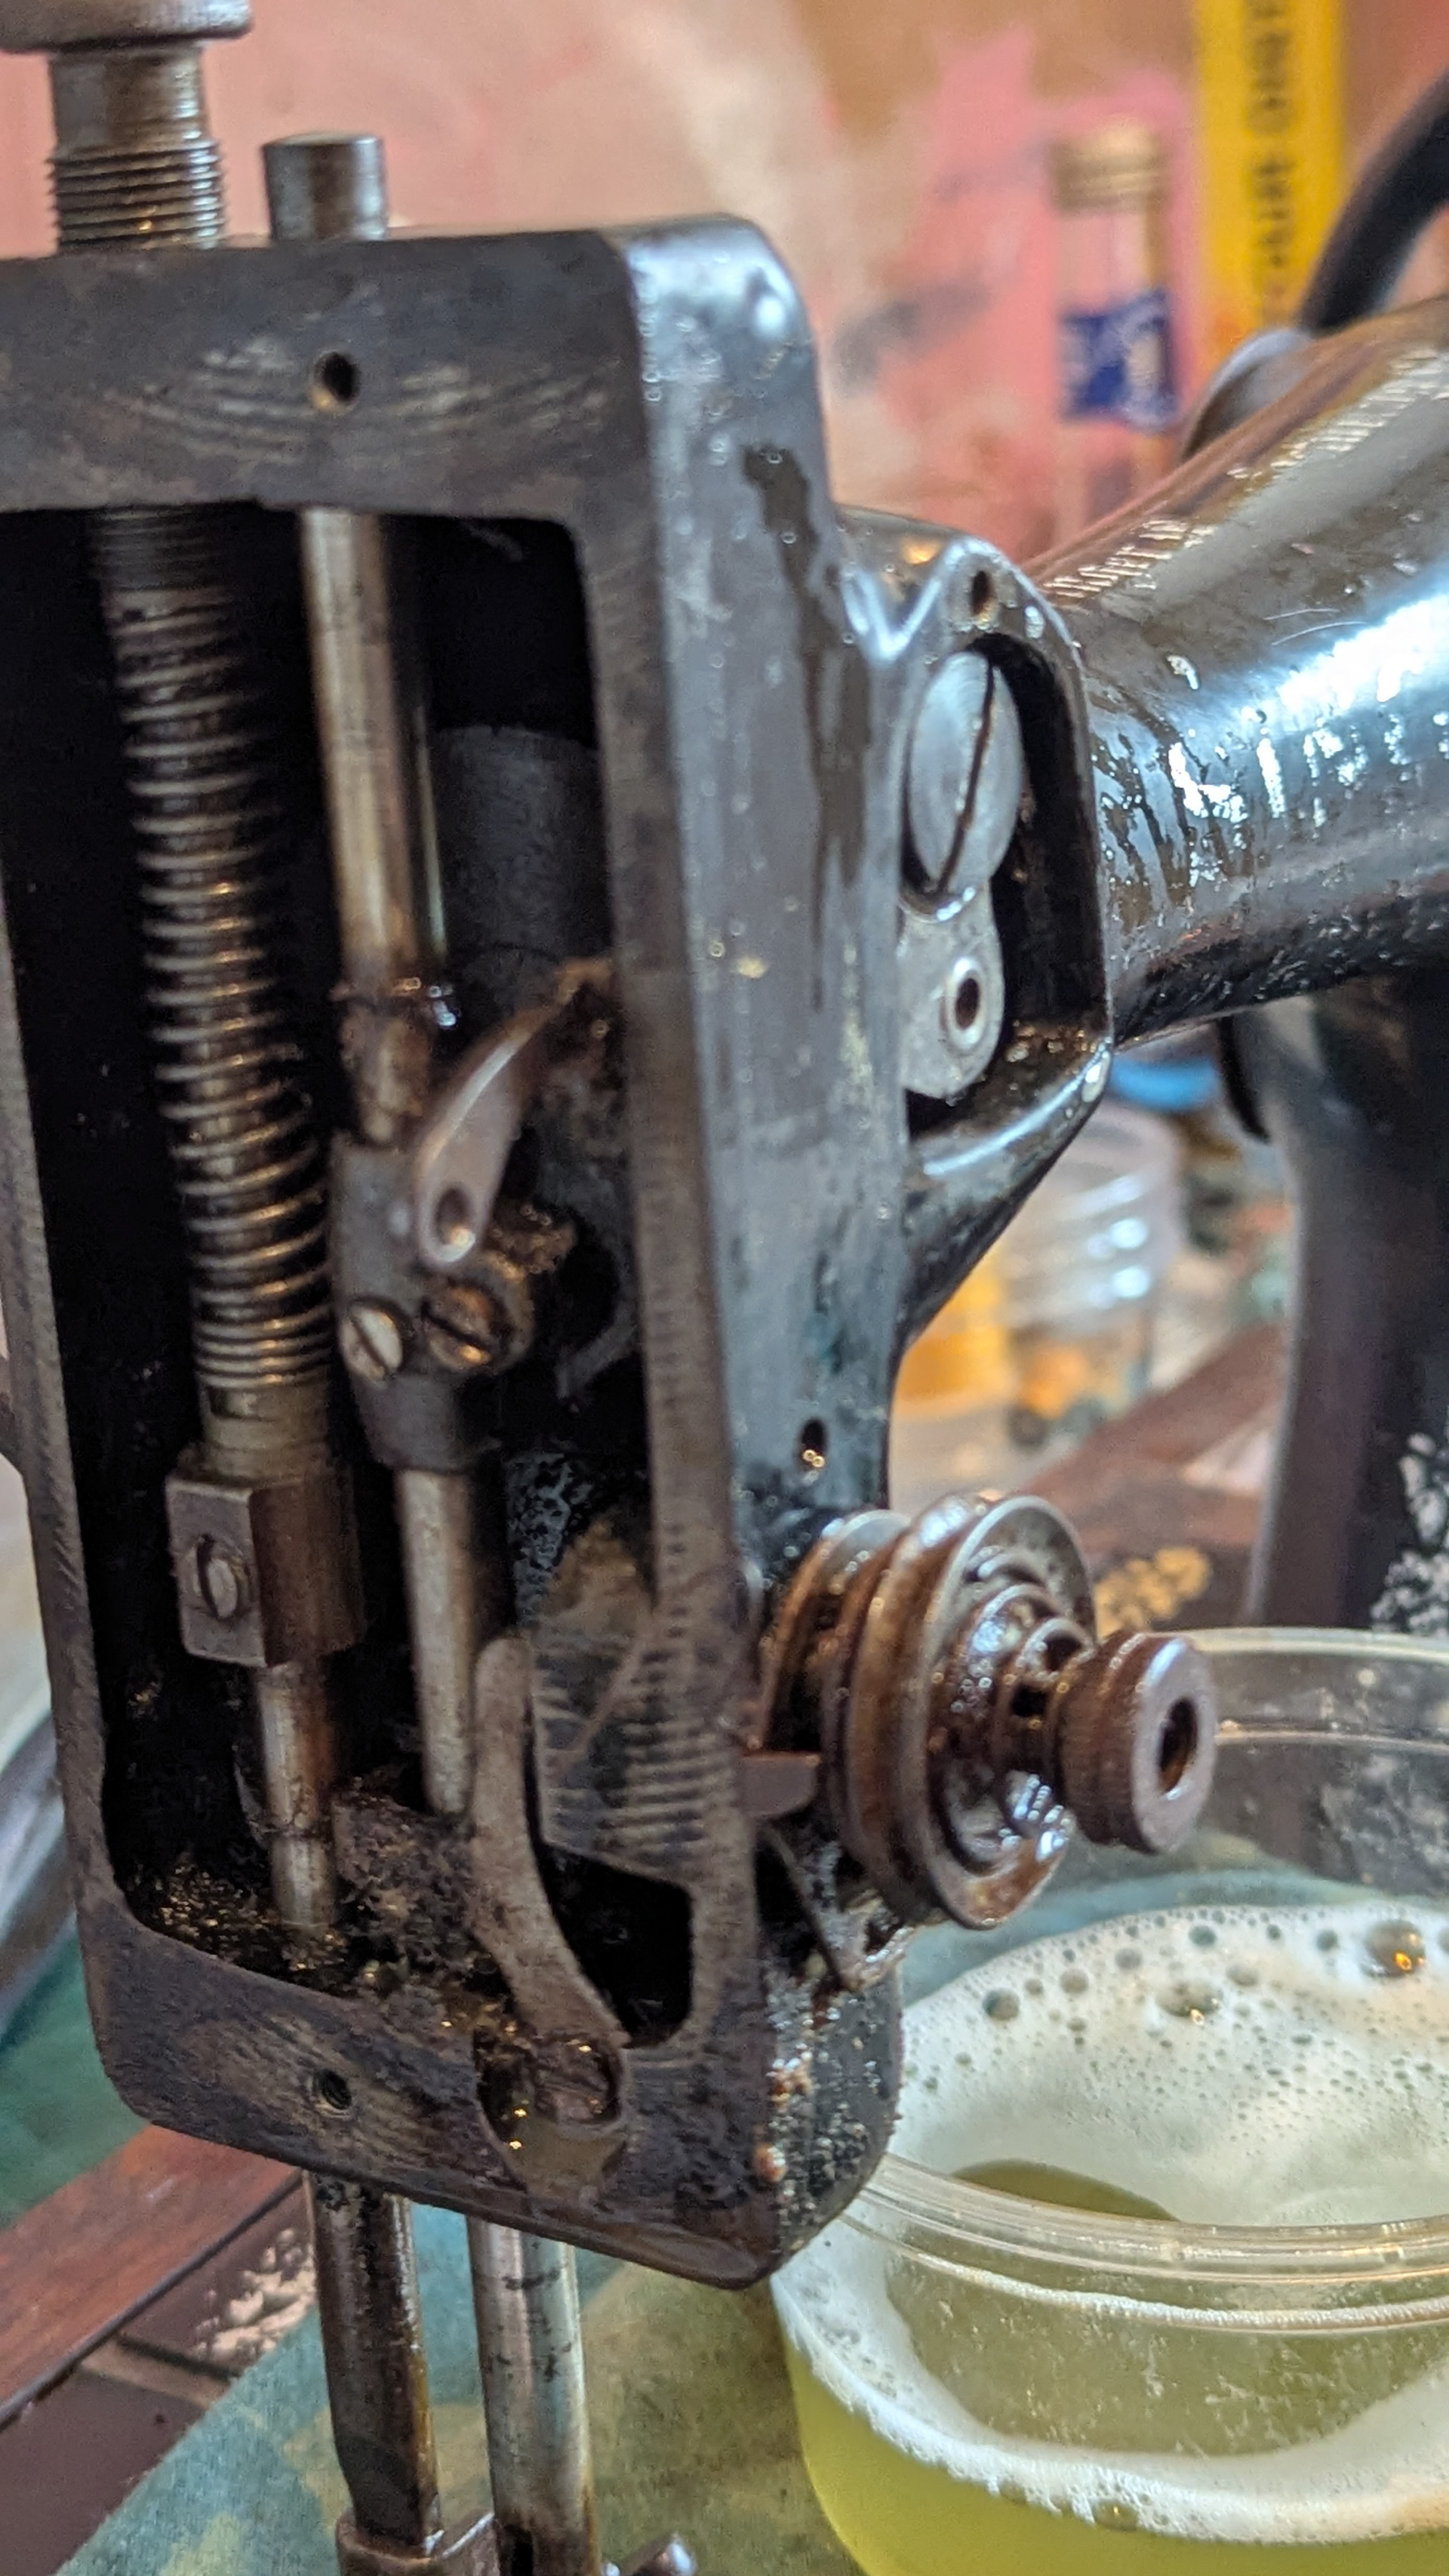
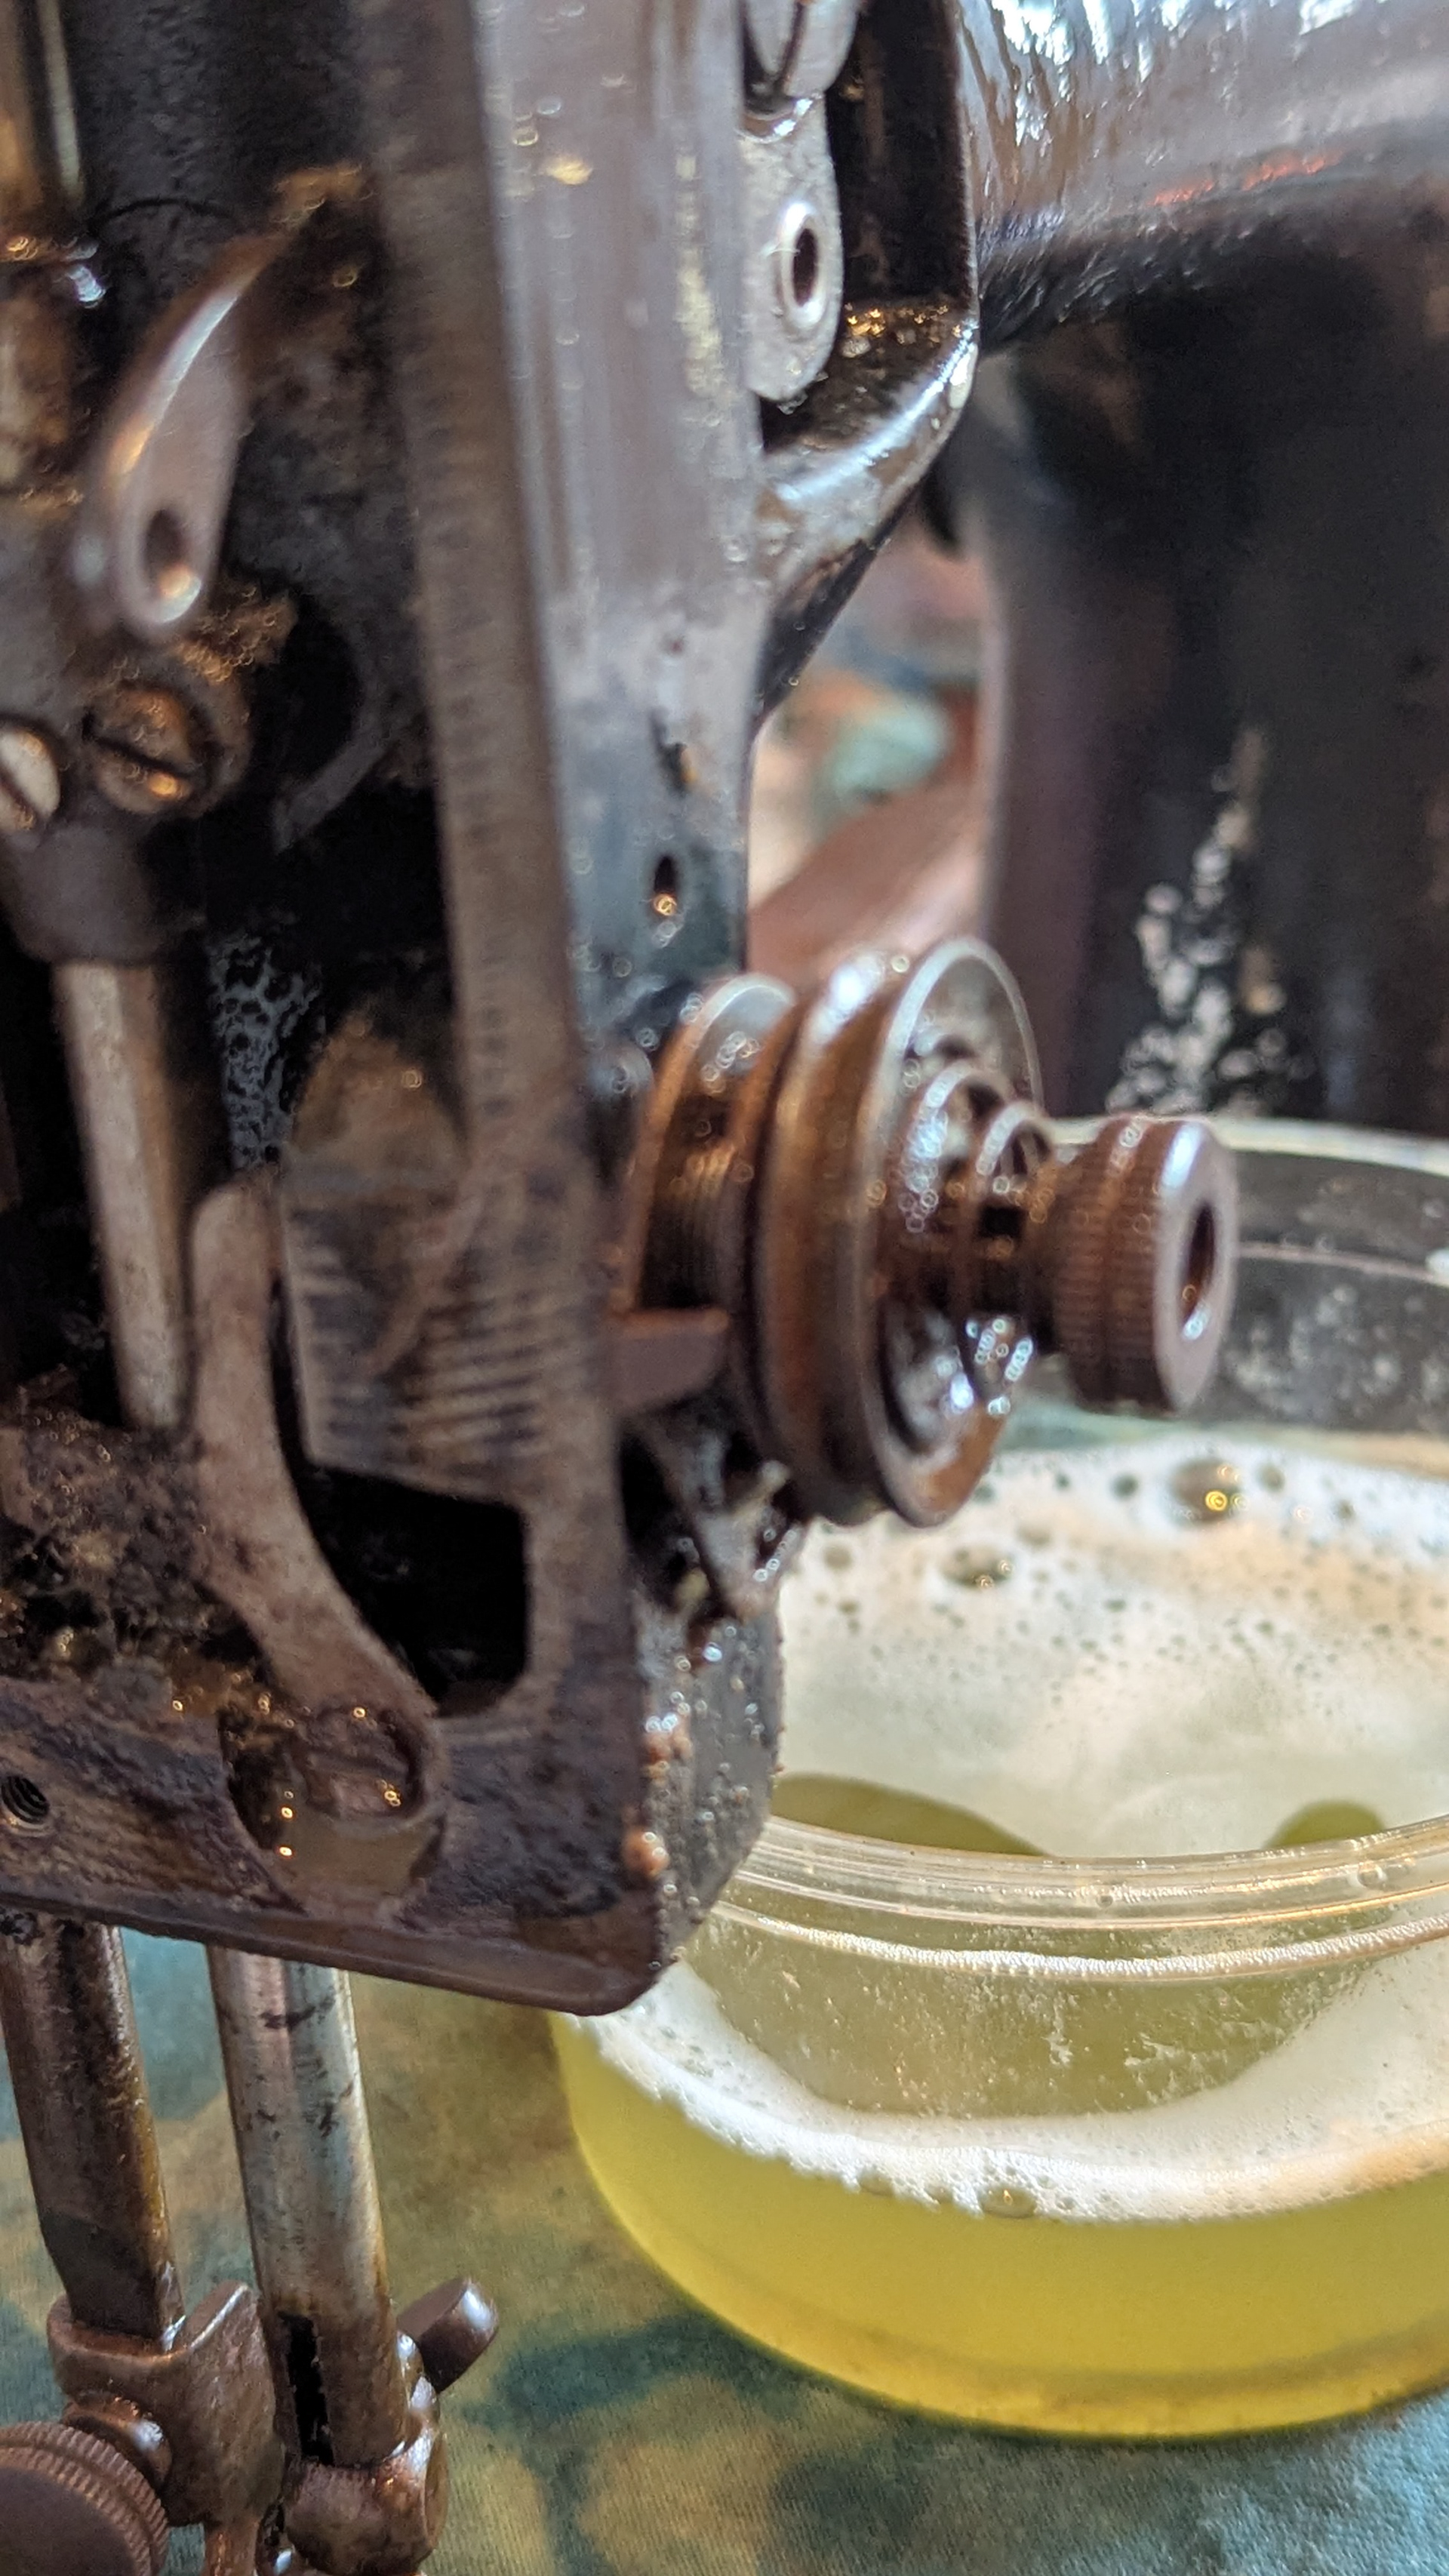
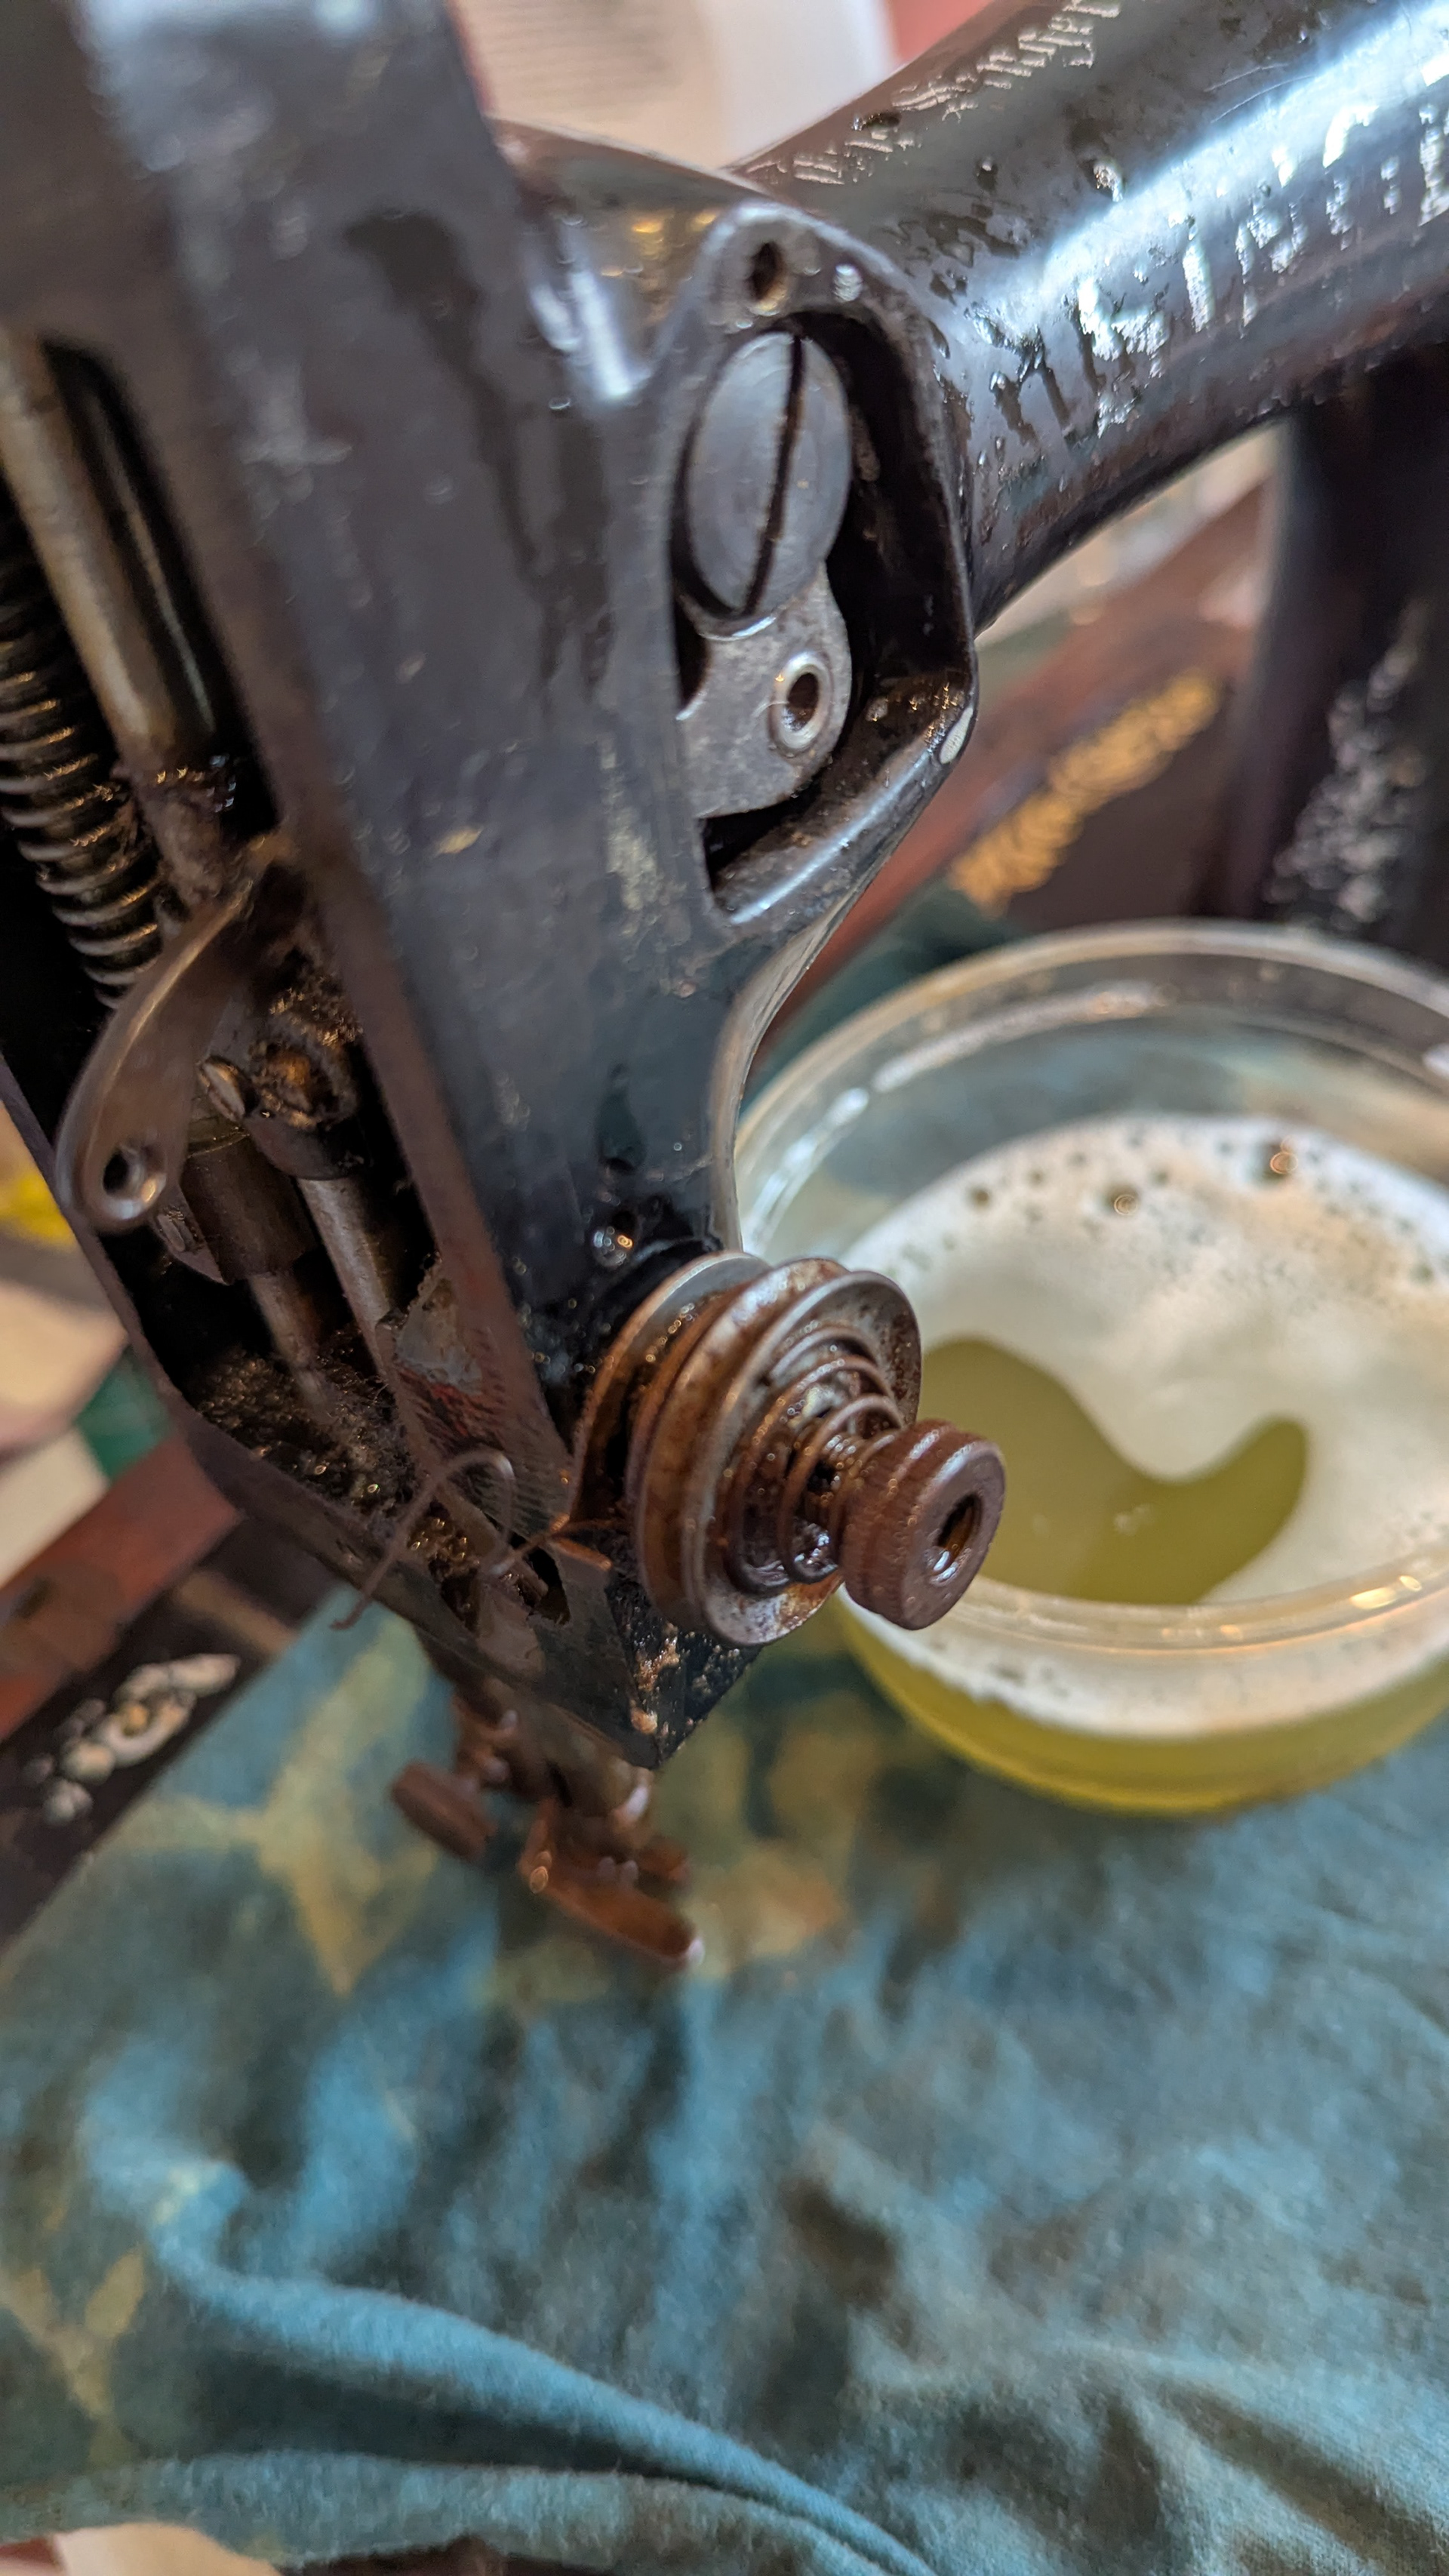
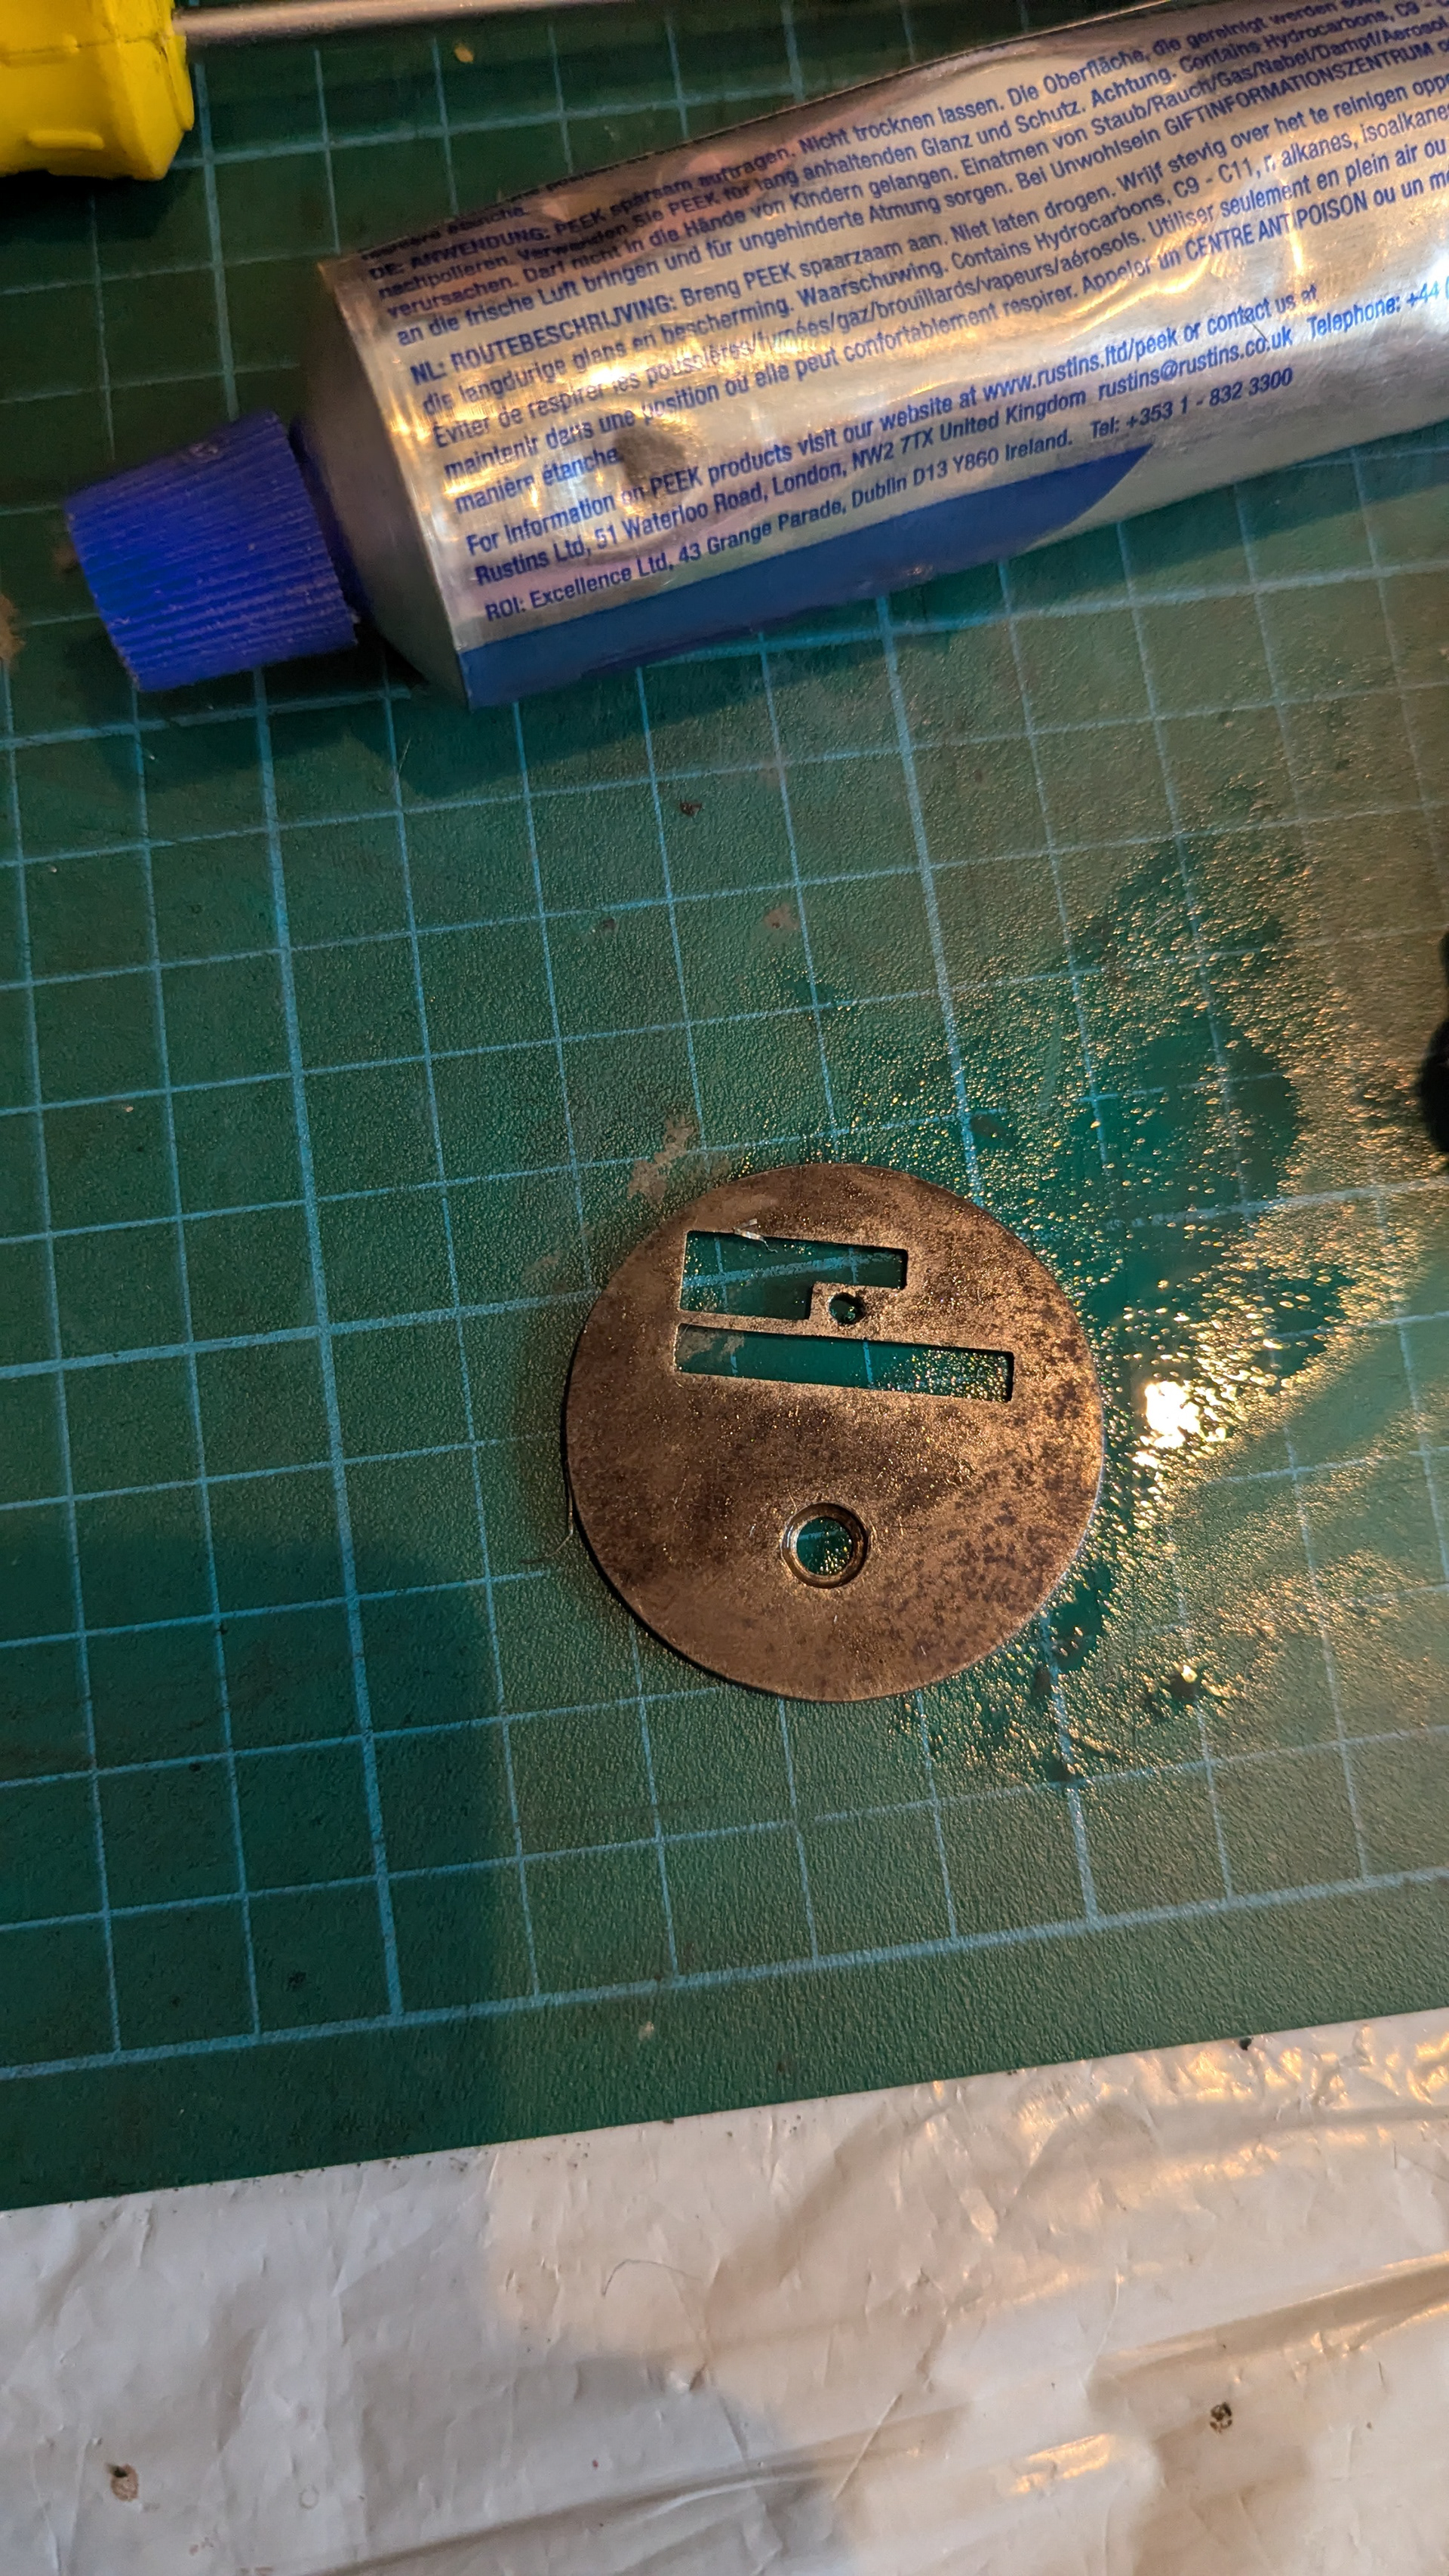
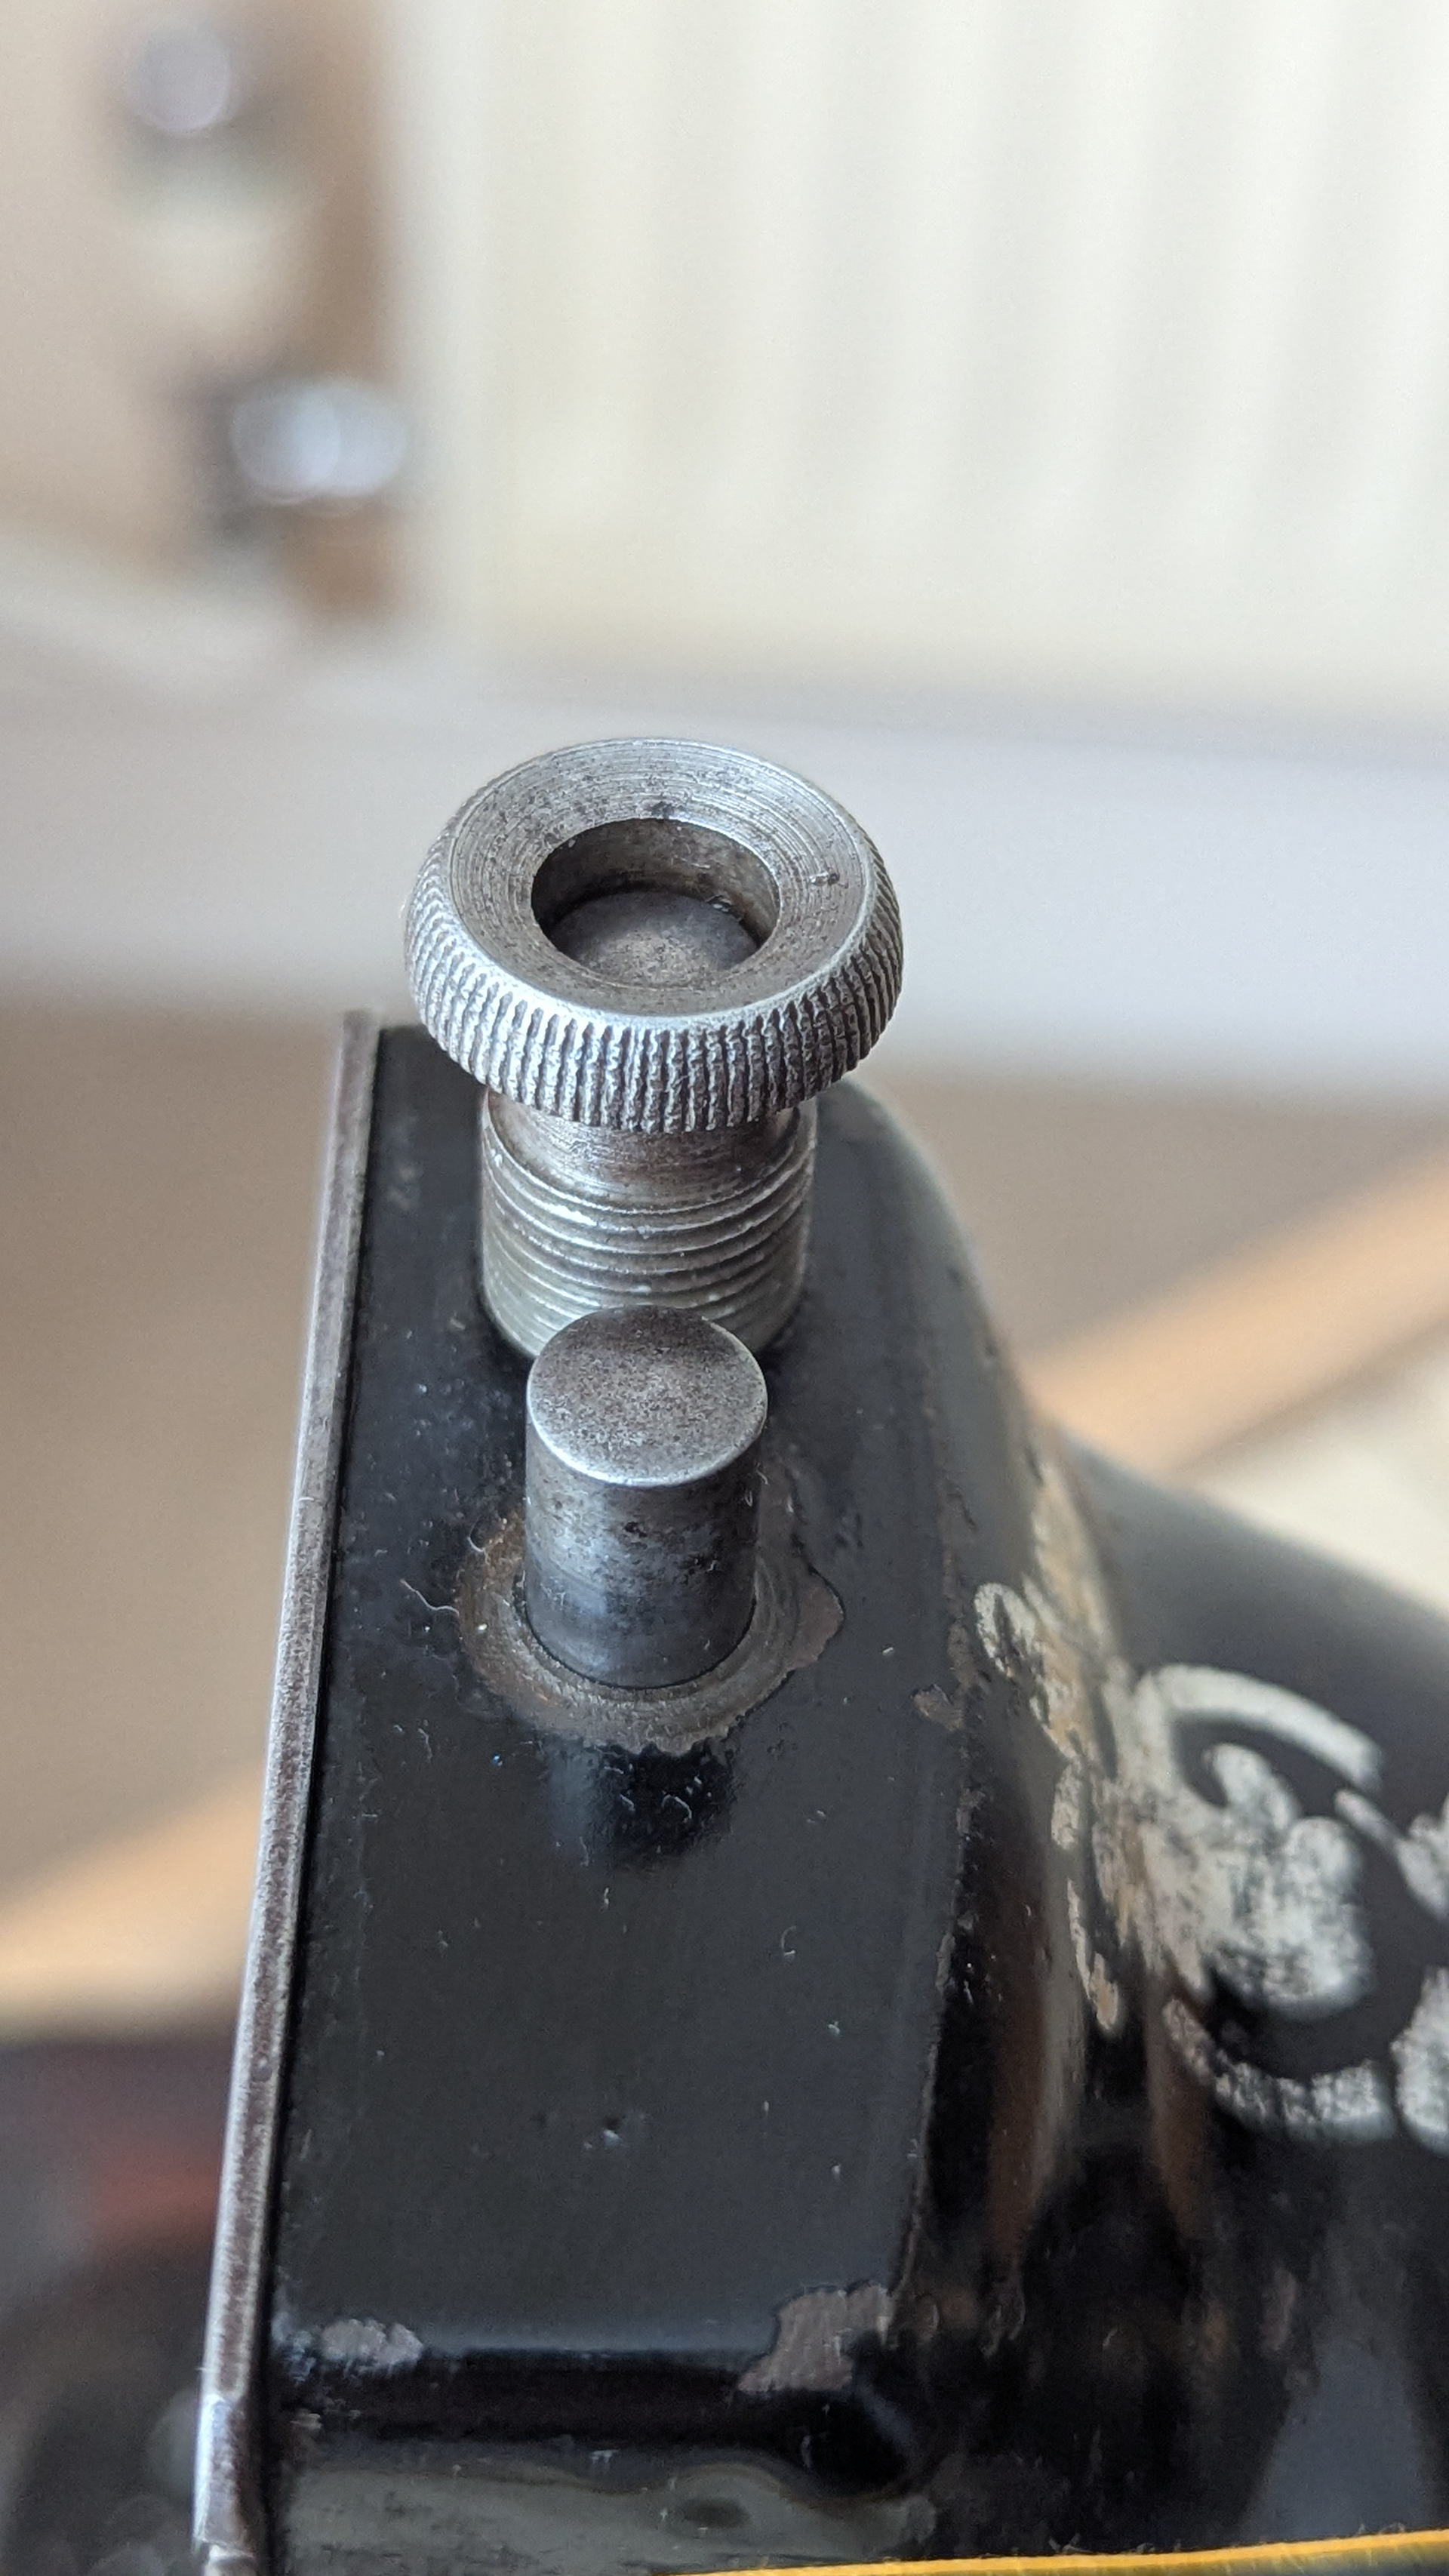
Pictures during the process
Unfortunately I didn't take pictures of before as I just jumped to work on it. I am uploading all the pictures I took during the process without filter so hopefully it can help someone else when repairing the machine.


Observations
There were a few things that I noticed
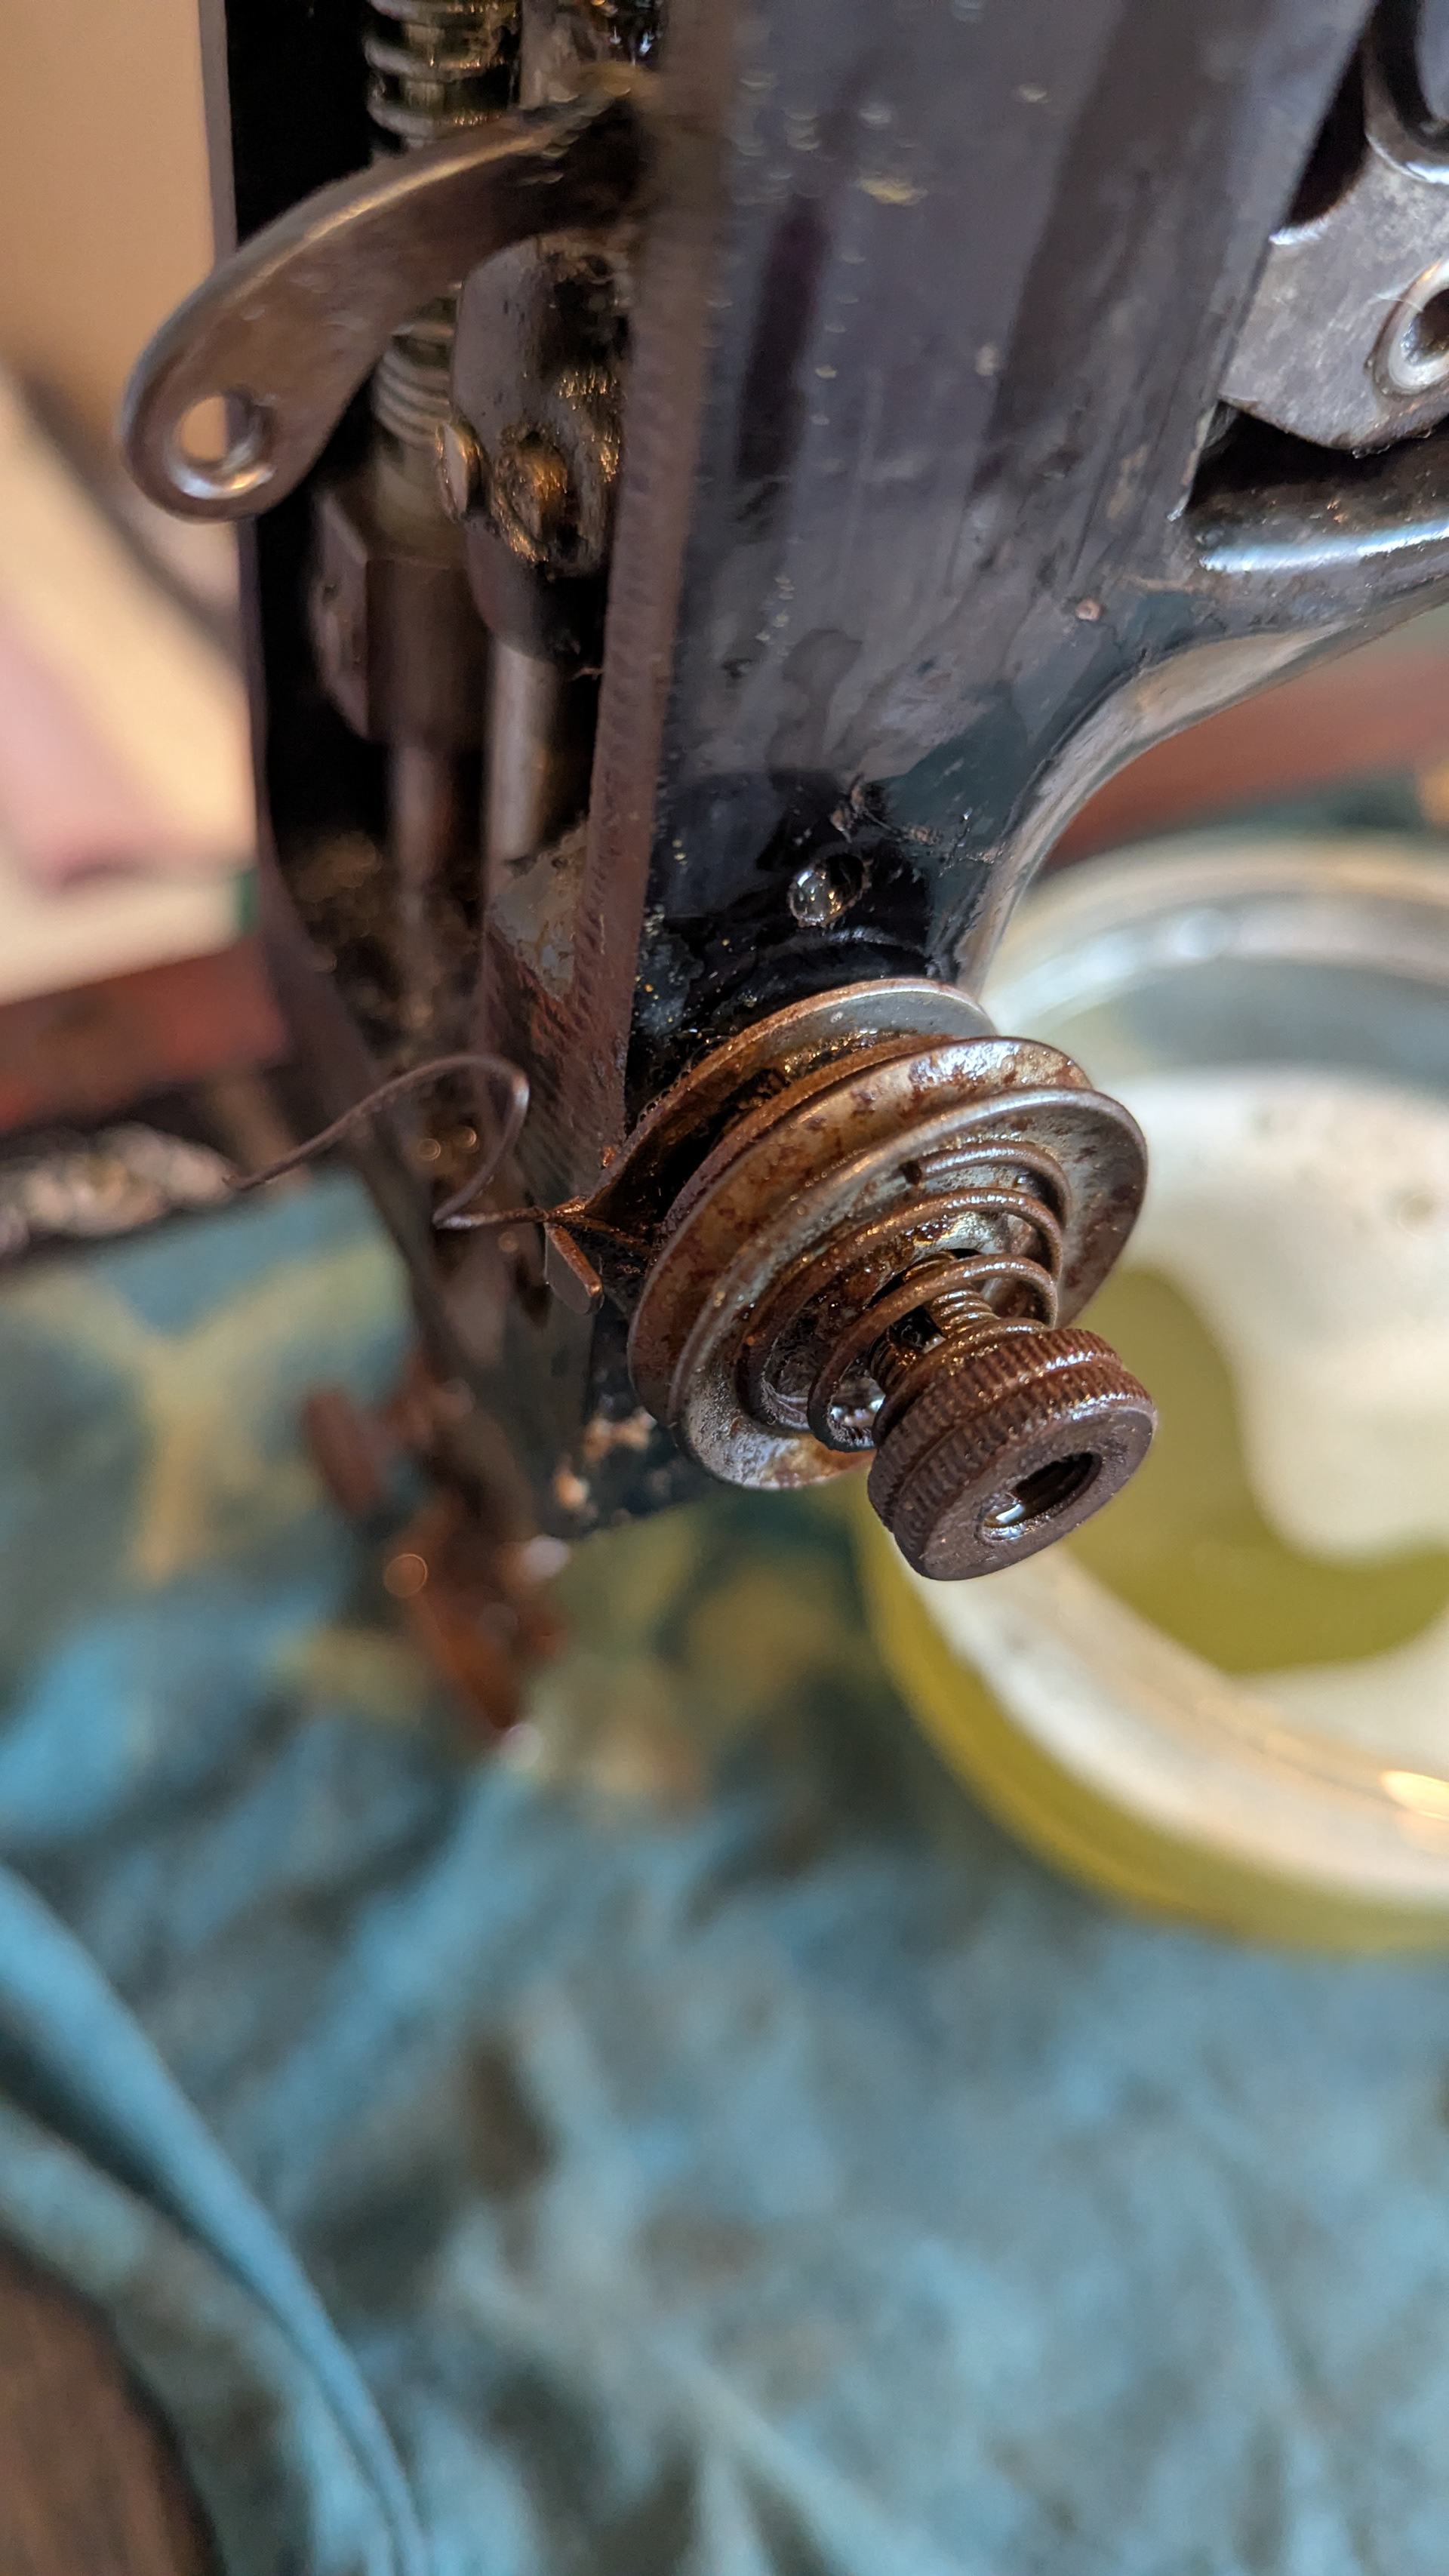
-The tension mechanism was meddled with at some point in the past. The tension release pin is missing and the tension release washer was misplaced. The latter, was extending the size of the whole mechanism so the thumb nut was taken to the edge
I could not replace the missing piece at the time, but it essentially doesn’t affect the sewing capabilities of the machine so it wasn't urgent.
-The isopropanol alcohol used to clean and degrease the machine - which is recommended against the traditional use of gasoline, for obvious reasons - appeared to have reacted with some parts of the lacquer coating and decals. I tried to limit this product to the interior but it made it out to the external surface anyways, which I tried to clean with warm water and a bit of washing liquid. I recommend using alternative methods for these vintage models, to avoid these issues. I’ve got to test some other techniques and share results.
-The rust removal and metal polishing had to be performed by hand as I didn’t have the rotary tool. I used Brillo pads with washing liquid to remove the rust. Brasso wadding and Peek cream polish was great to give it a final polish and to protect from rusting. As you can imagine, this wasn’t easy nor a fast stage. Where it seemed to clean and protect well, it didn’t give it an extreme polish chromed look. However, the clean aged metal look is very nice and it’s probably closer to how Lynn remembers this machine being used by her father.
Final touches
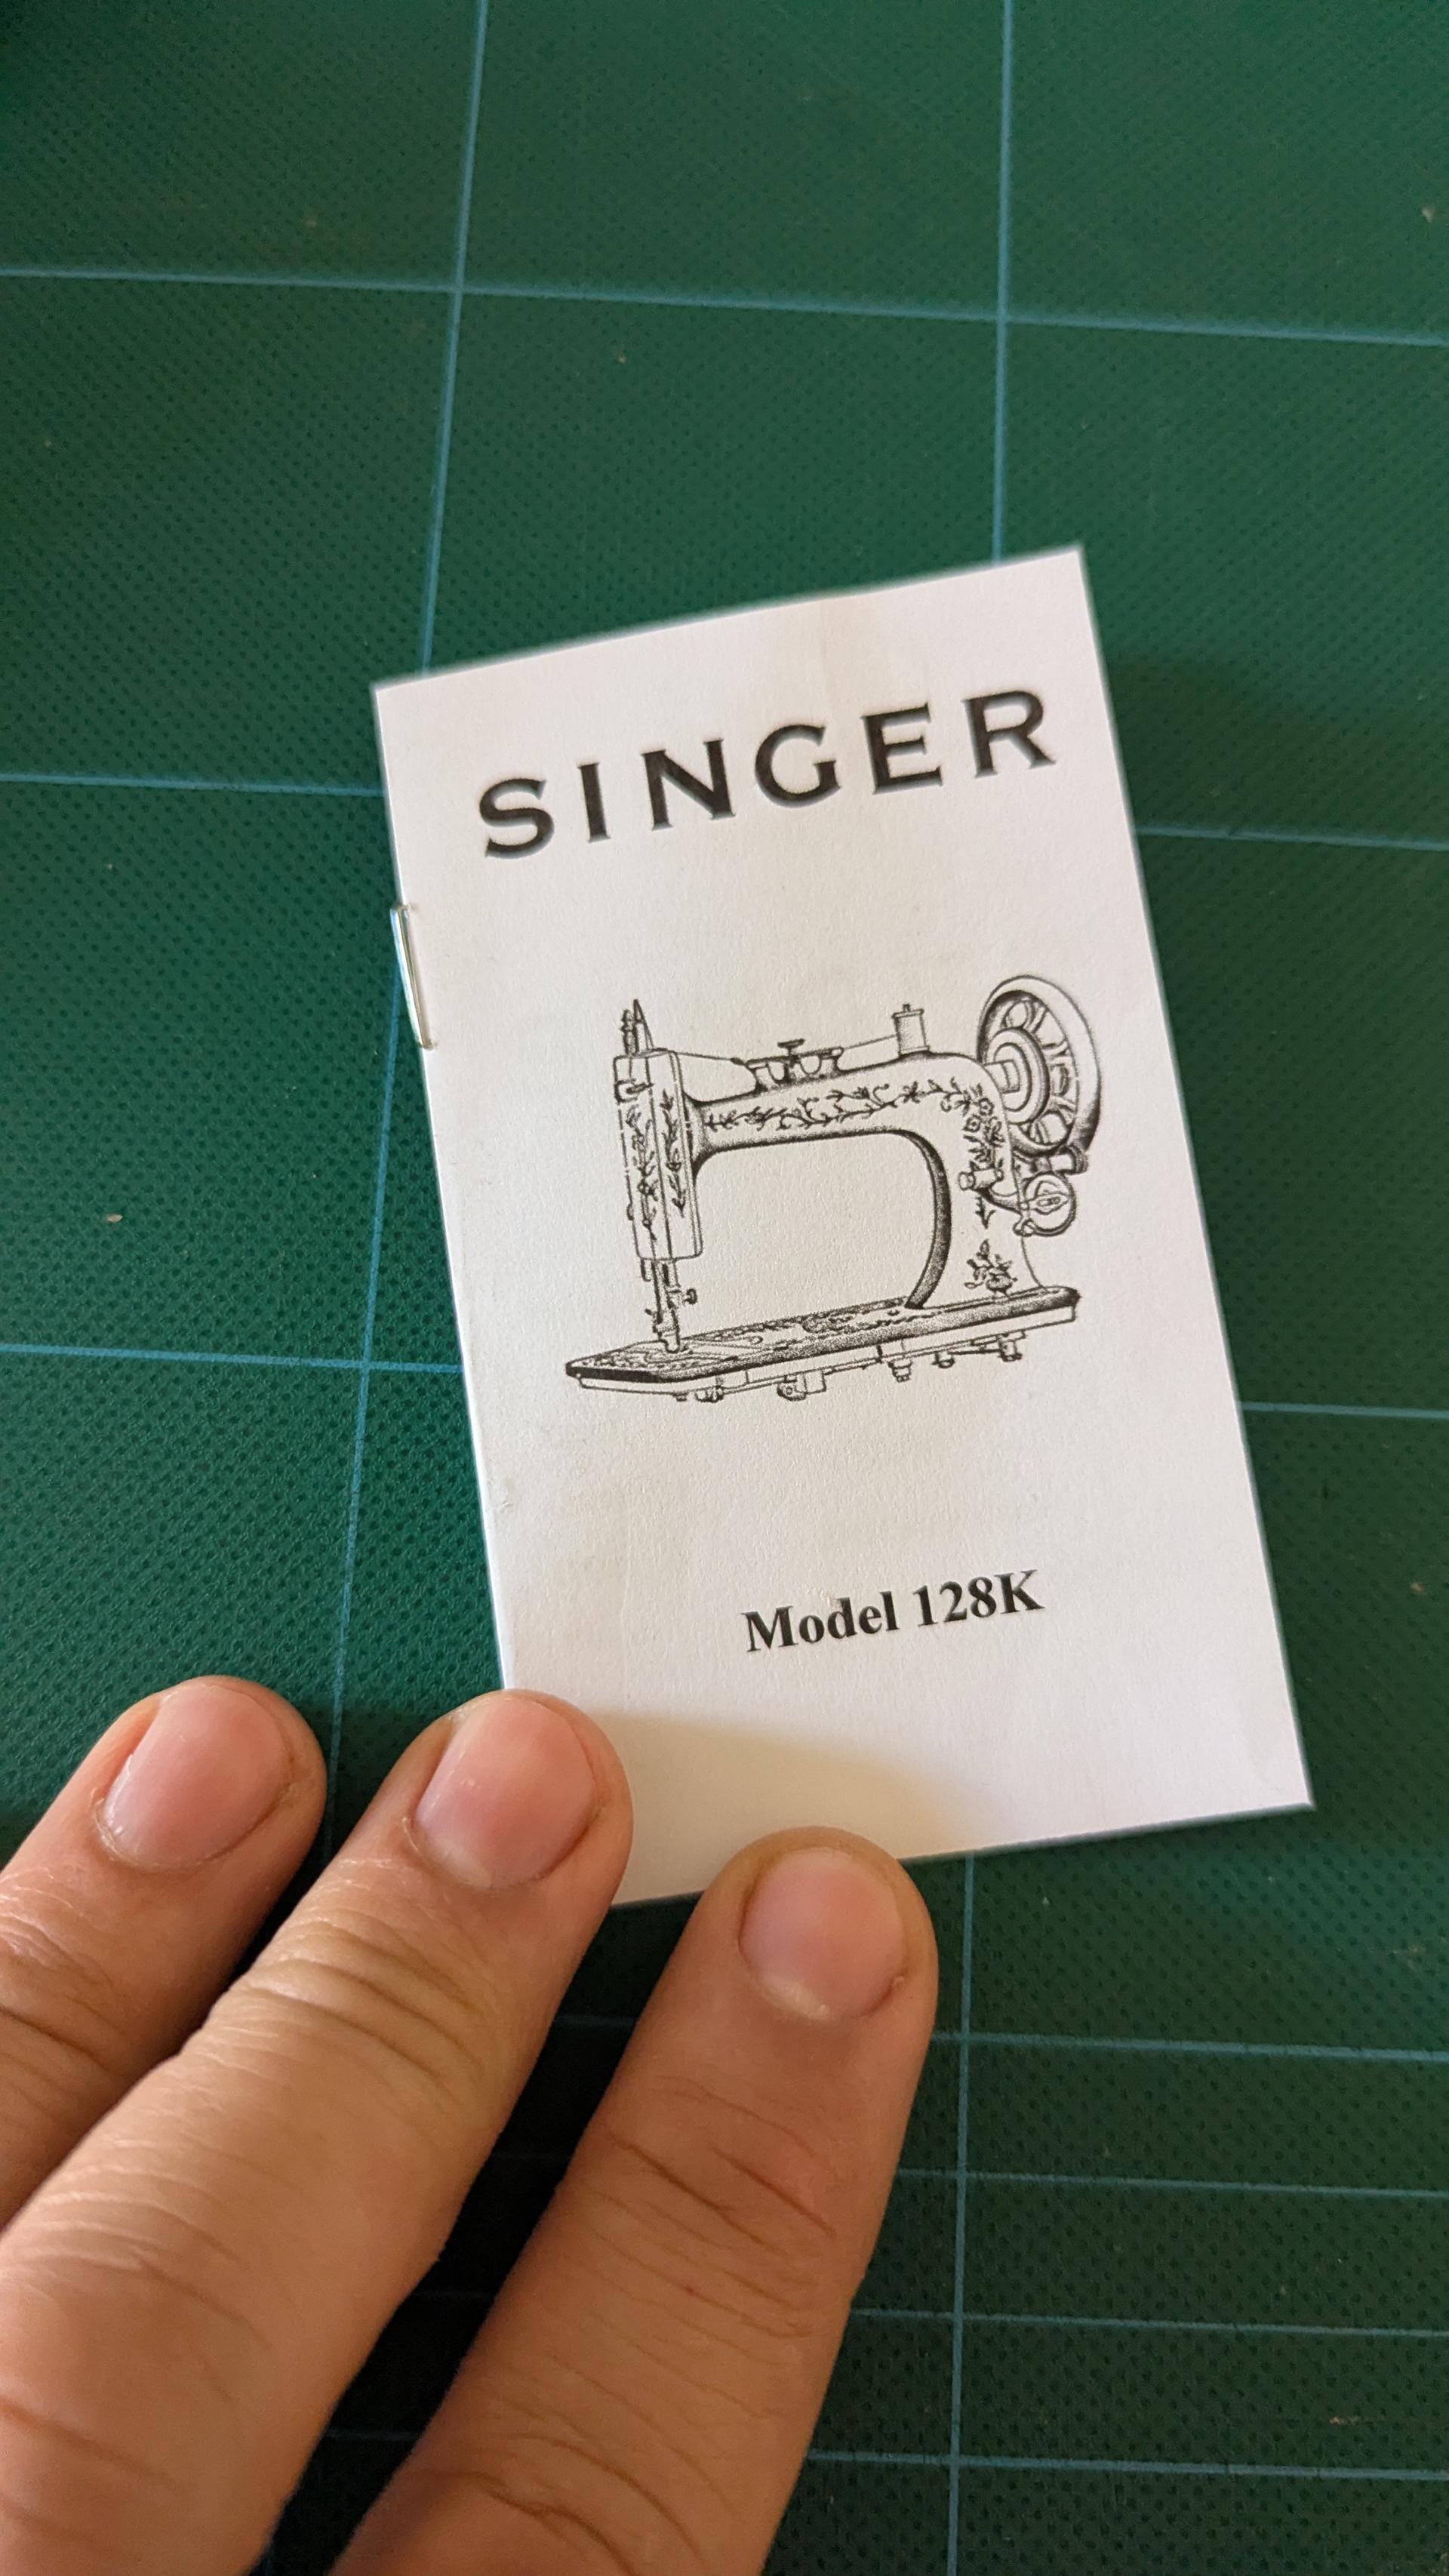
To wrap things up, I discussed with my ‘executive promoter and assistant’ on this project, Ray, the idea of doing a little booklet with key details of the machine and including the story Lynn shared with us. I quickly layered it out with imagery of the internet - using PowerPoint! - and printed it. As the size was small, a small stapler did the job for the binding.
To end with, and as I was on a roll, I used the packaging of the apple struder to create a little cardboard box to put the spare bobbins and screws on the side storing compartment of the wooden case, so they would not be bouncing around every time the machine is moved.


Duckman design is my alter ego as graphic designer.
Reflections
The machine is now in working condition. I find these old machines so relaxing. The way they saw, their sound,... definitely something people should keep, especially when it brings so many good memories.
For a similar project in the future, I would love to have the time to consider a full paint restoration, where I would restore the black paint and use some decal techniques I am exploring, and replace the damaged decorations. A restoration like this could be really fulfilling, though if a machine is fully renovated and there are no marks of its use, would then erase the memories they bring with them?
Thanks for reading.
Jose
PS1: Any questions? Any ideas? Any tips or advice you’d like to share? Please keep in touch
PS2: Have you visited my multimedia designer porfolio? Have a look on www.duckmandesign.com